“Lazy” Agnolotti al Plin
Agnolotti is one of my favorite filled pasta to both make and eat. For starters, it’s quick and easy to assemble comparatively. But I also prefer the texture of the pasta over its ravioli sibling as the pasta is rolled thinner. The main difference between ravioli and agnolotti is that the former is made with two pieces of pasta with a filling sealed between them, whereas the latter is from one sheet of pasta that is folded over the filling creating little pillows with a pocket perfect for collecting whatever sauce you choose. The “al plin” means “pinched” which is a version that most think of when they hear of “agnolotti.” It originated in the Piedmont region of Italy and unfortunately, the rest of the information of its history is a legend but historically the fillings were always meat-based. Thankfully in today’s day and age, we can fill them with what we want!
I’ll admit that my family likes pasta more than I do, but I do enjoy making it! A favorite pasta recipe that we eat more frequently than others is my Butternut Squash Agnolotti with Sherry Cream Sauce but the fillings you can use for Agnolotti are endless! I refer to this as “lazy” agnolotti simply because the technique I use is streamlined giving a slightly different look but it’s the same in taste and function.
Creating the Agnolotti
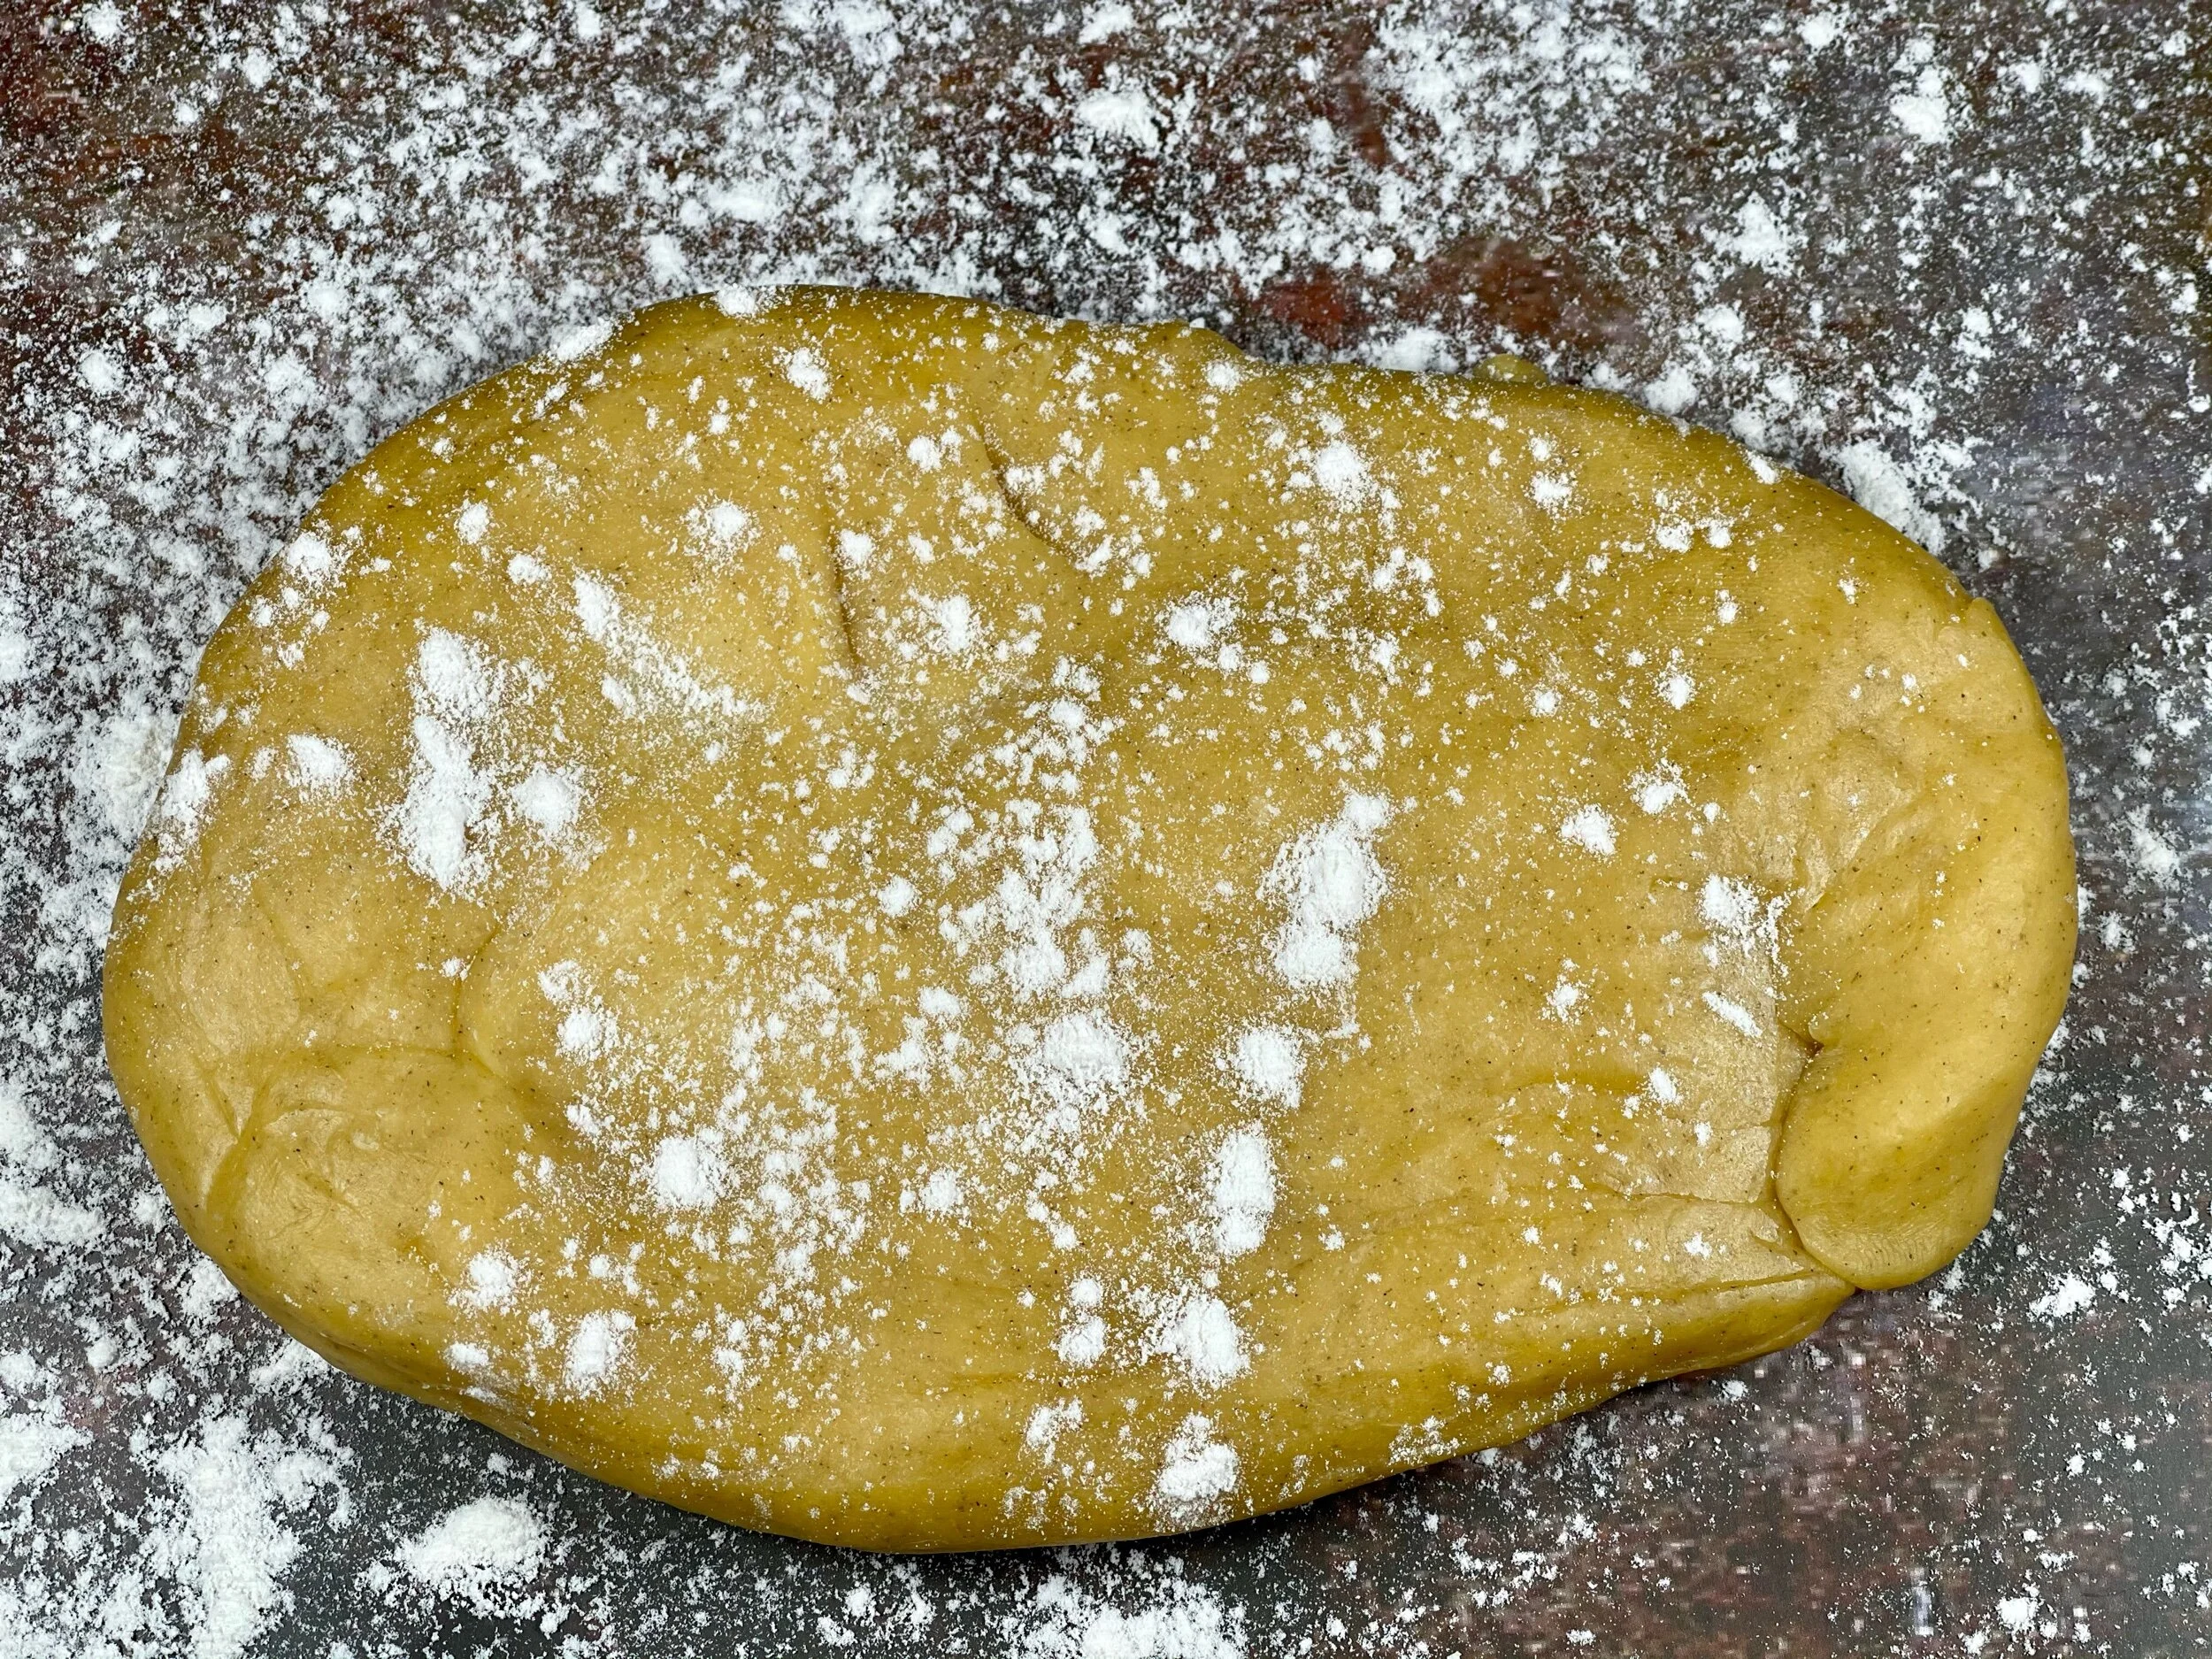
Dough flattened and ready to be rolled out.
Step 1
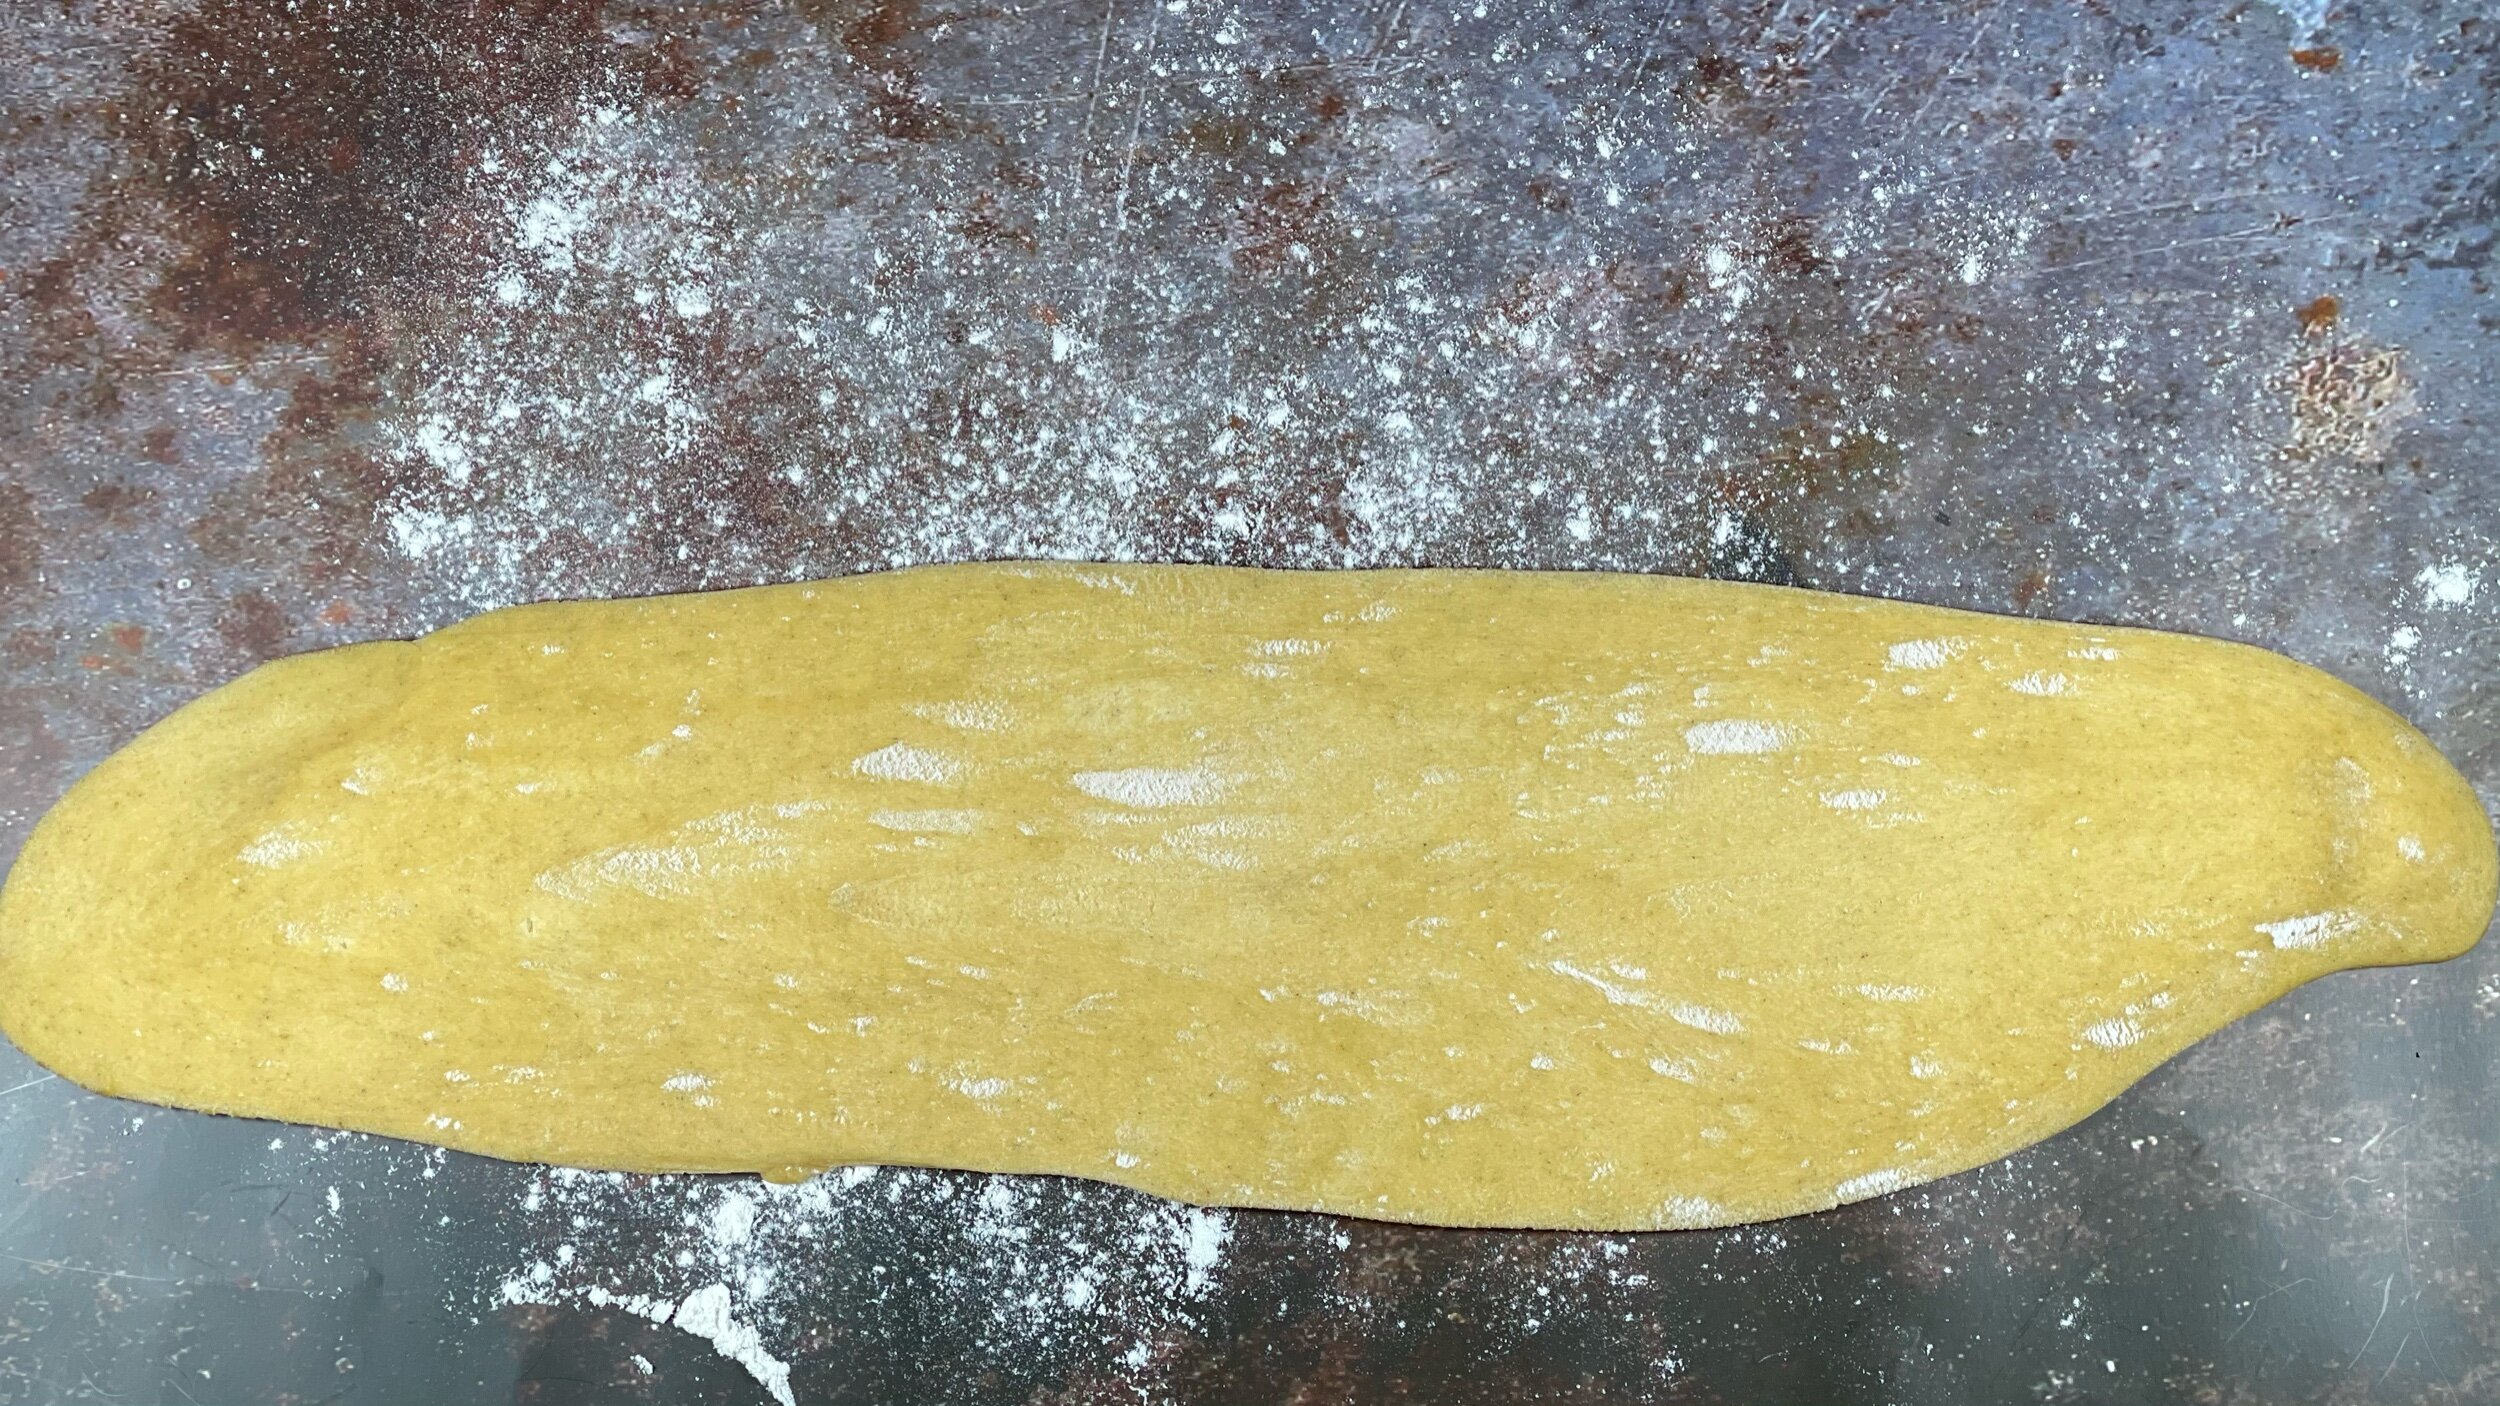
Roll out on machines widest setting, lightly flouring if needed a long the way.
Step 2
Fold the dough like a letter as wide as your machines rollers.
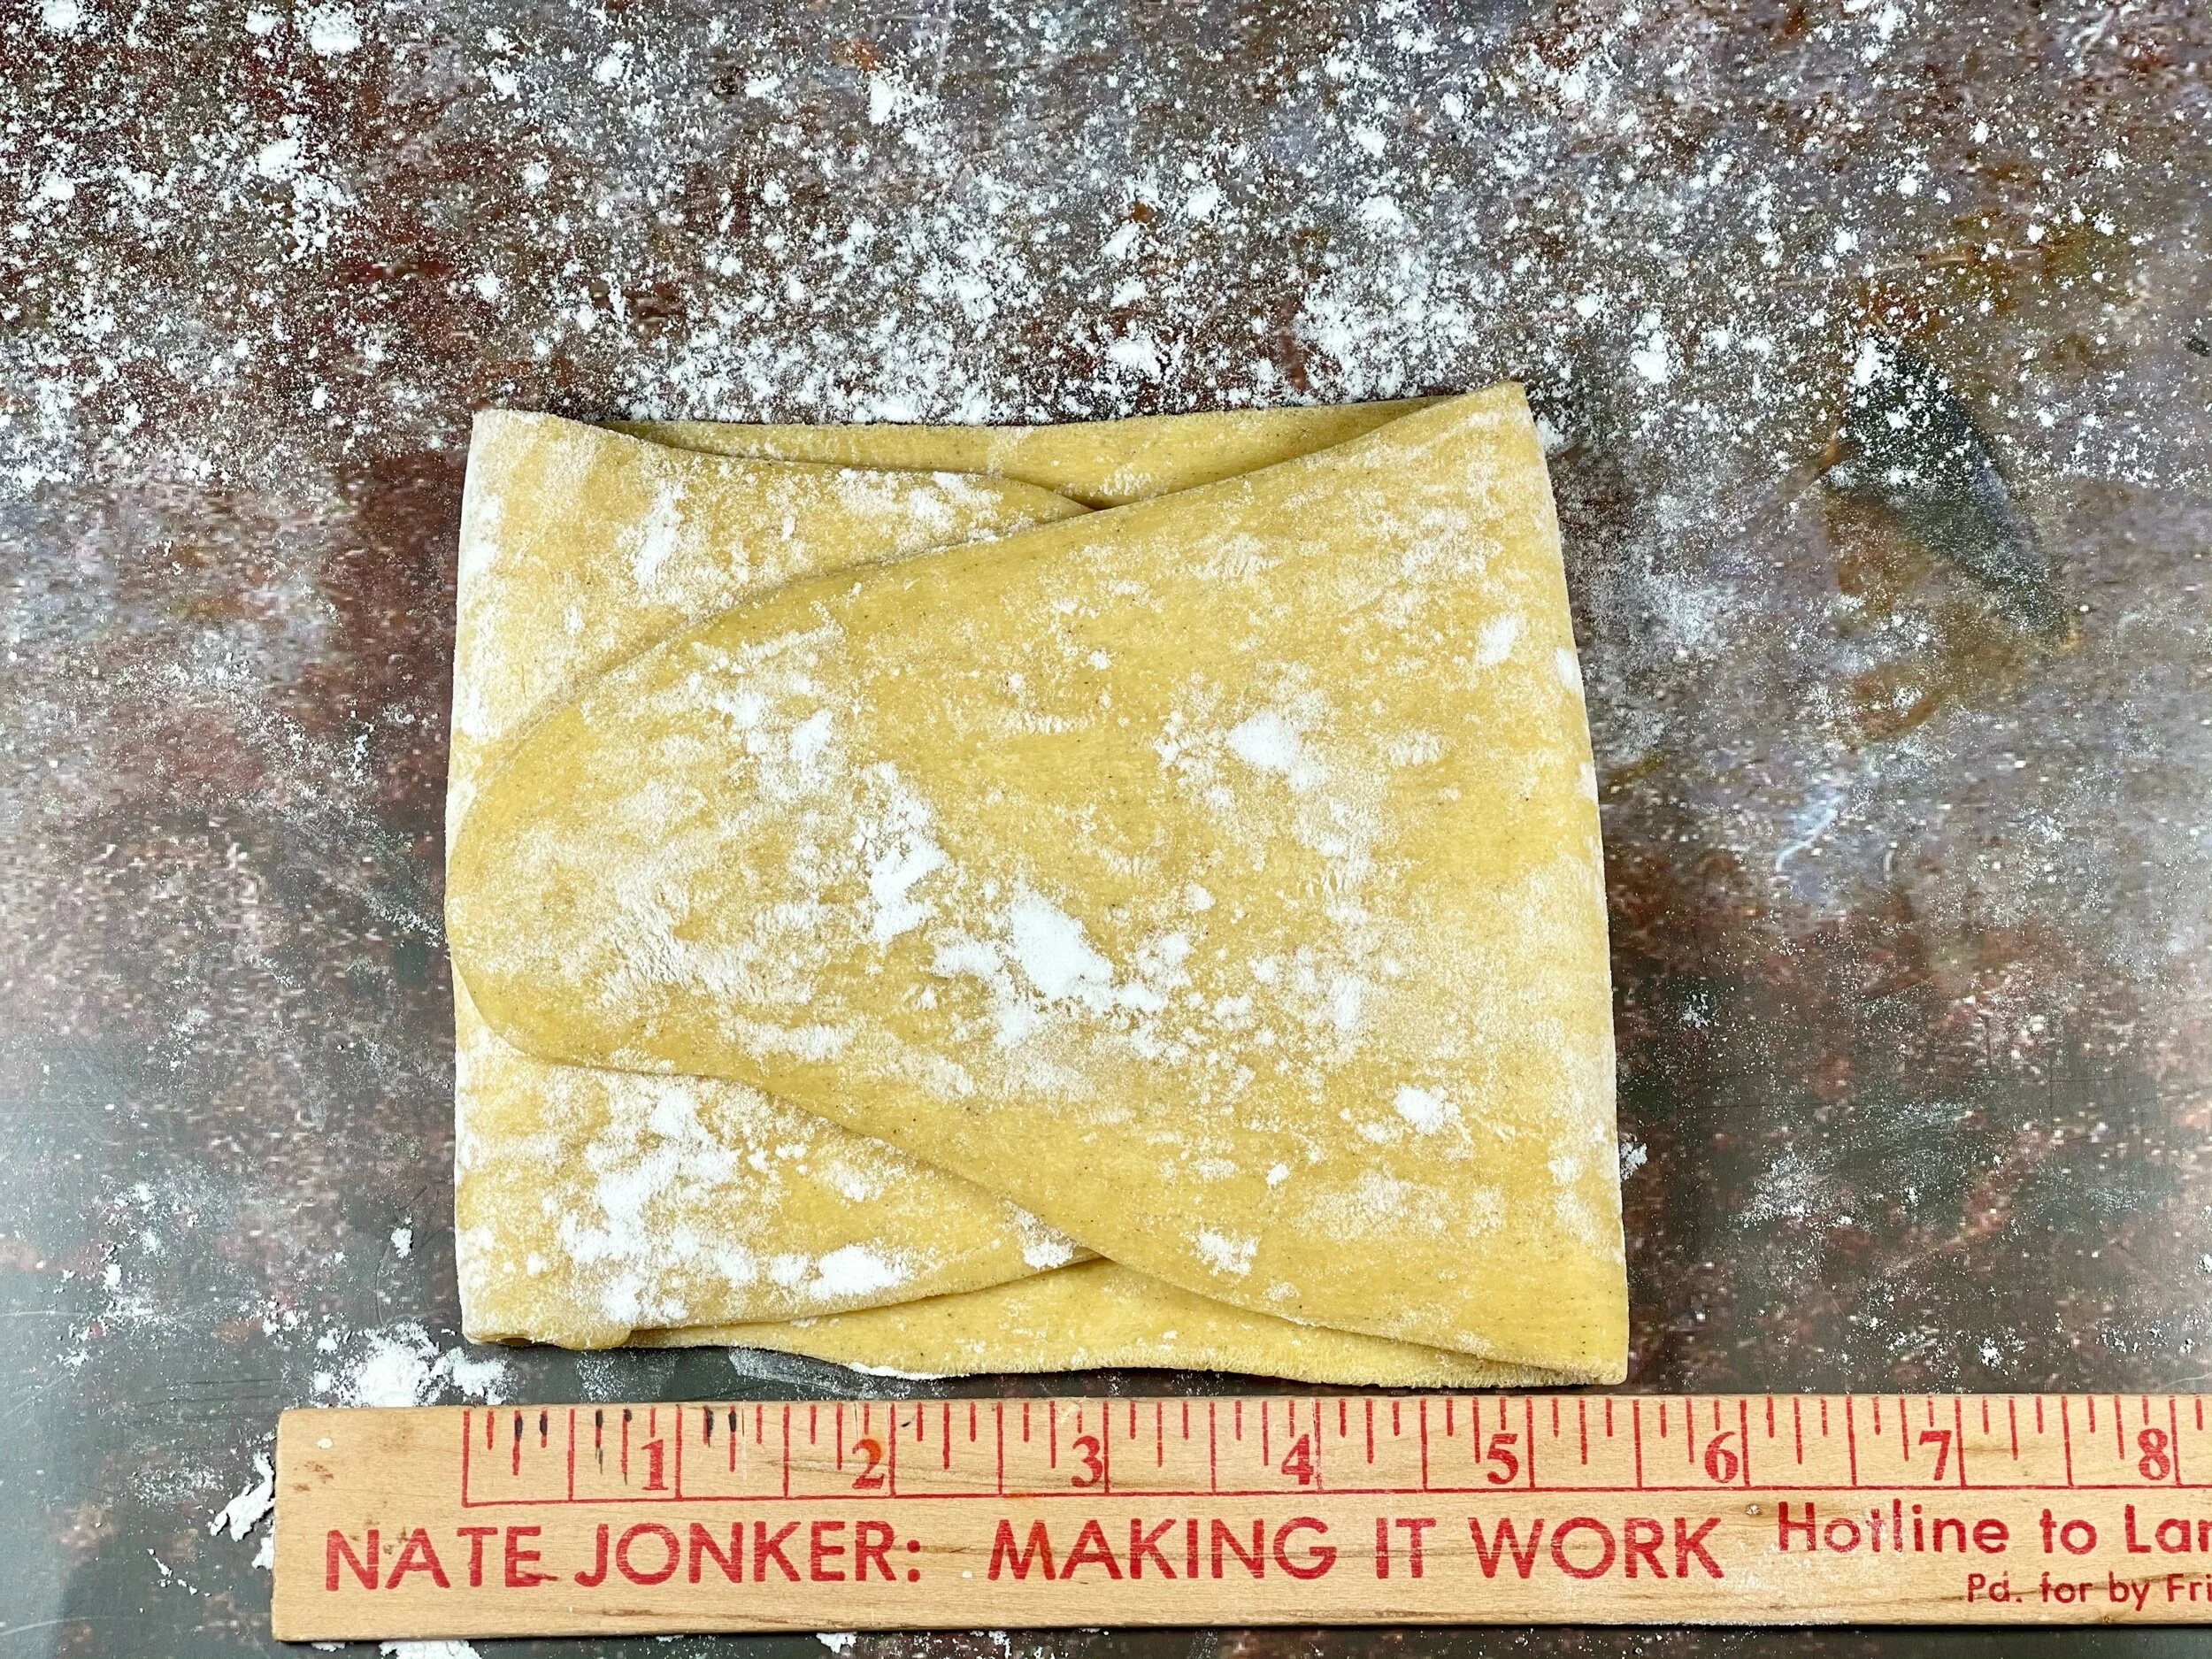
Step 3

Measuring the width of my pasta rollers.
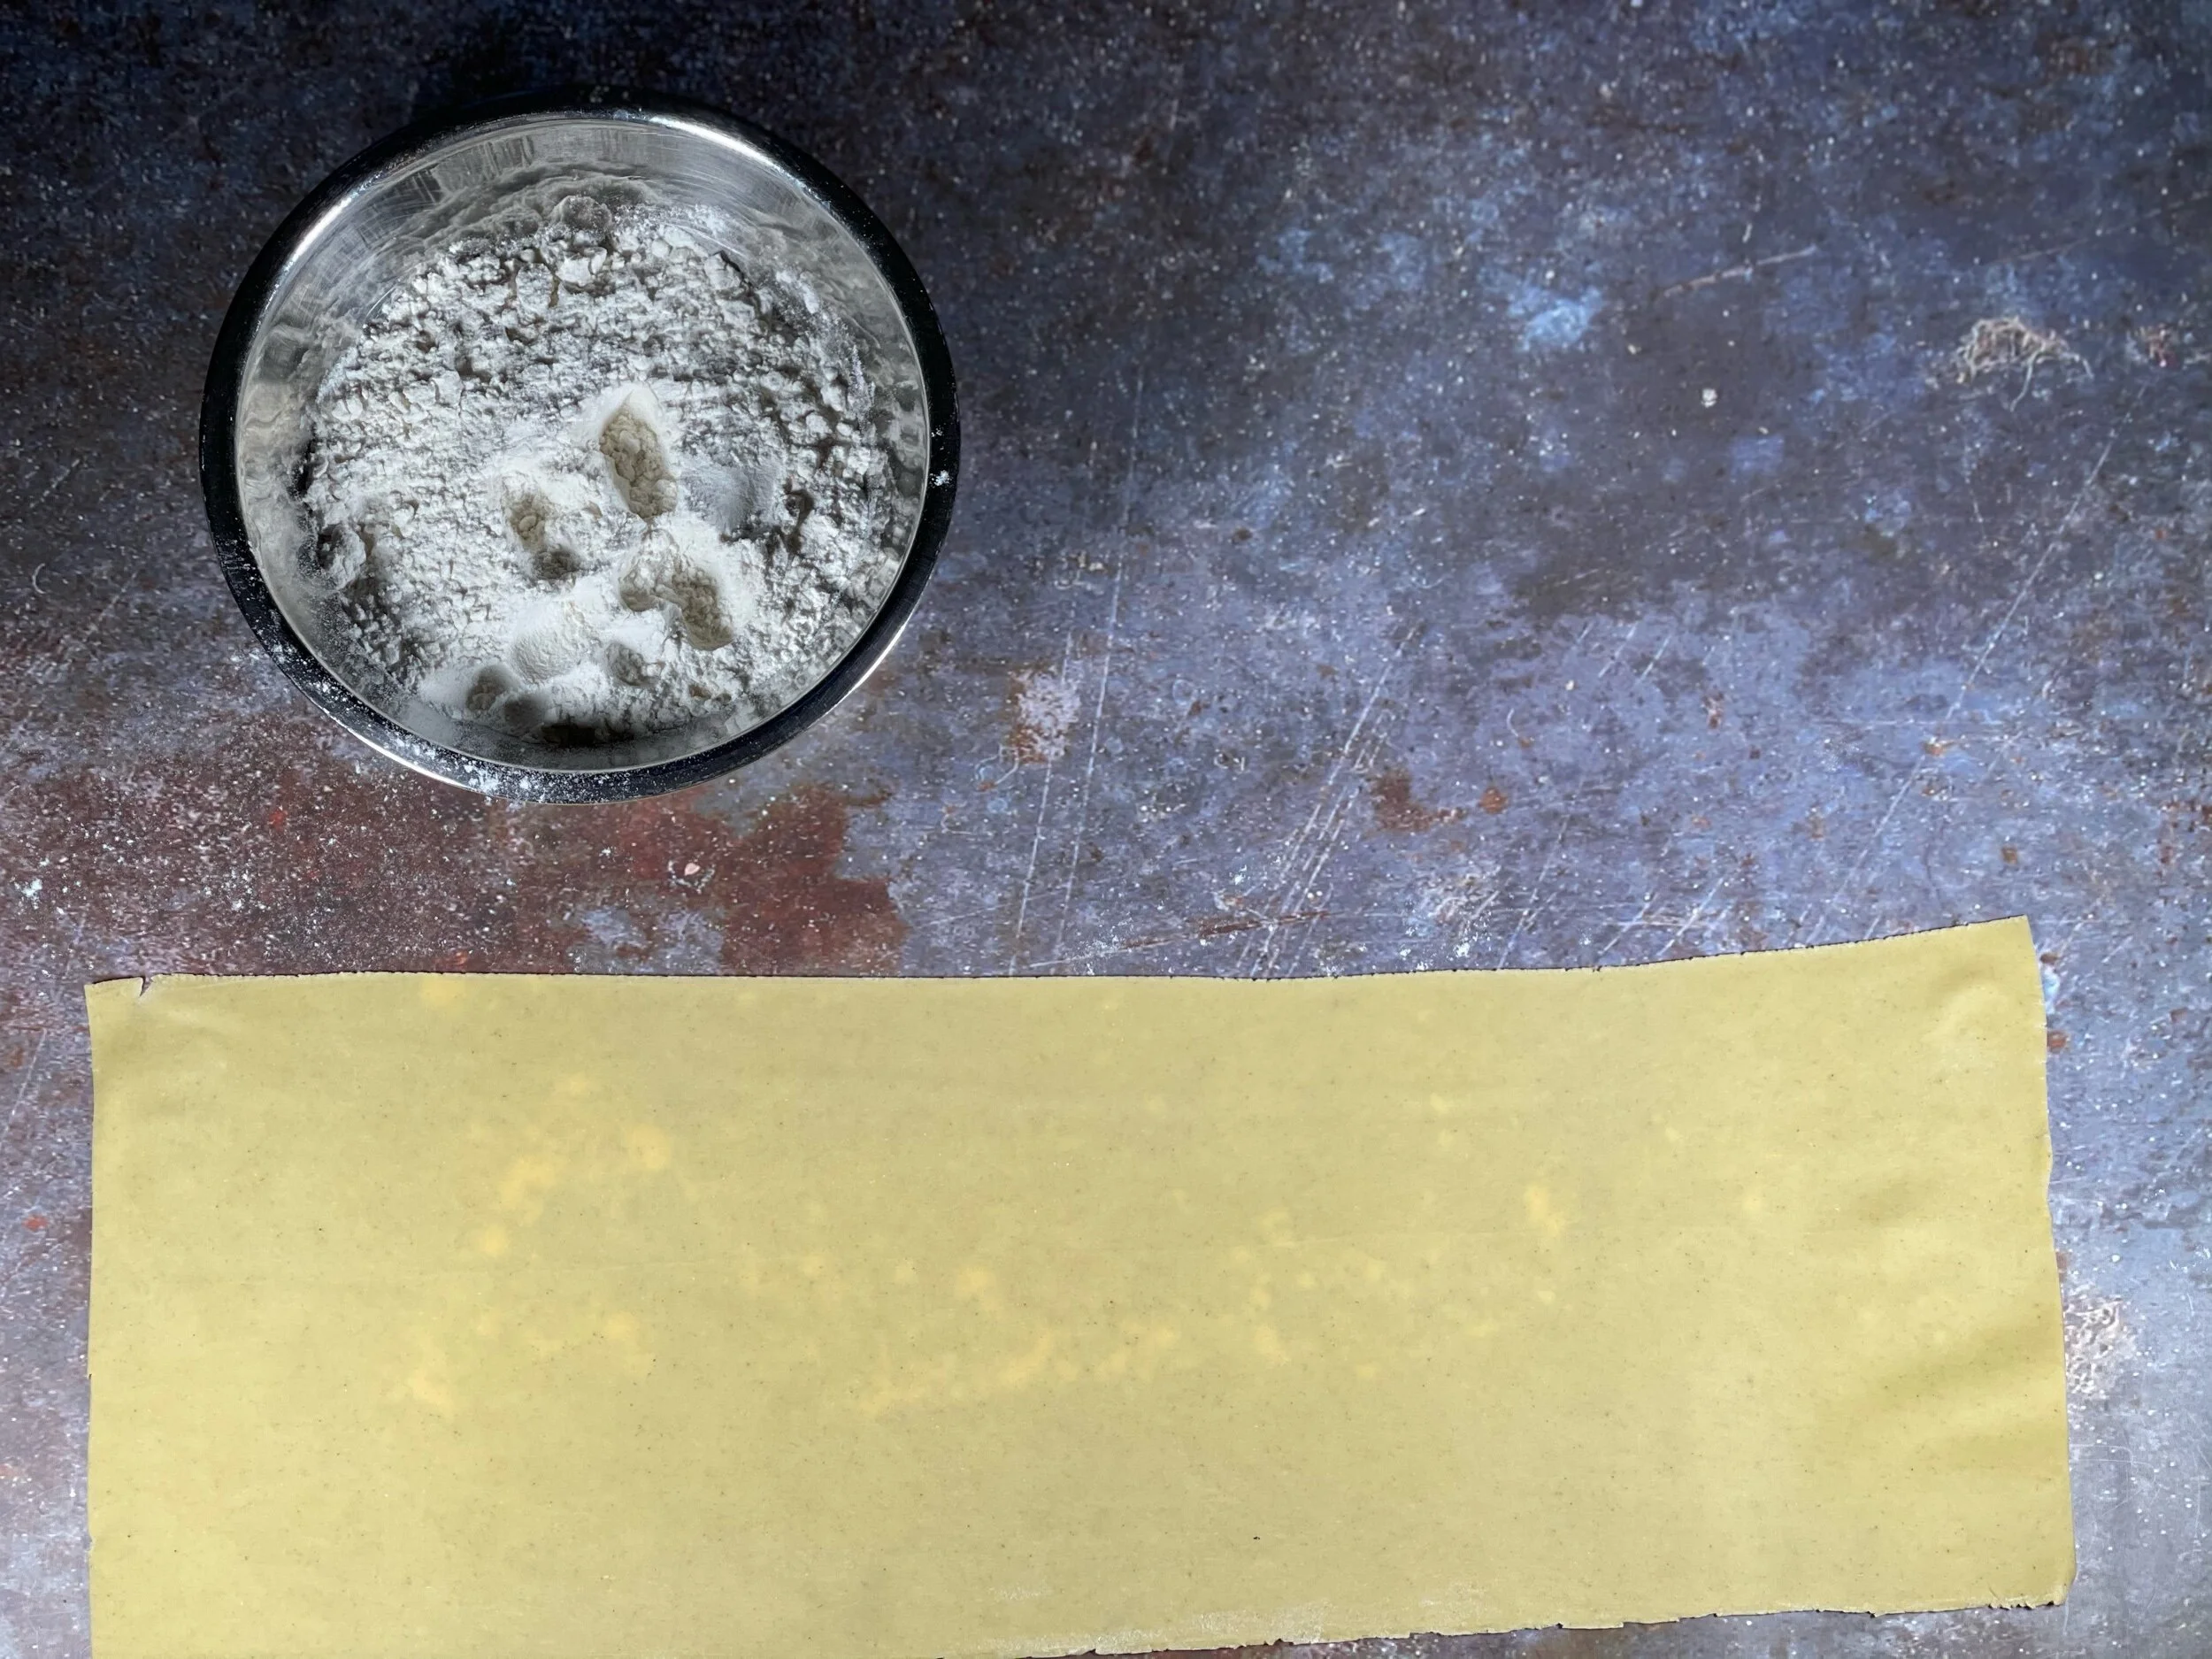
Run the dough through the rollers, reducing the thickness setting with each pass until it is thin and translucent.
Step4
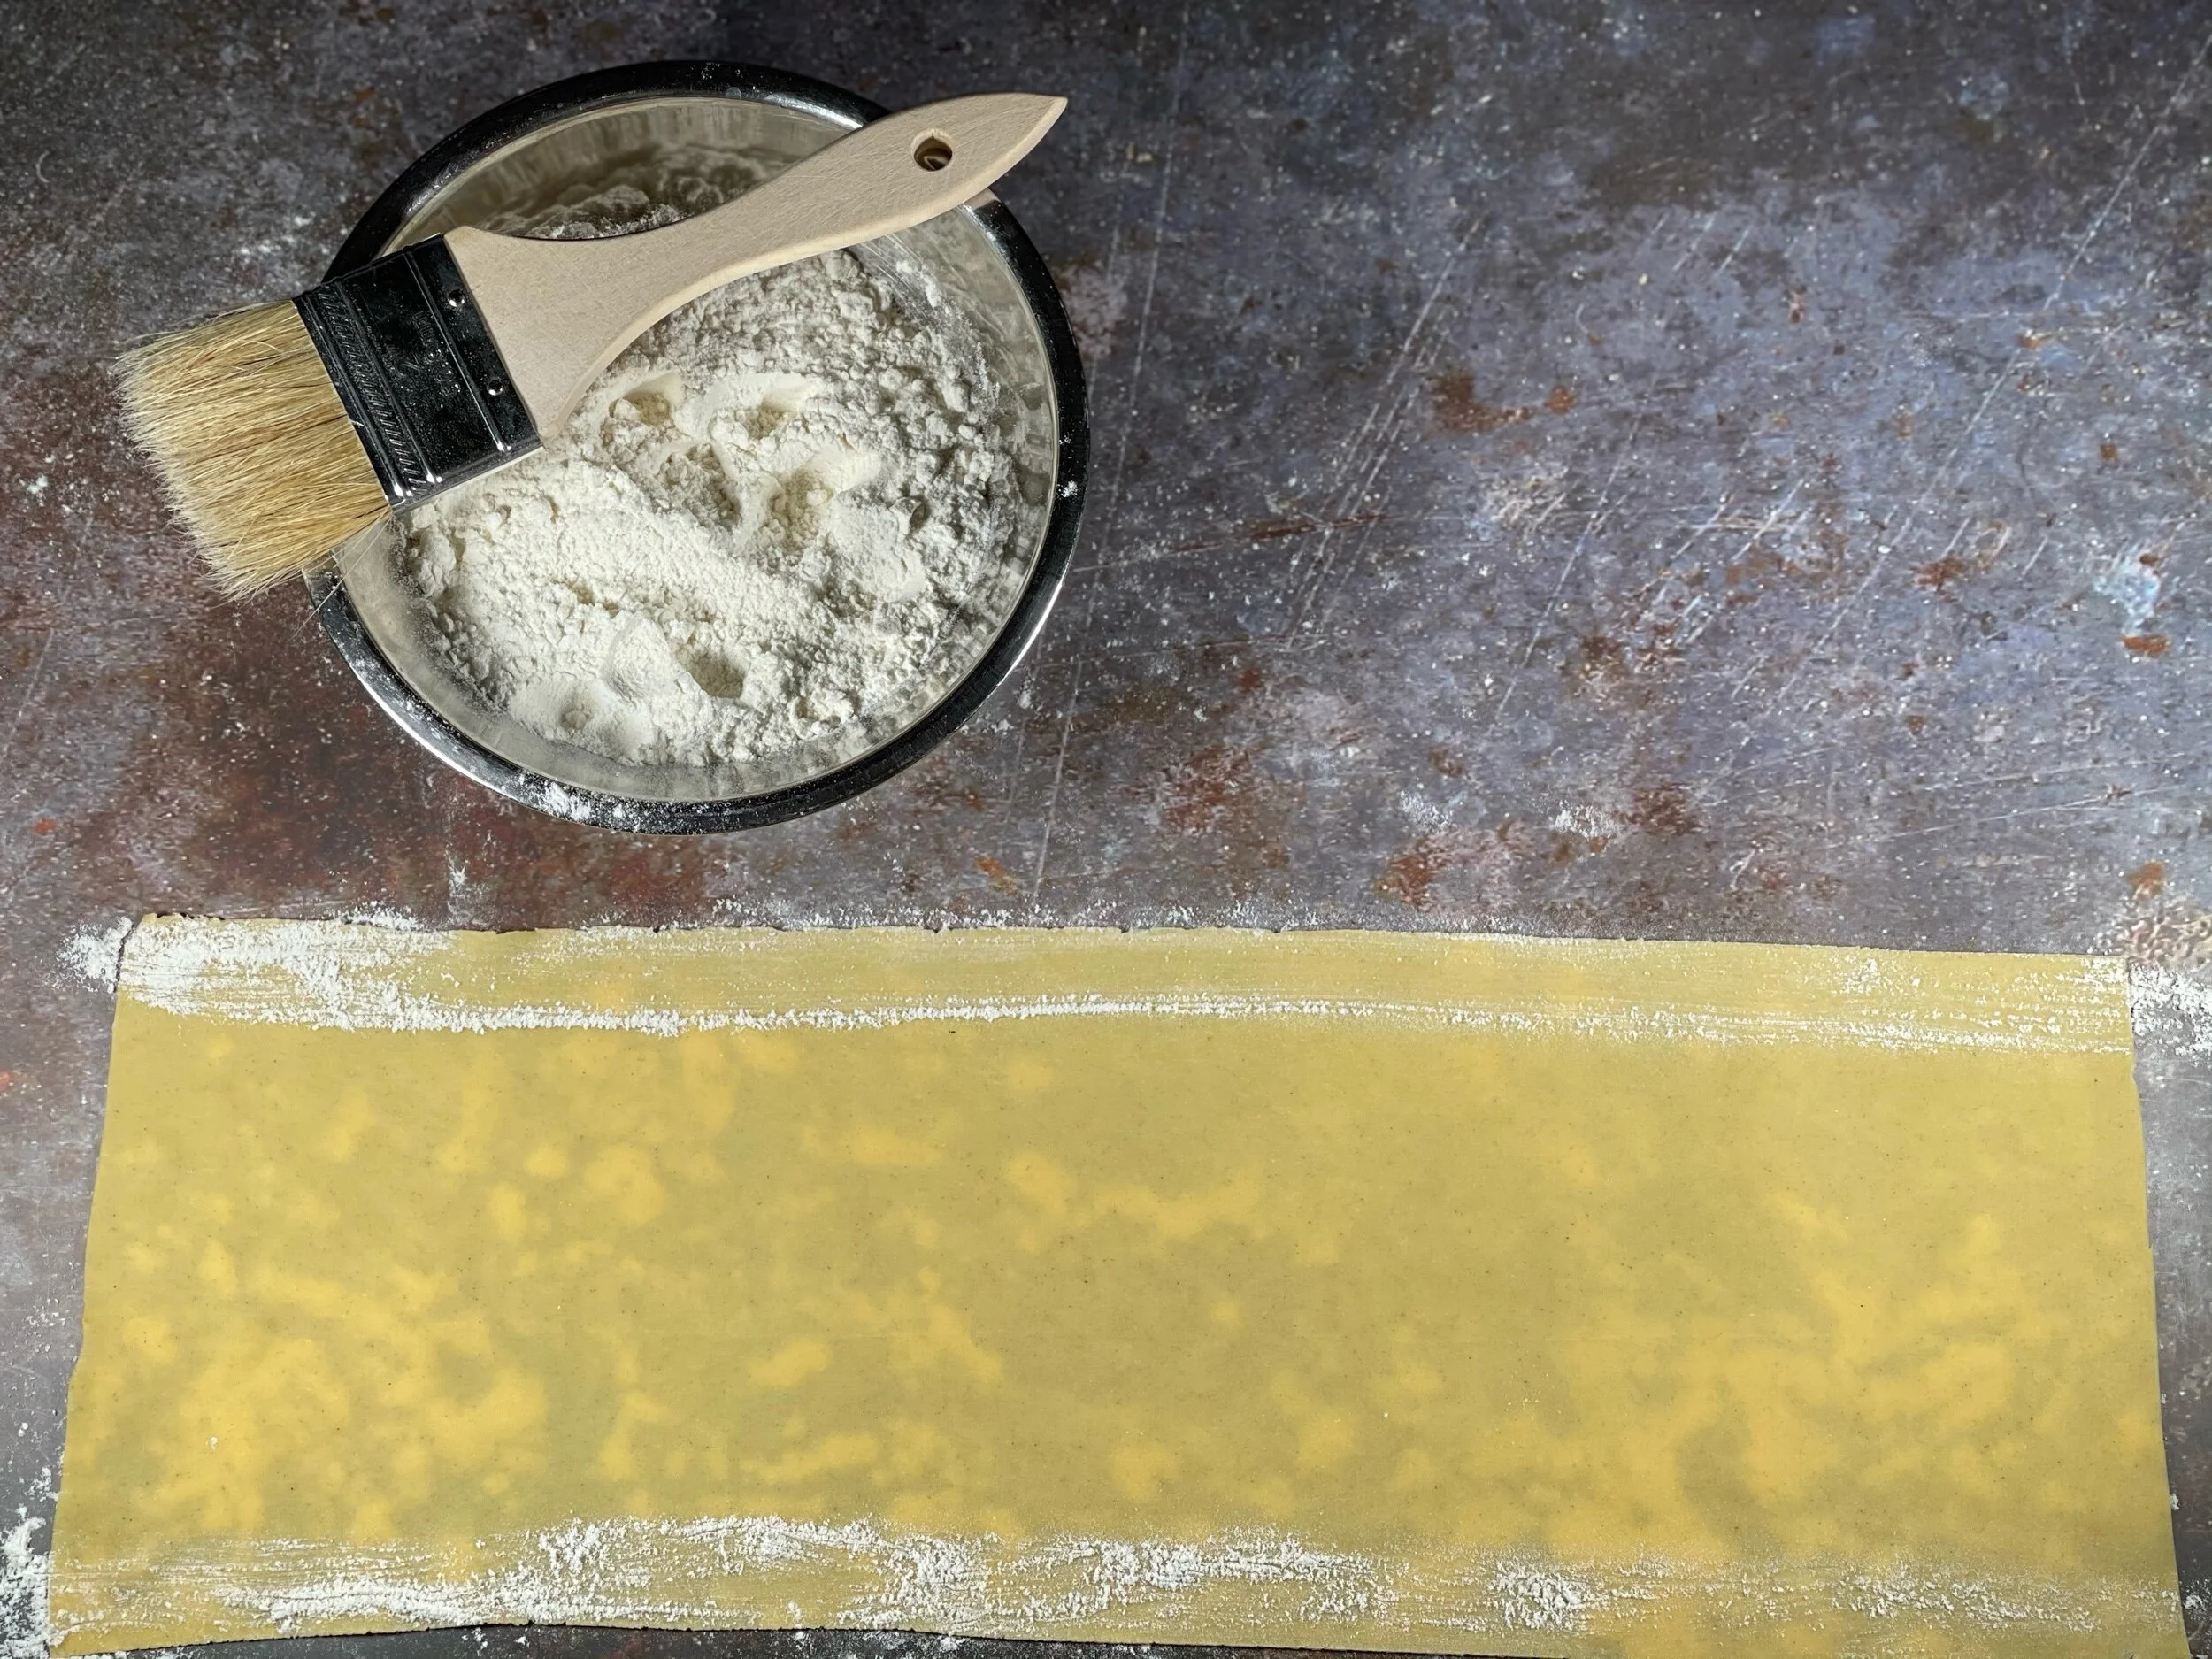
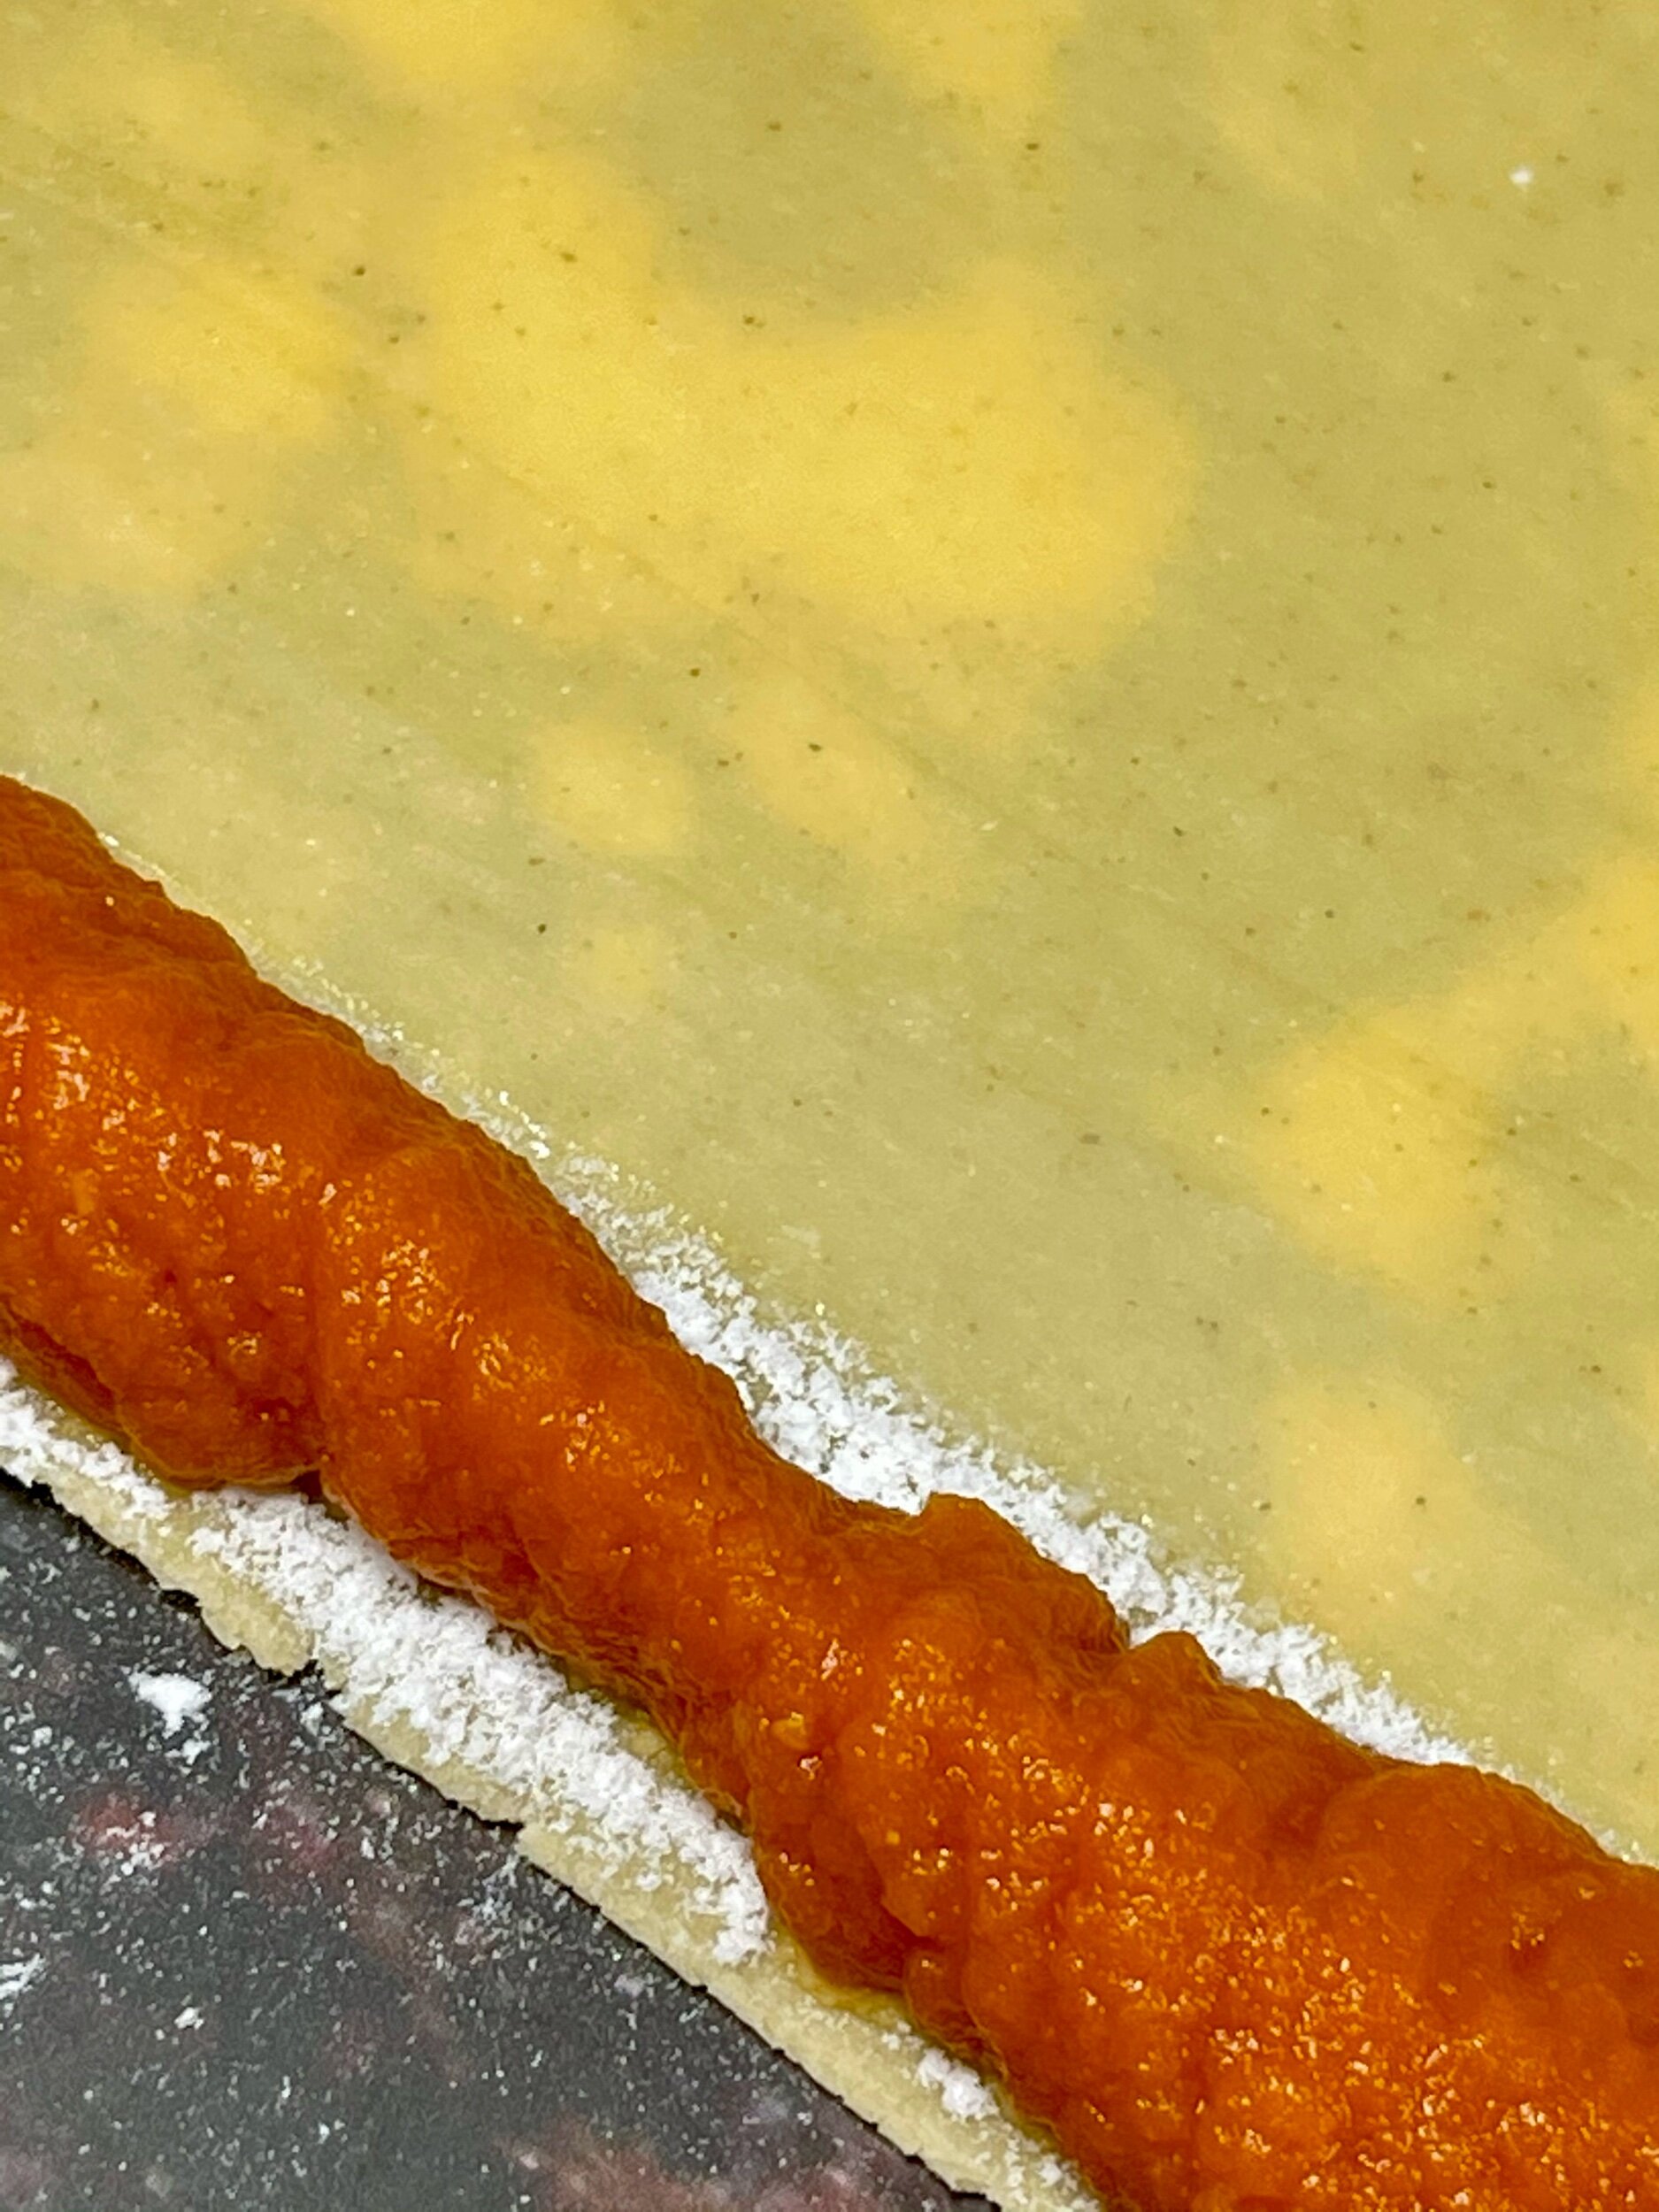
Run a 1/2” wide line of flour down the length of each edge.
Step 5

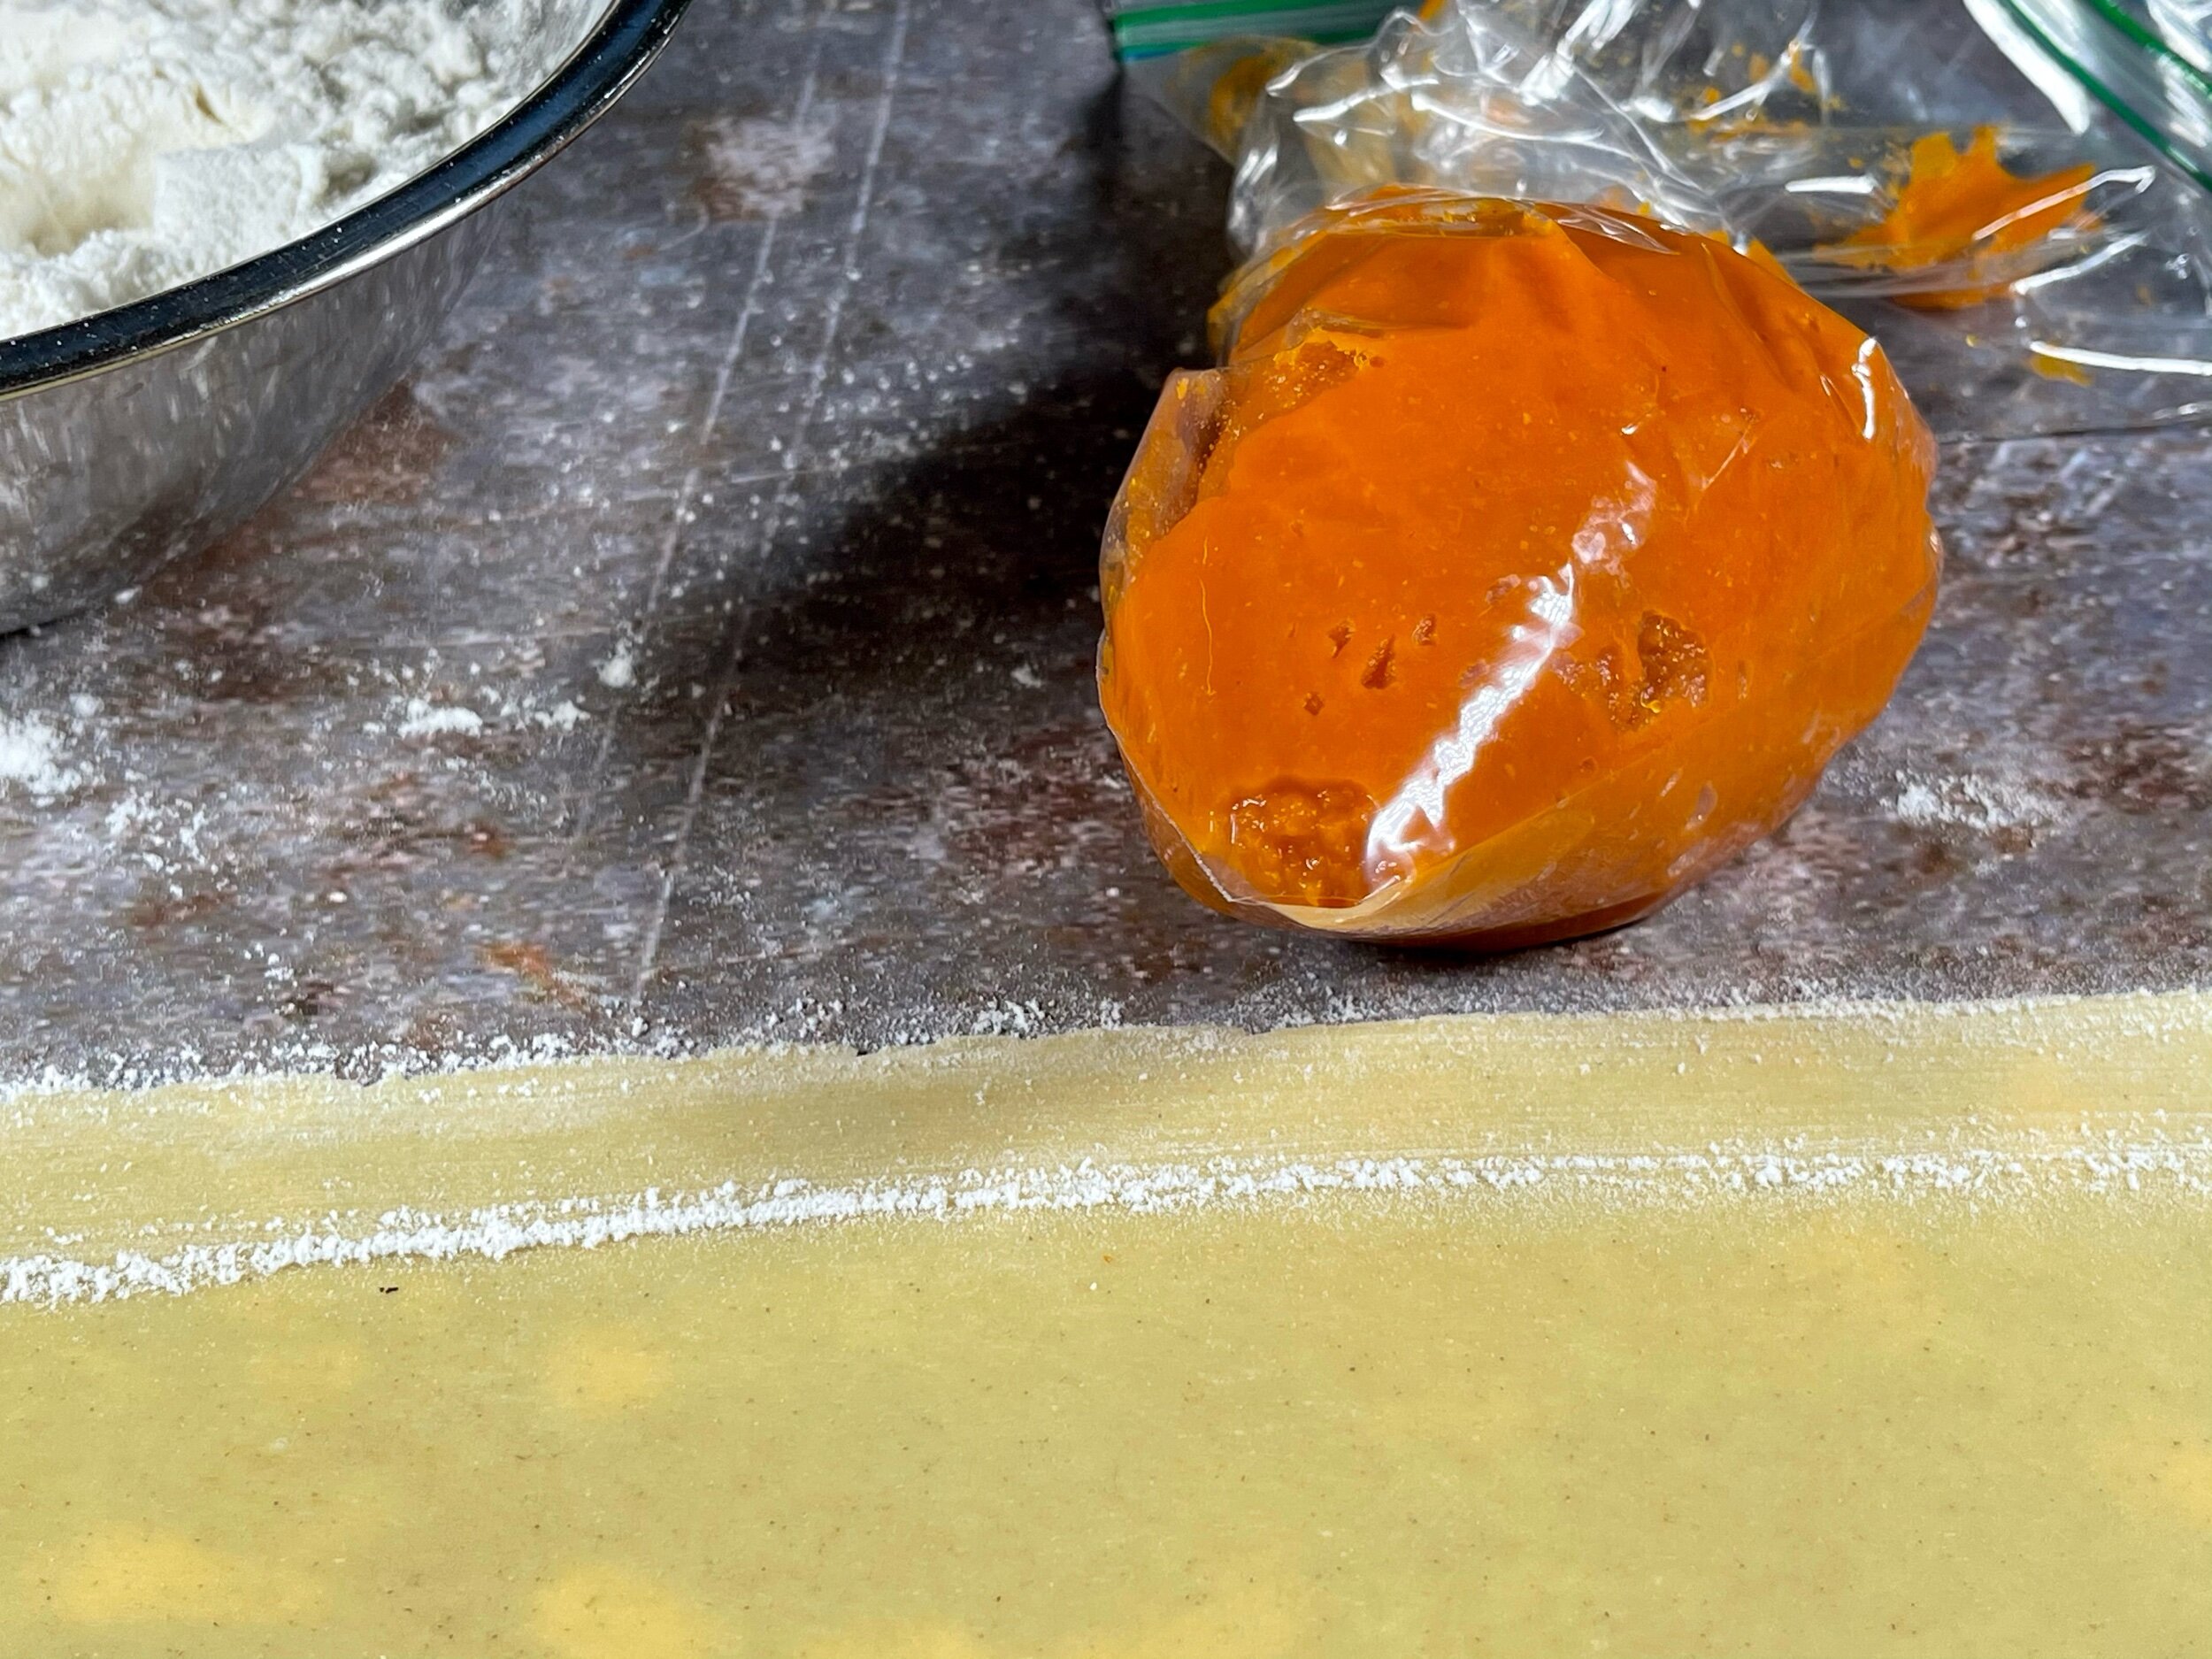
Cut the corner of a ziplock bag to create a 1/4” diameter opening.
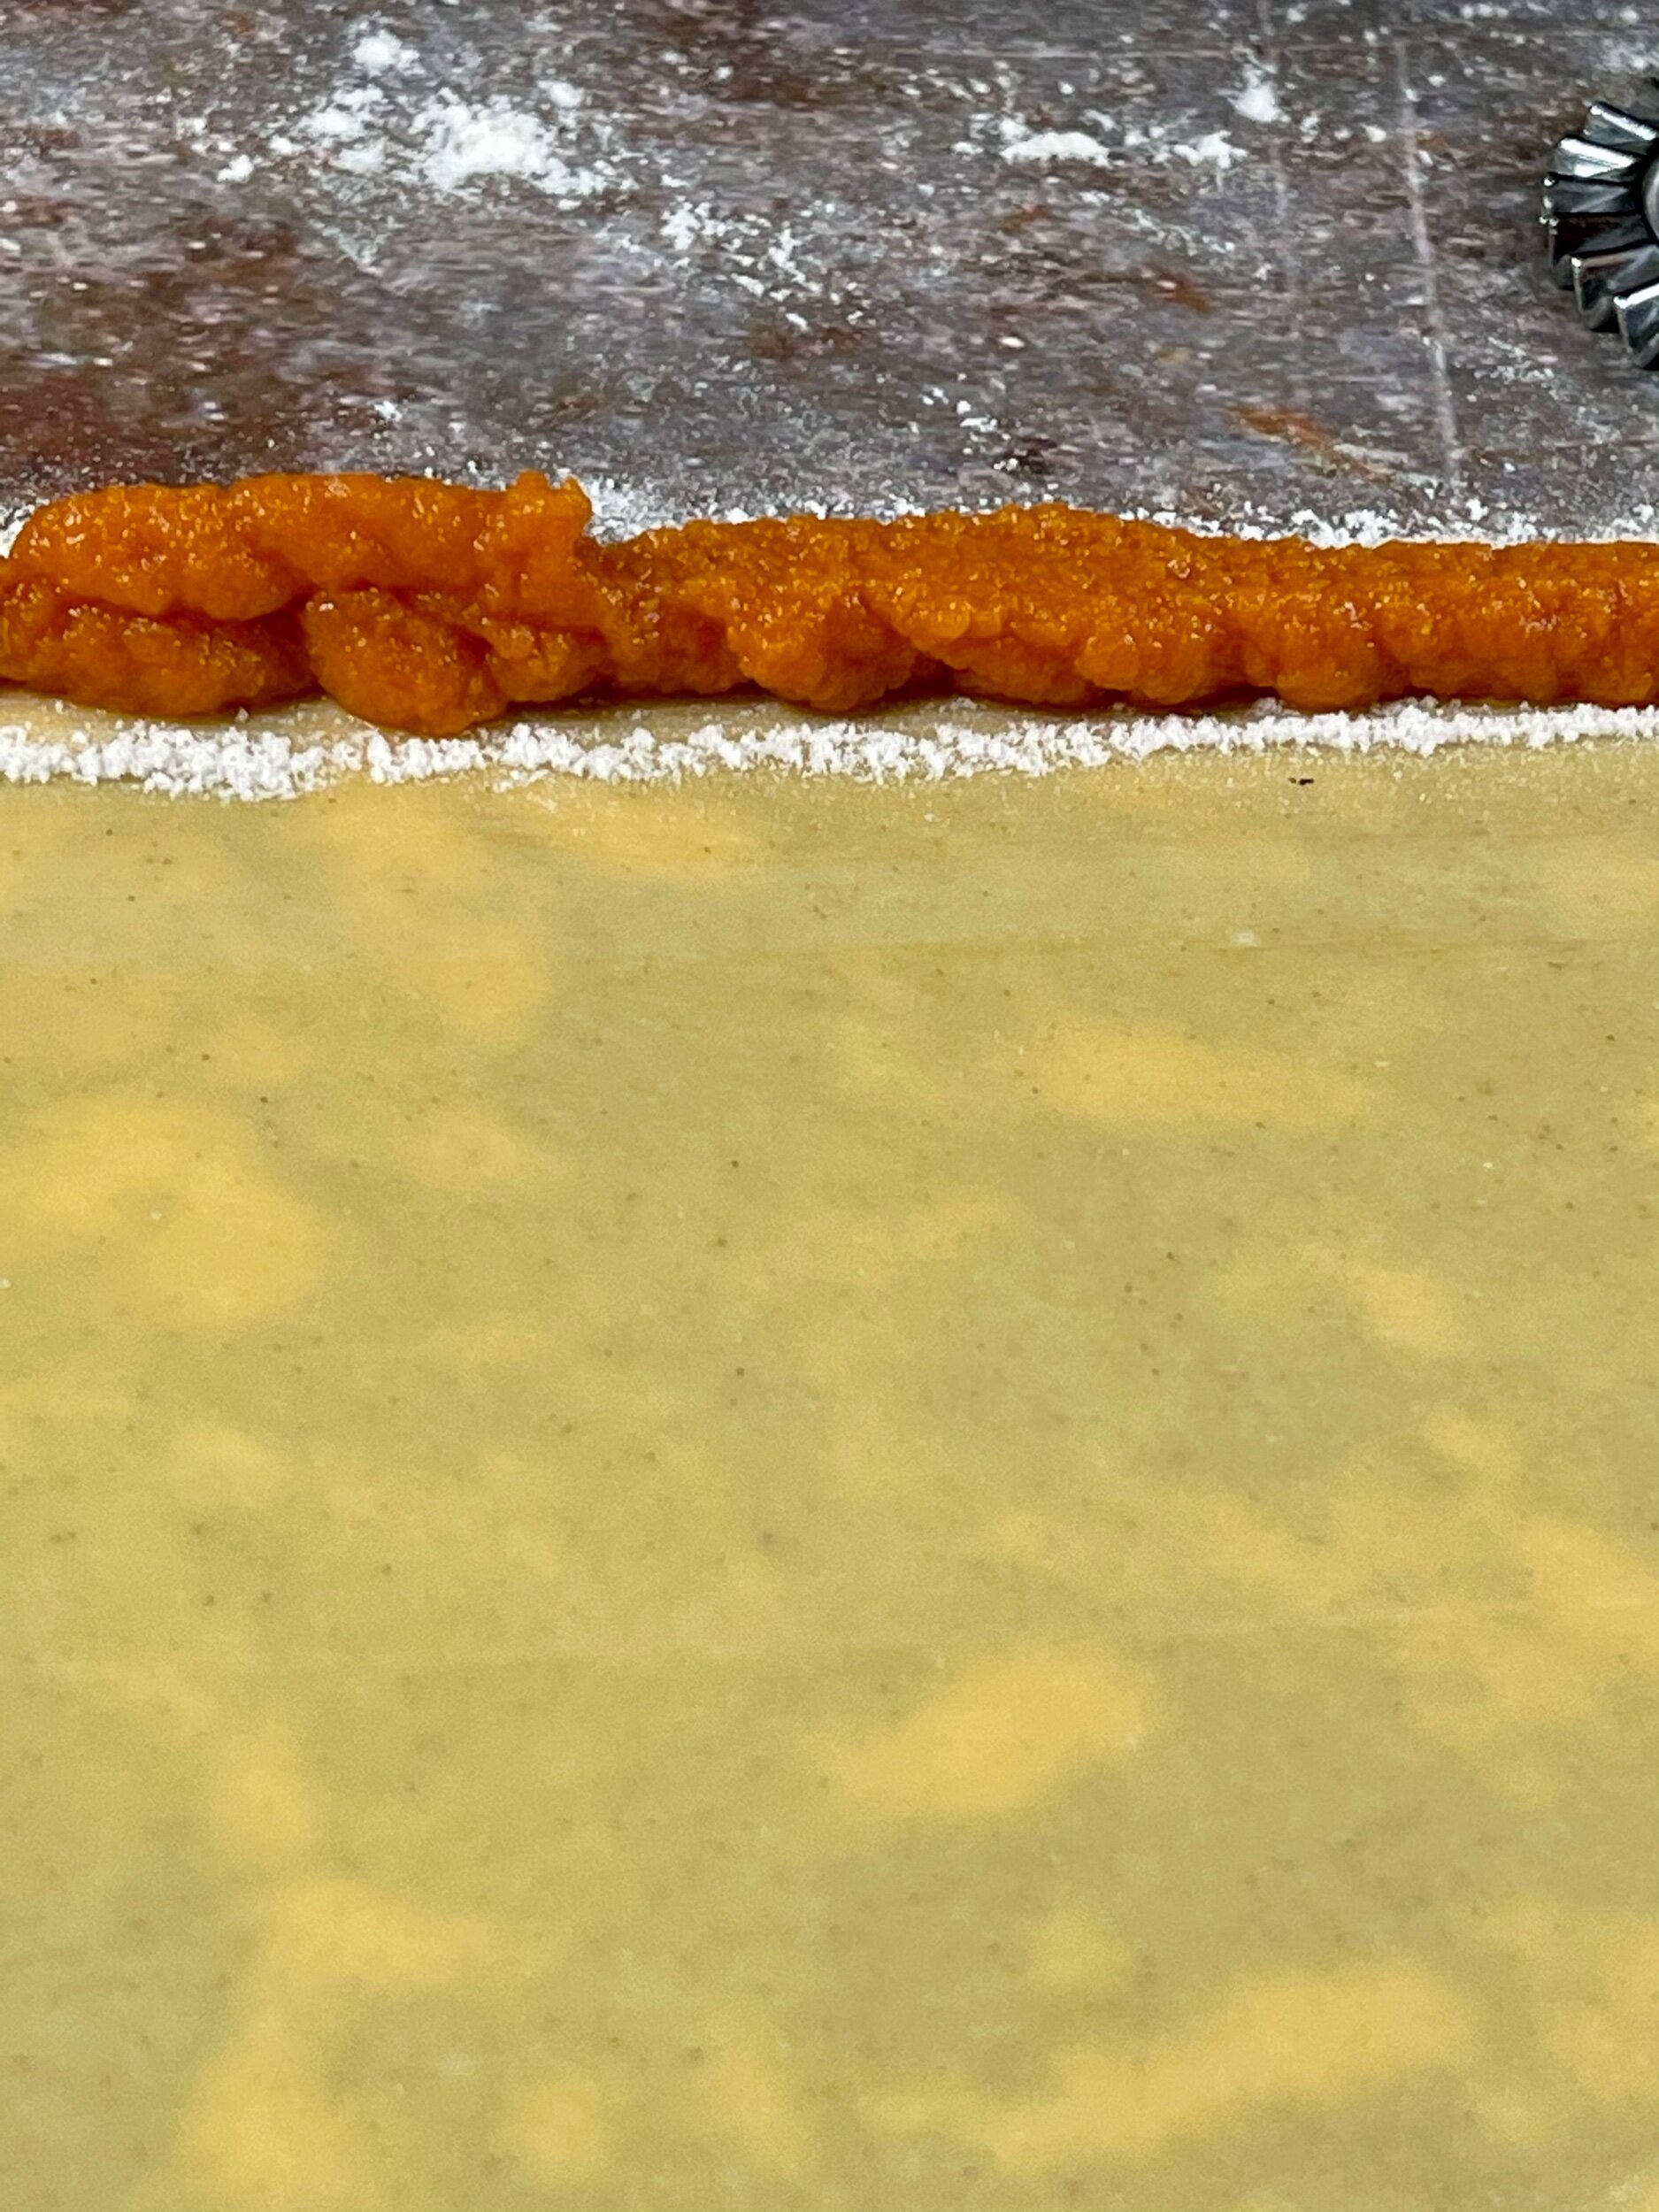
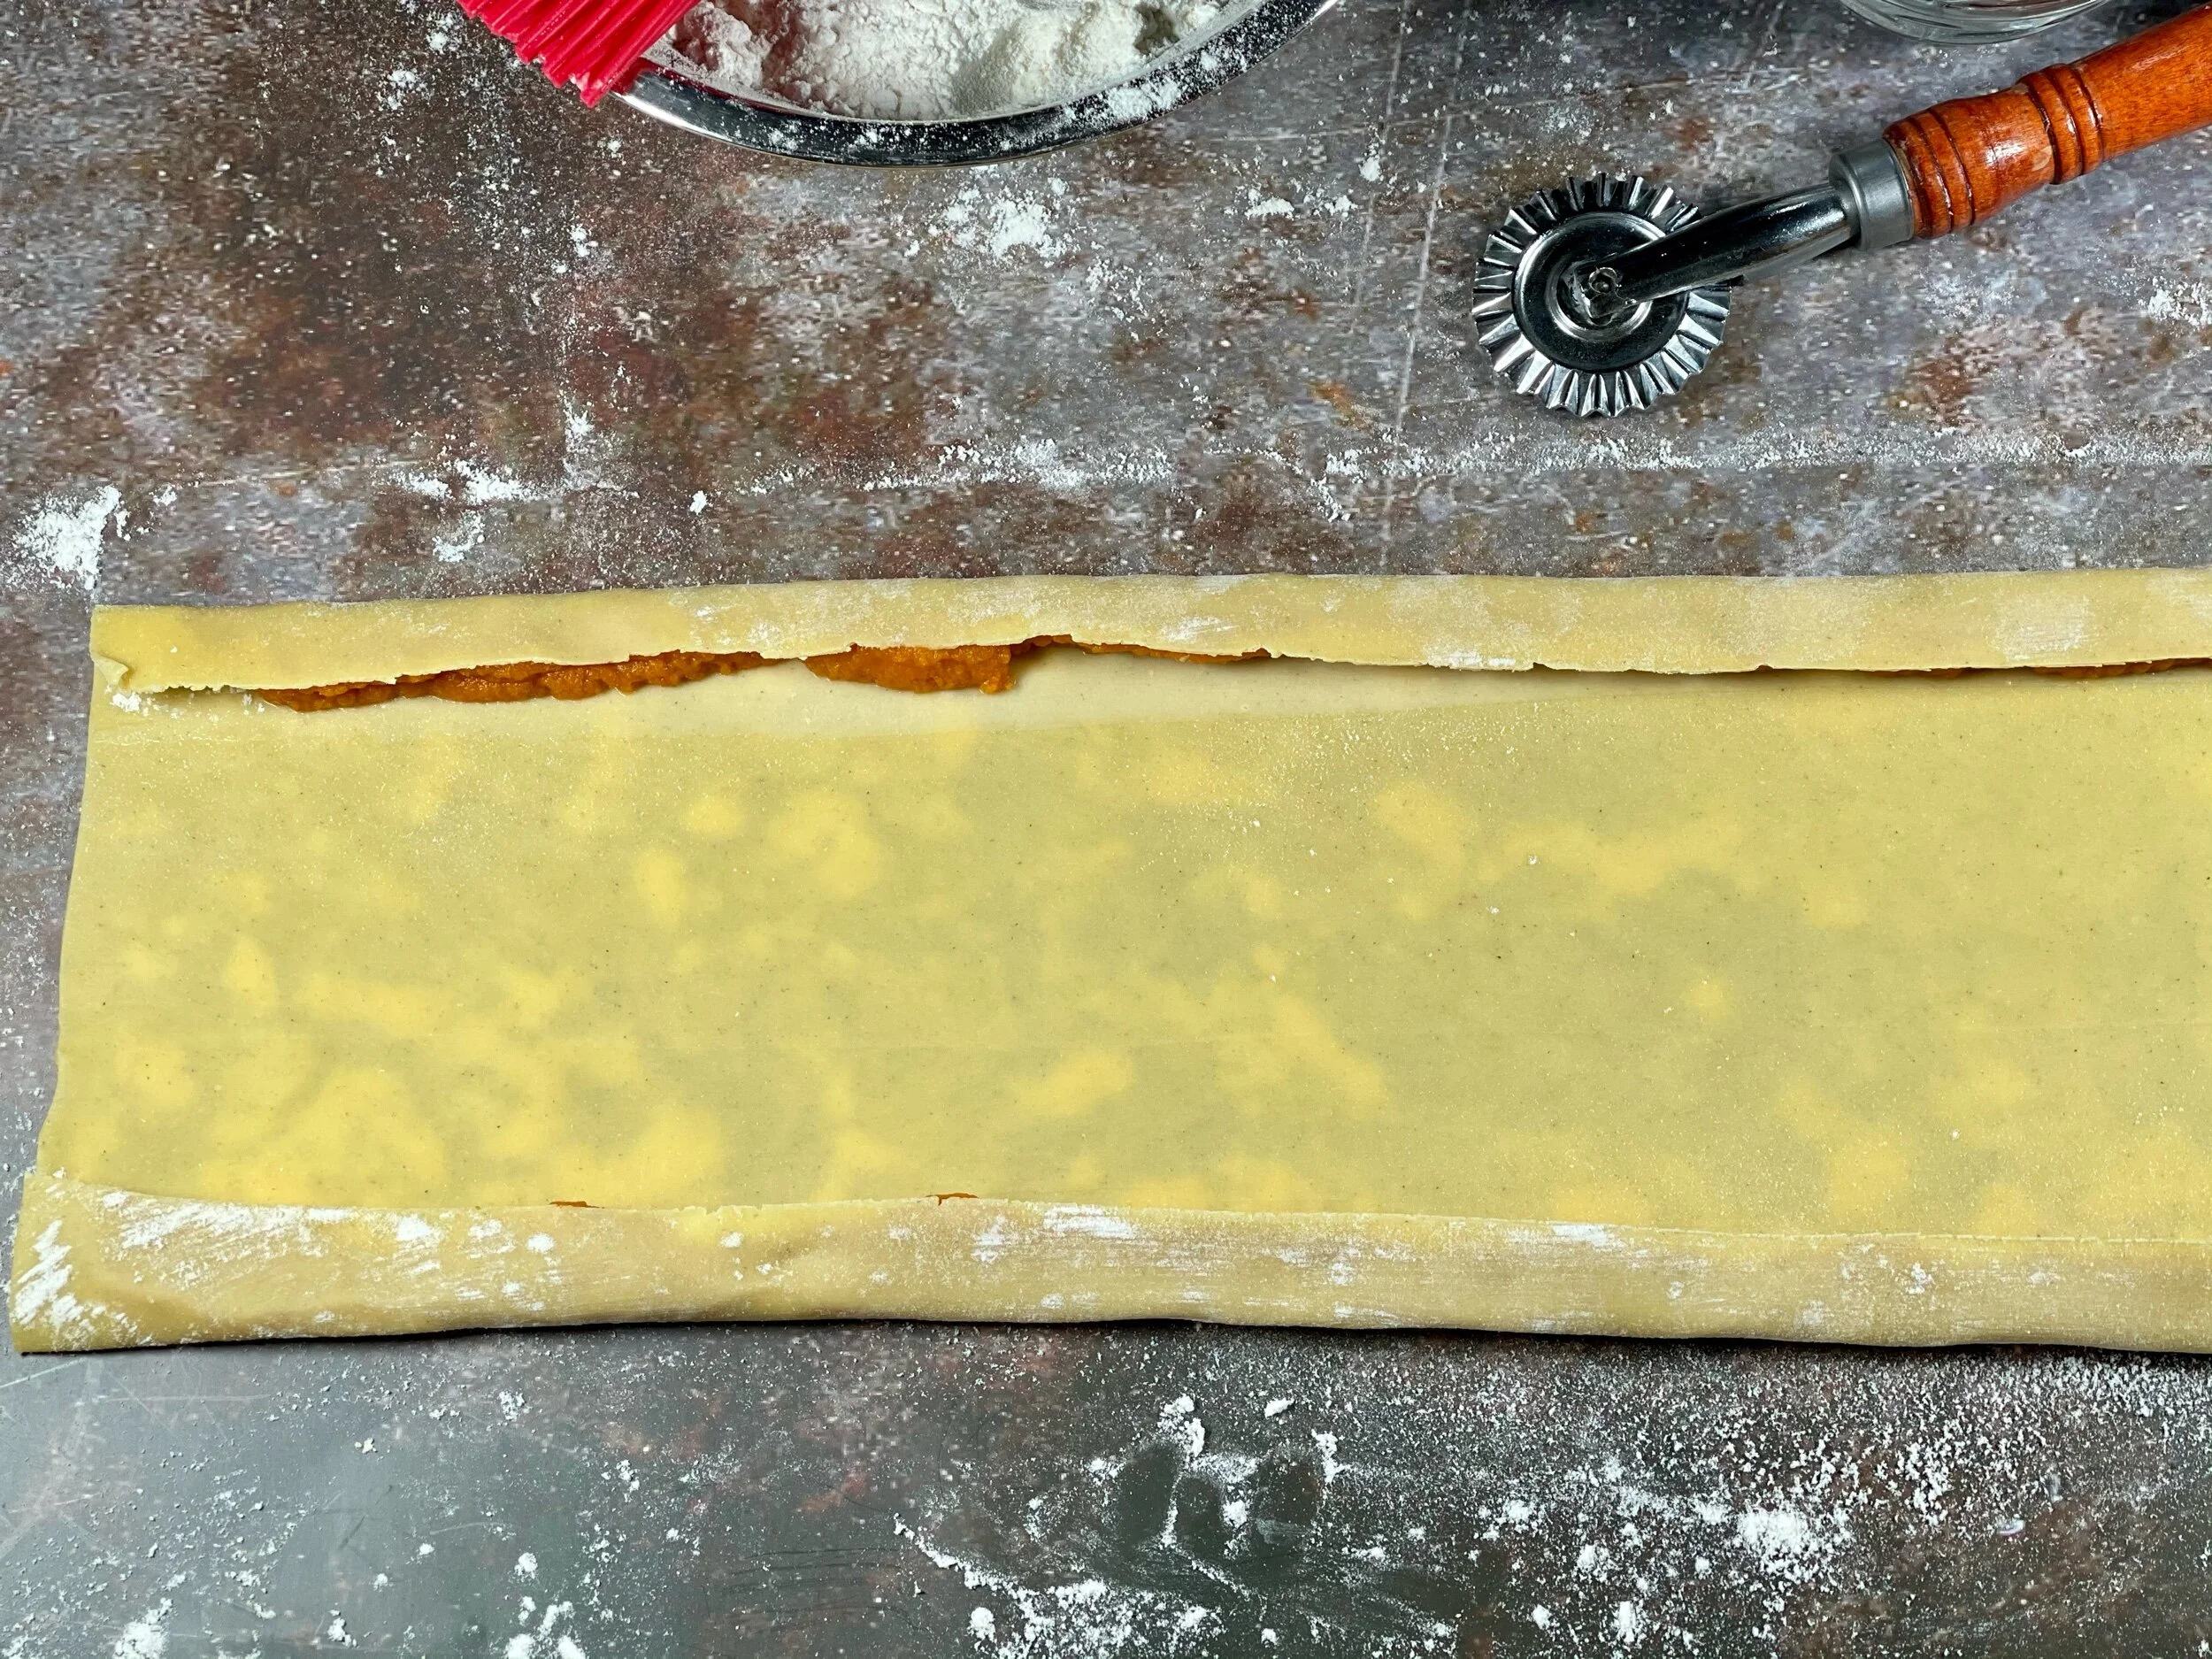
Step 6
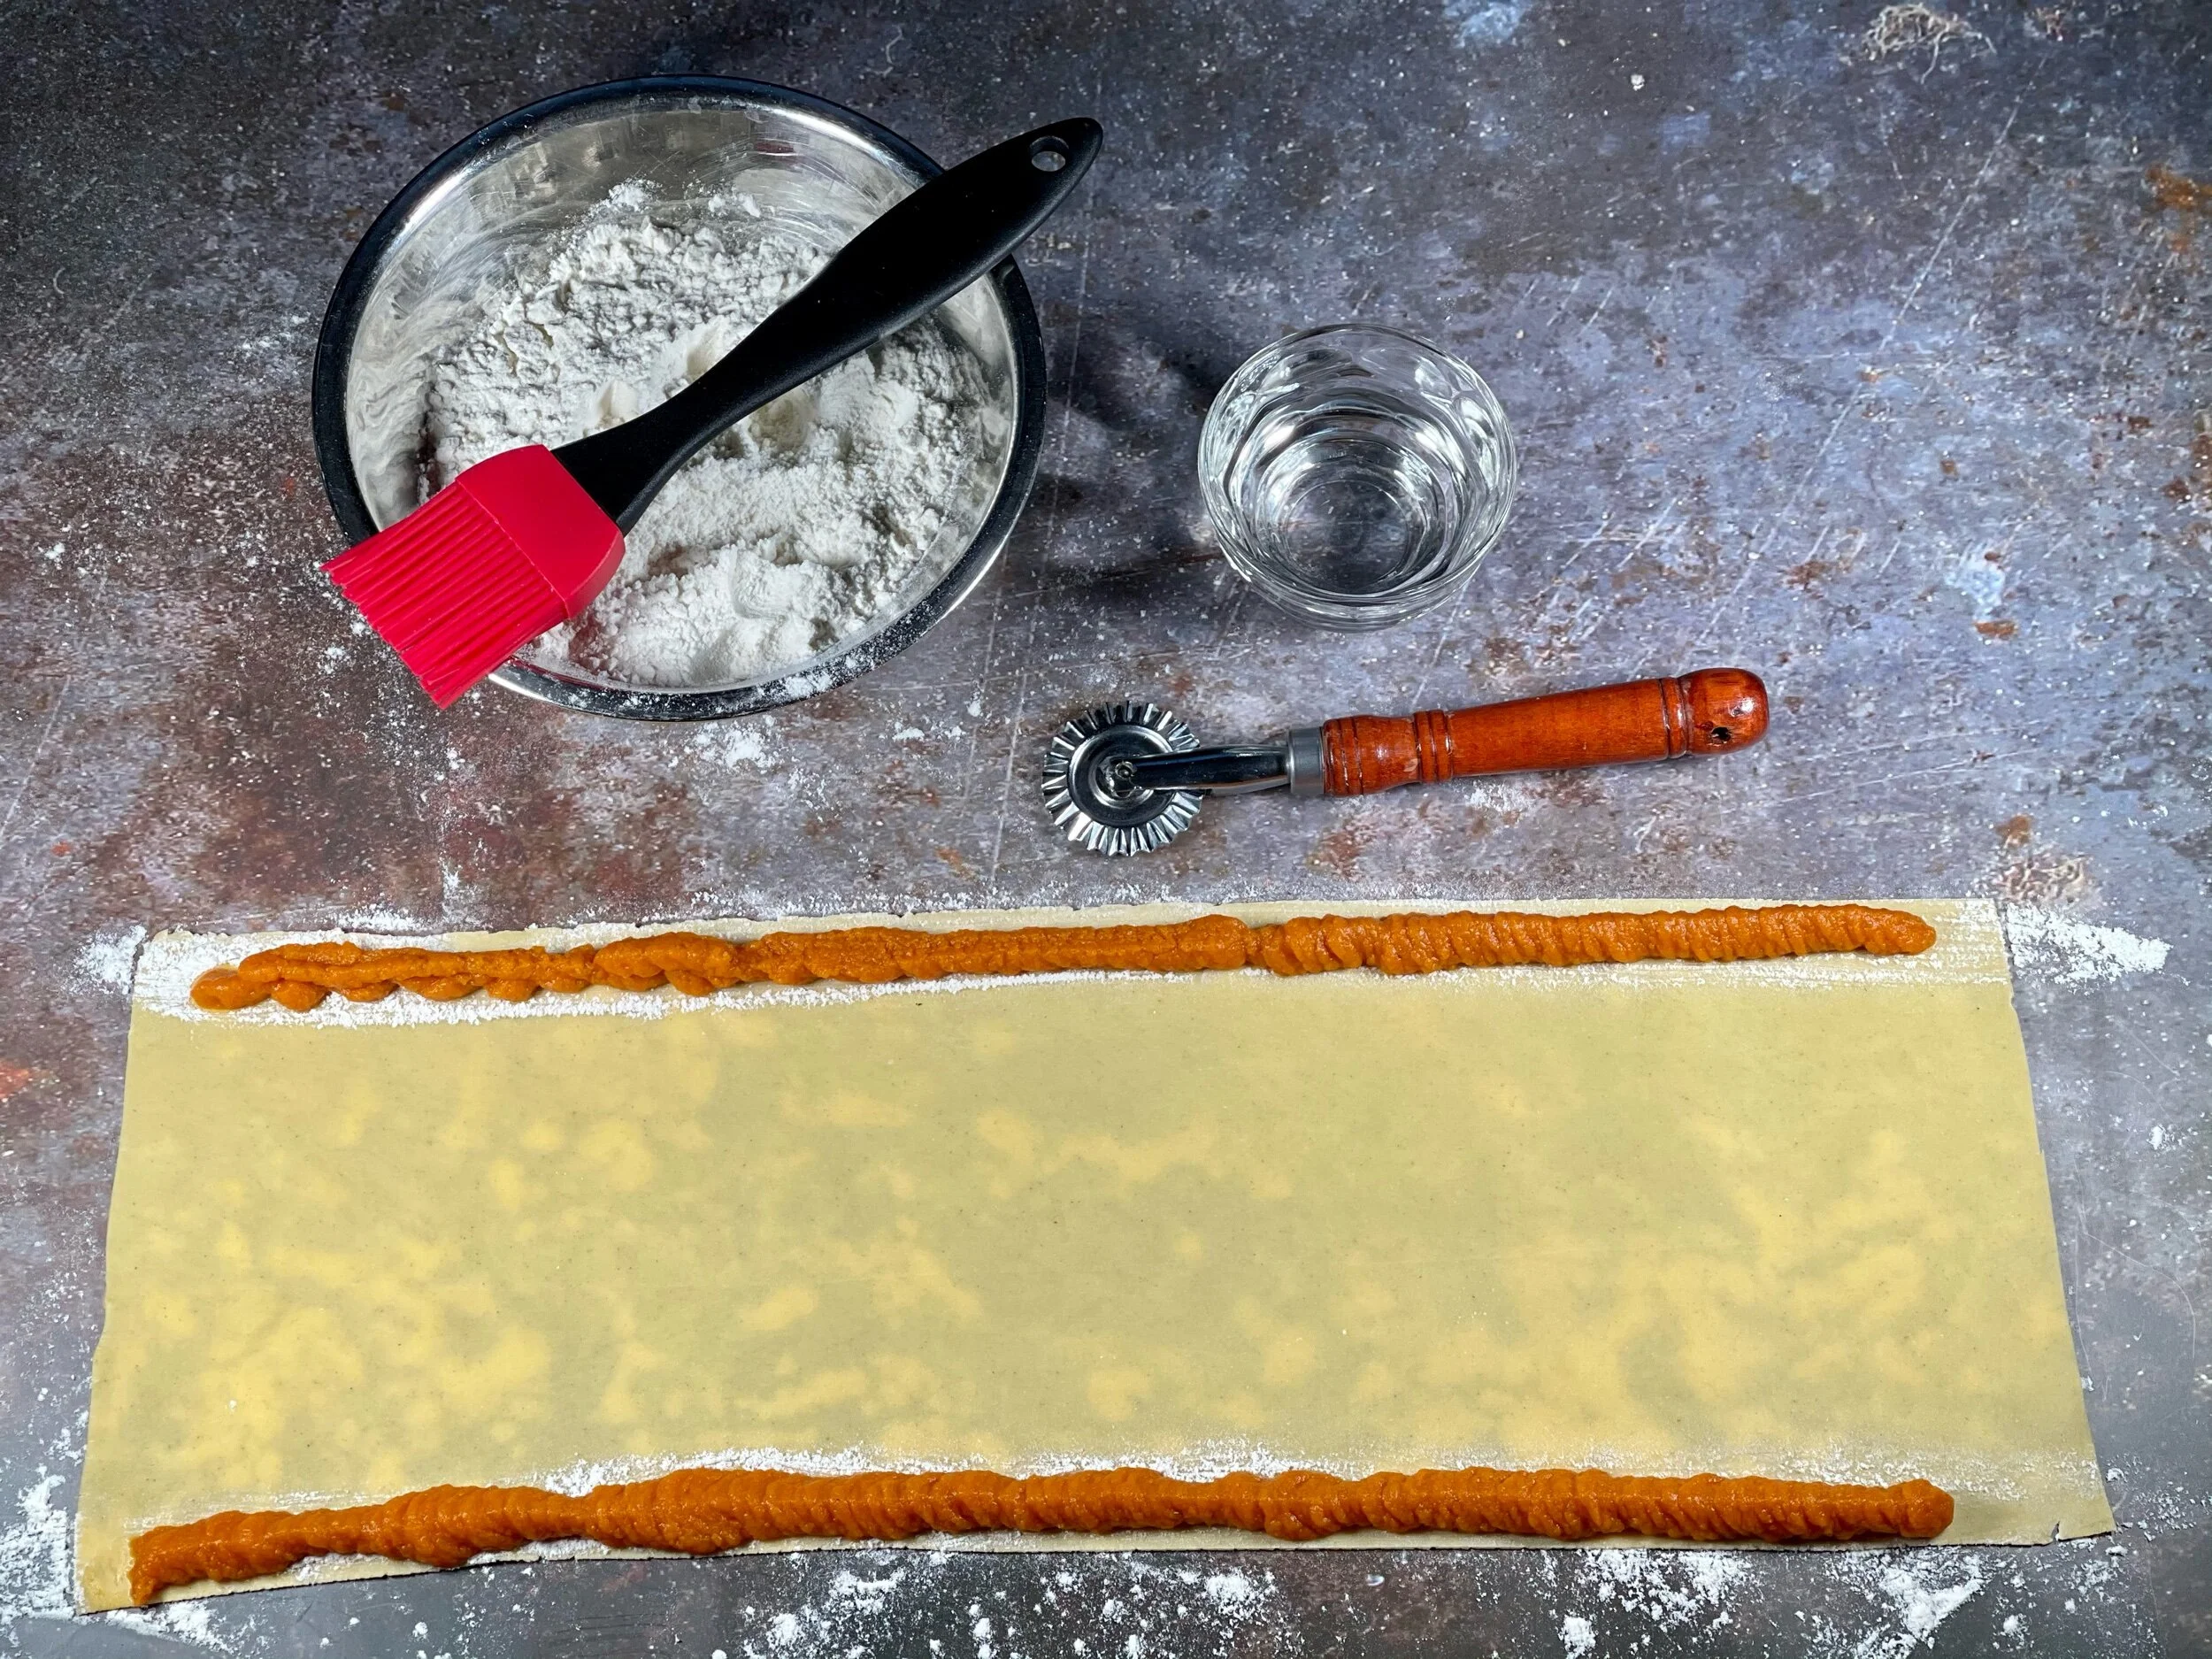
Pipe the filling on top of the flour strip, starting 1/4” from the left edge and ending atleast 1/2” from the right edge.
Step 7
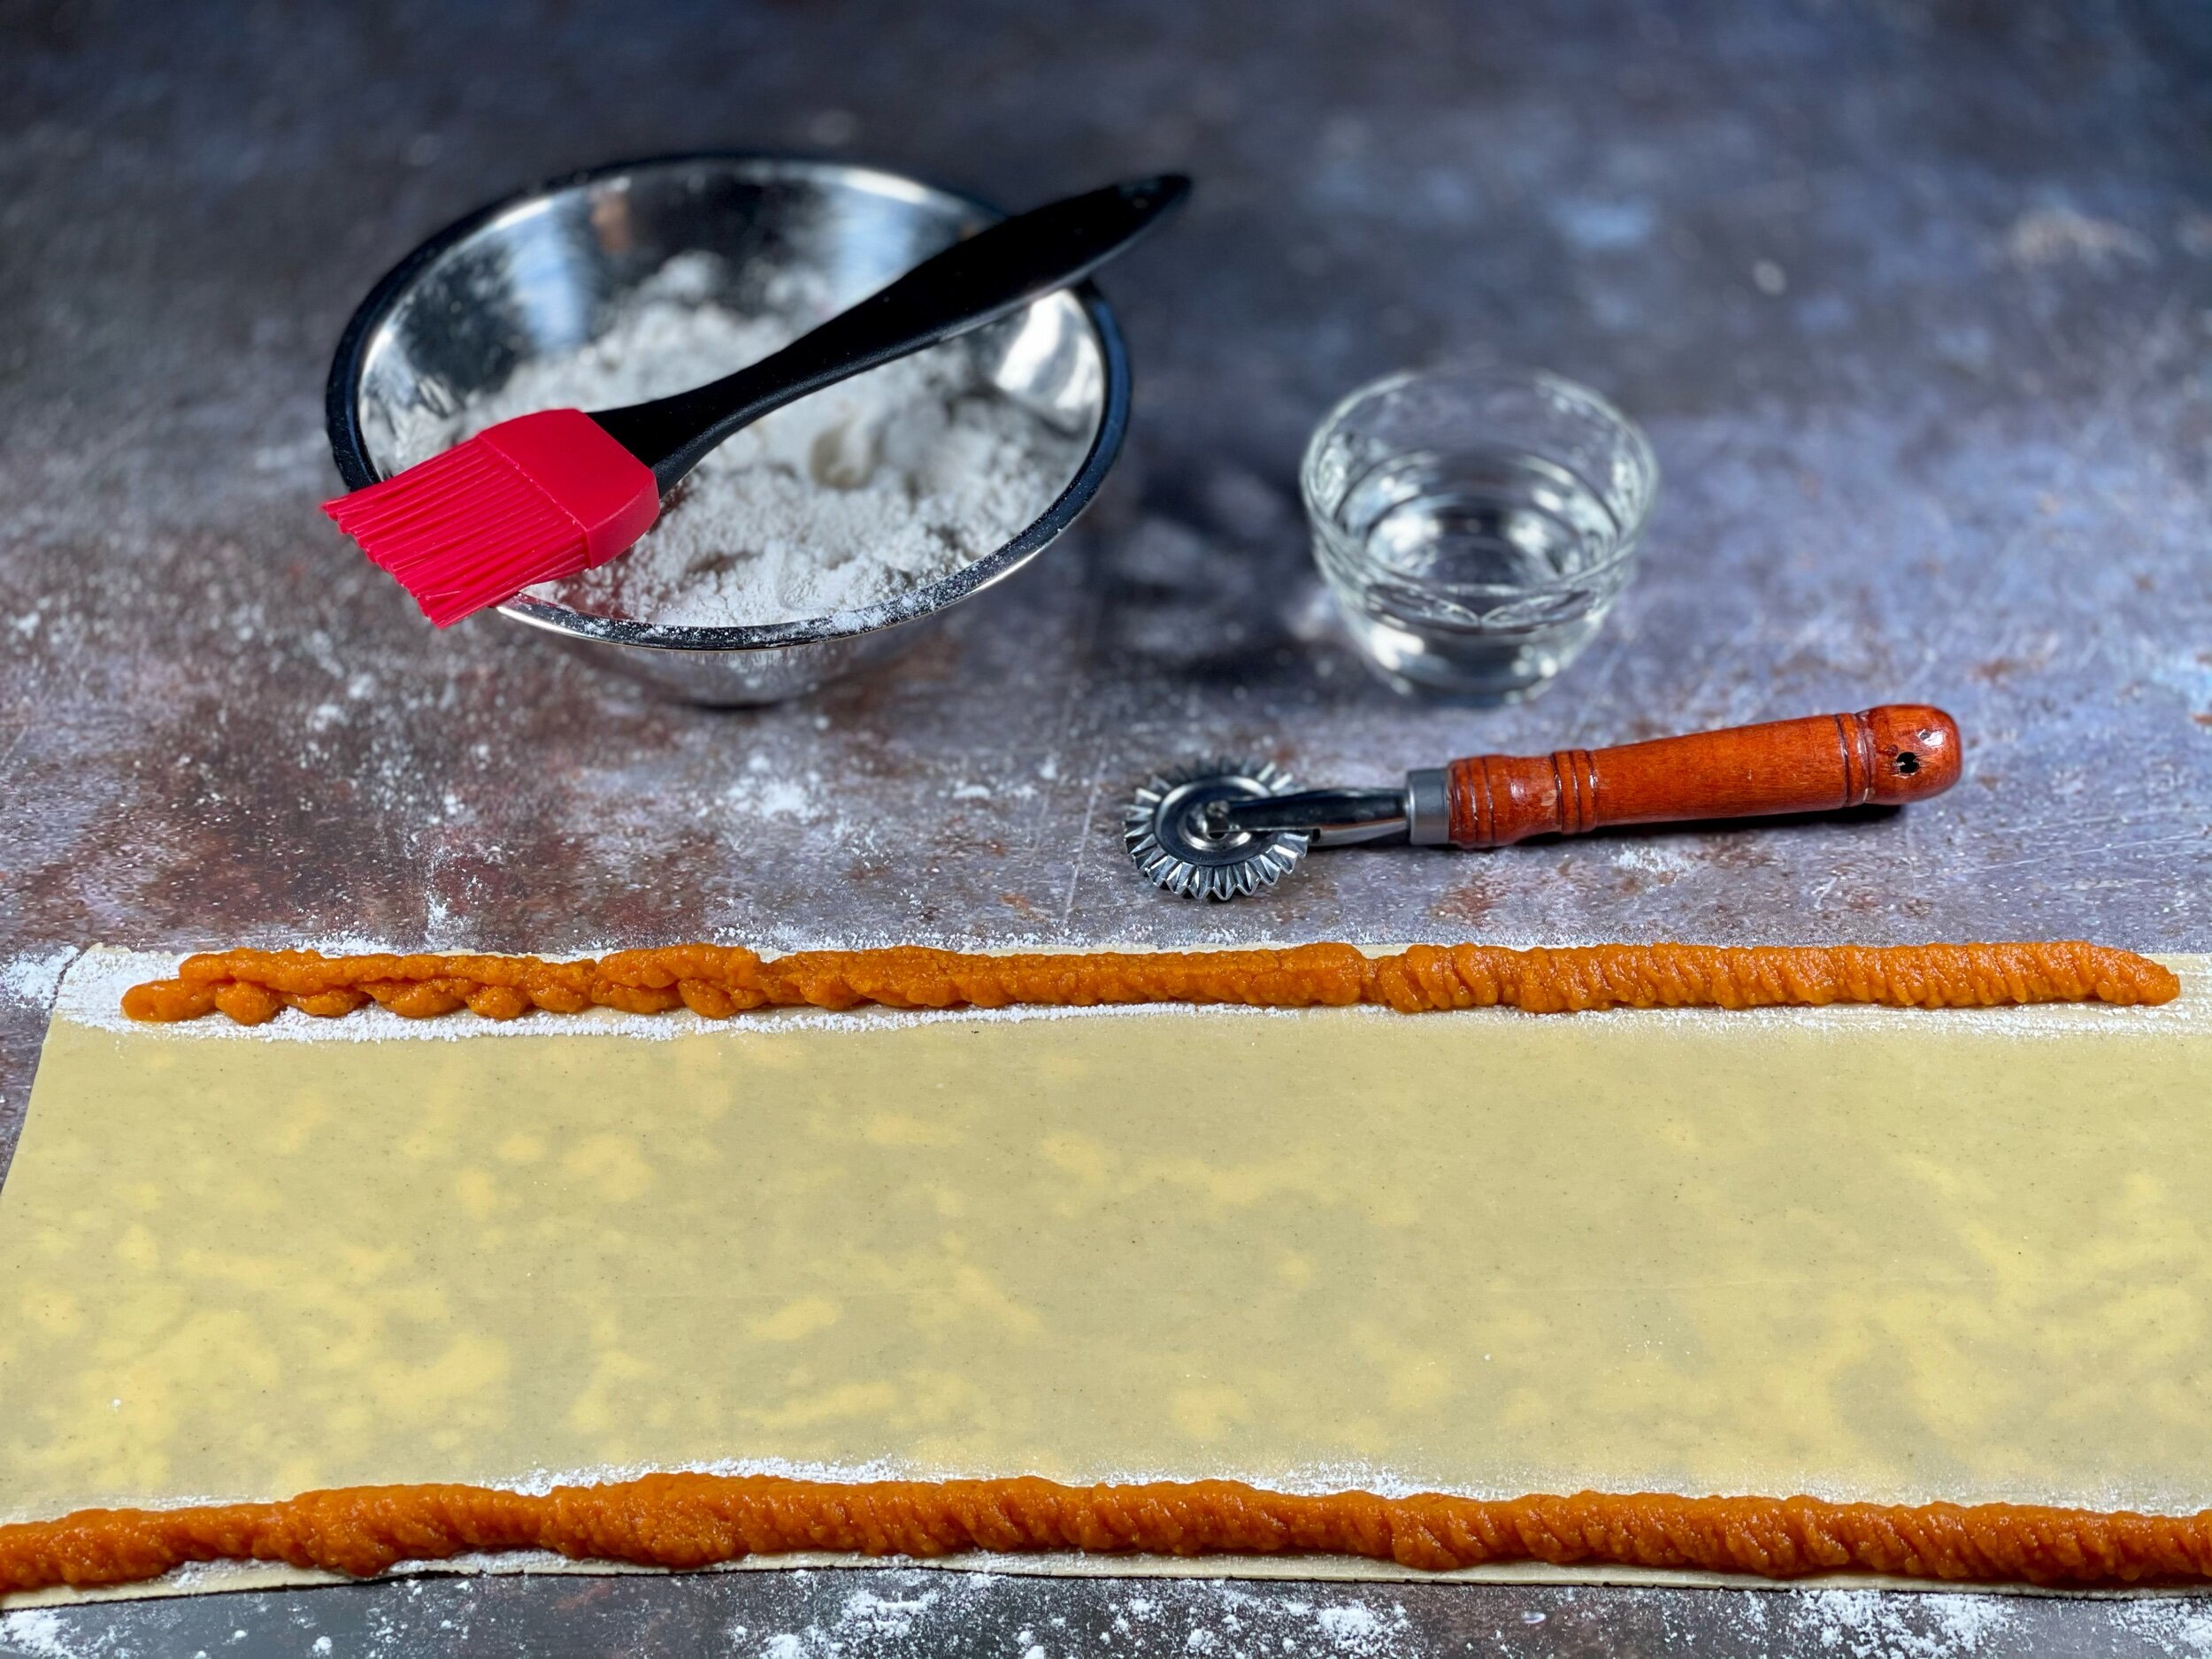
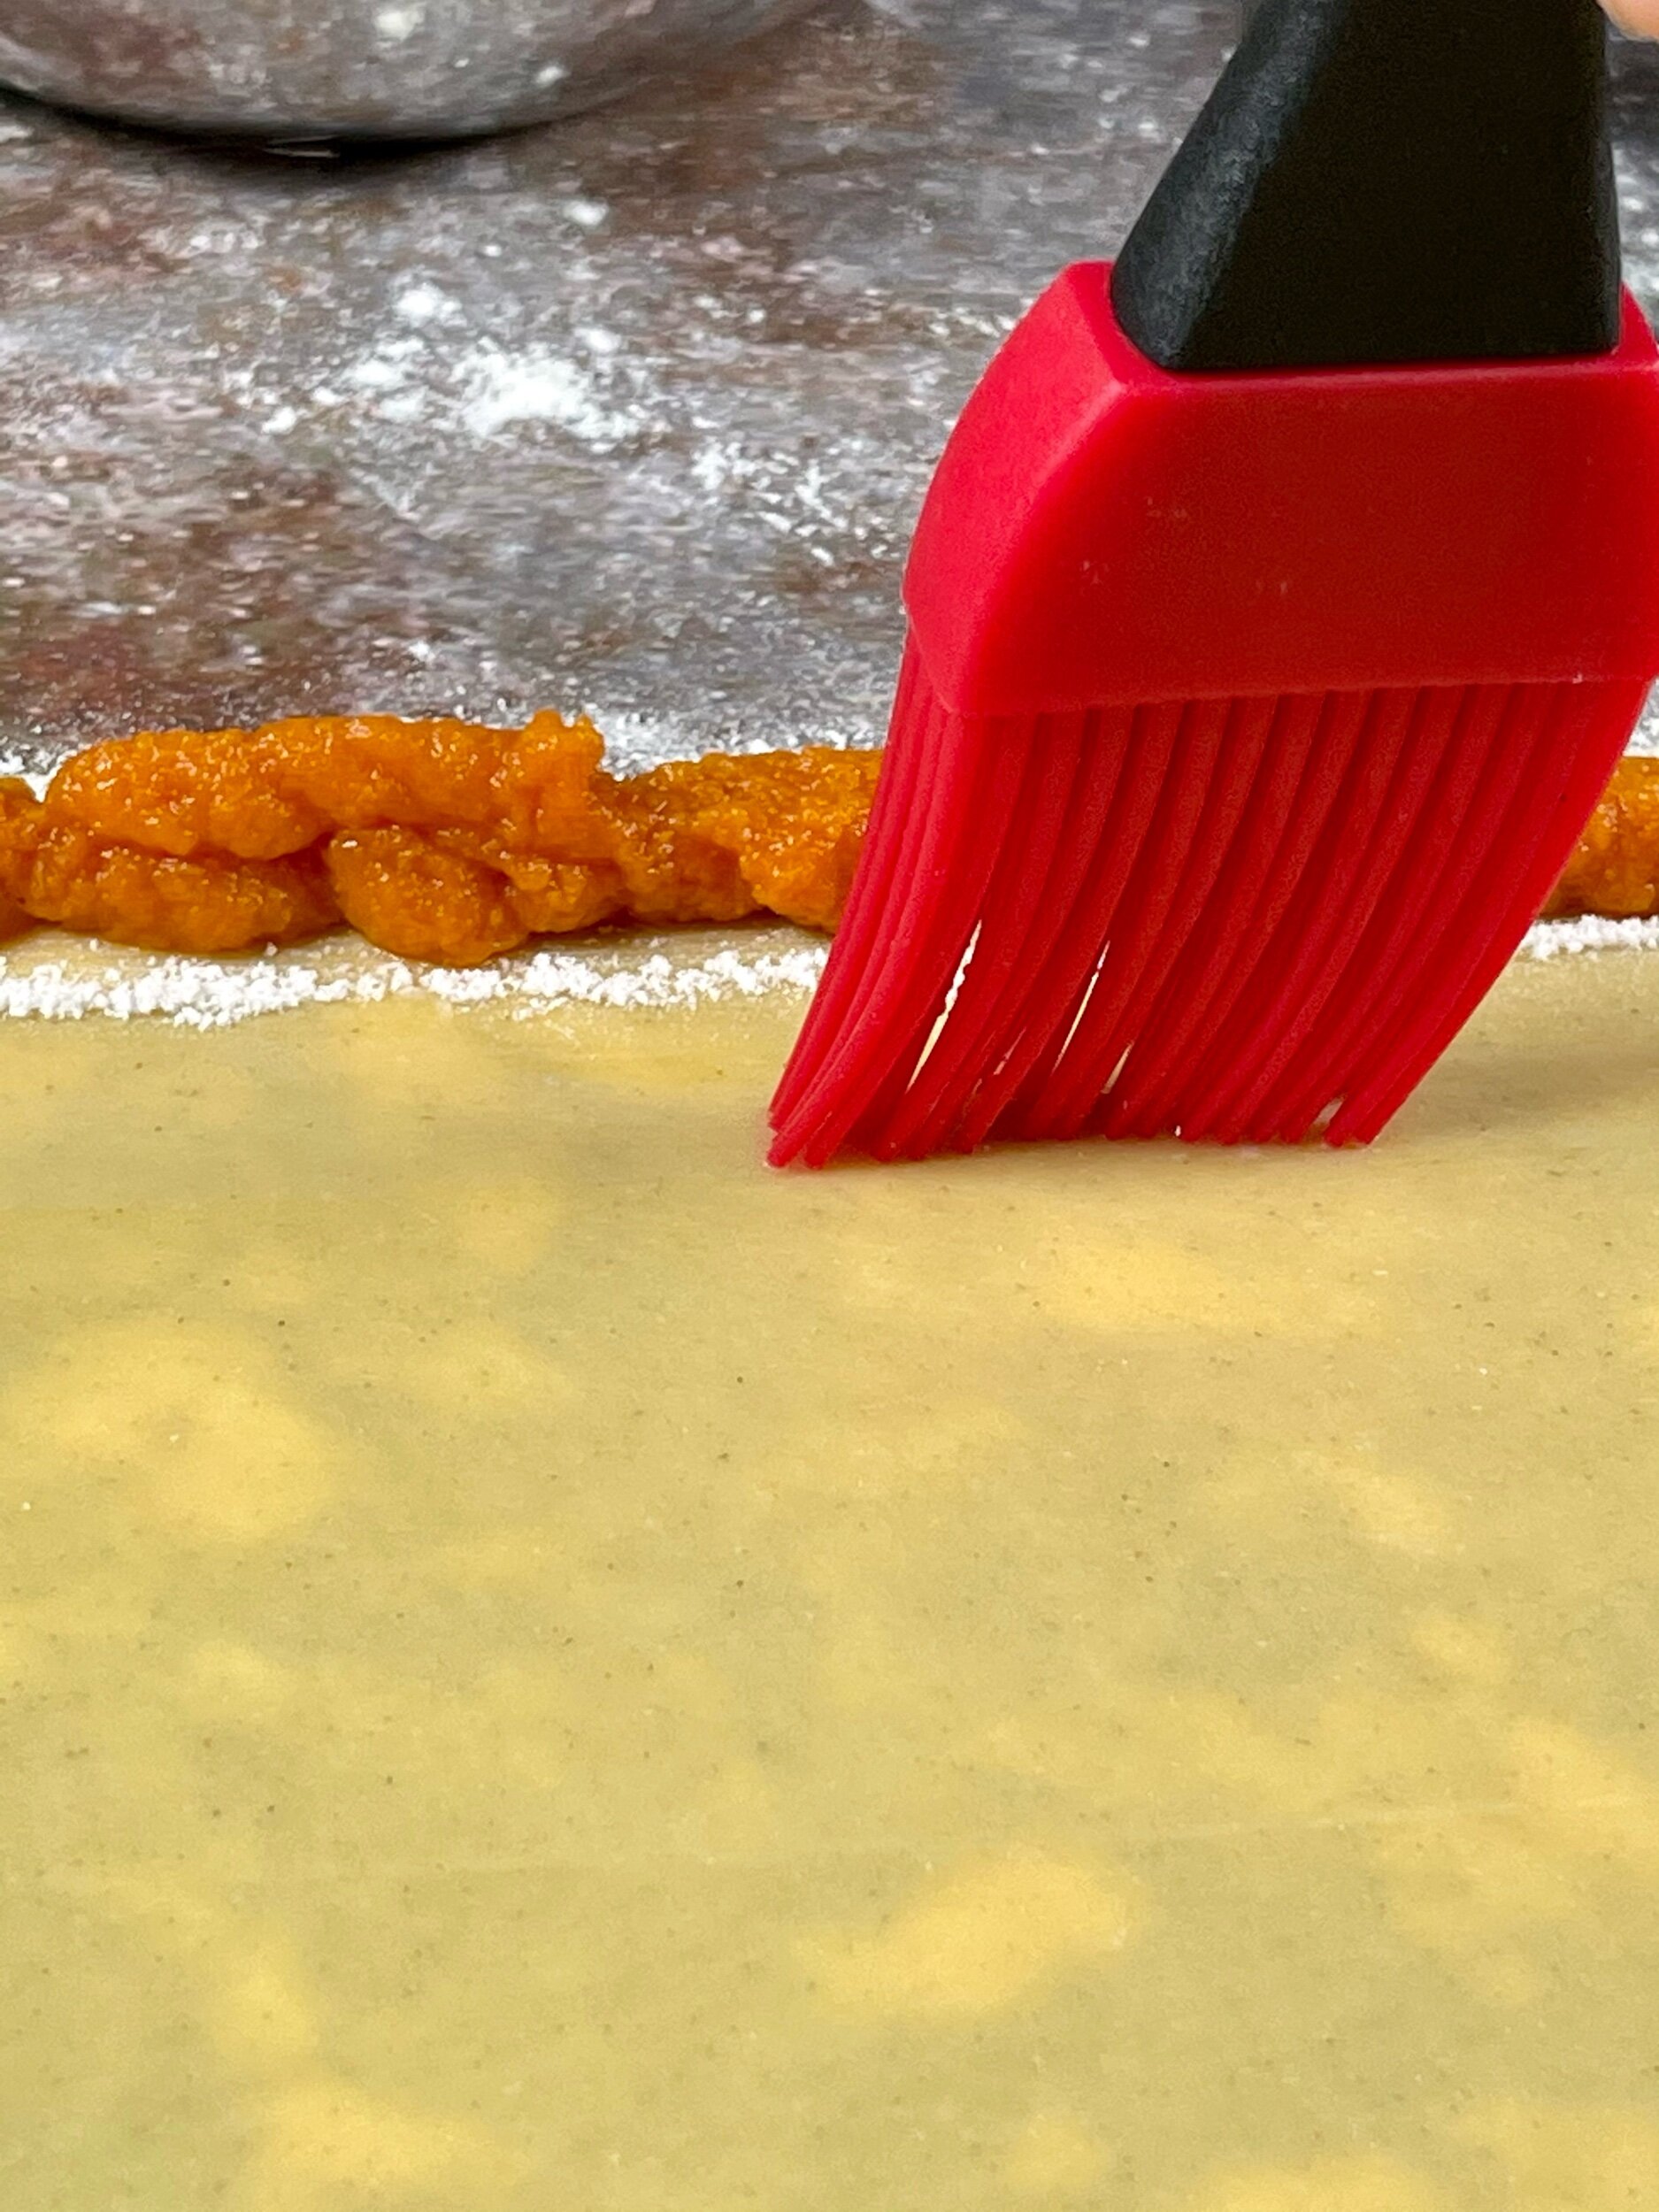
Brush water along the inner edge of the flour line about 3/4” wide
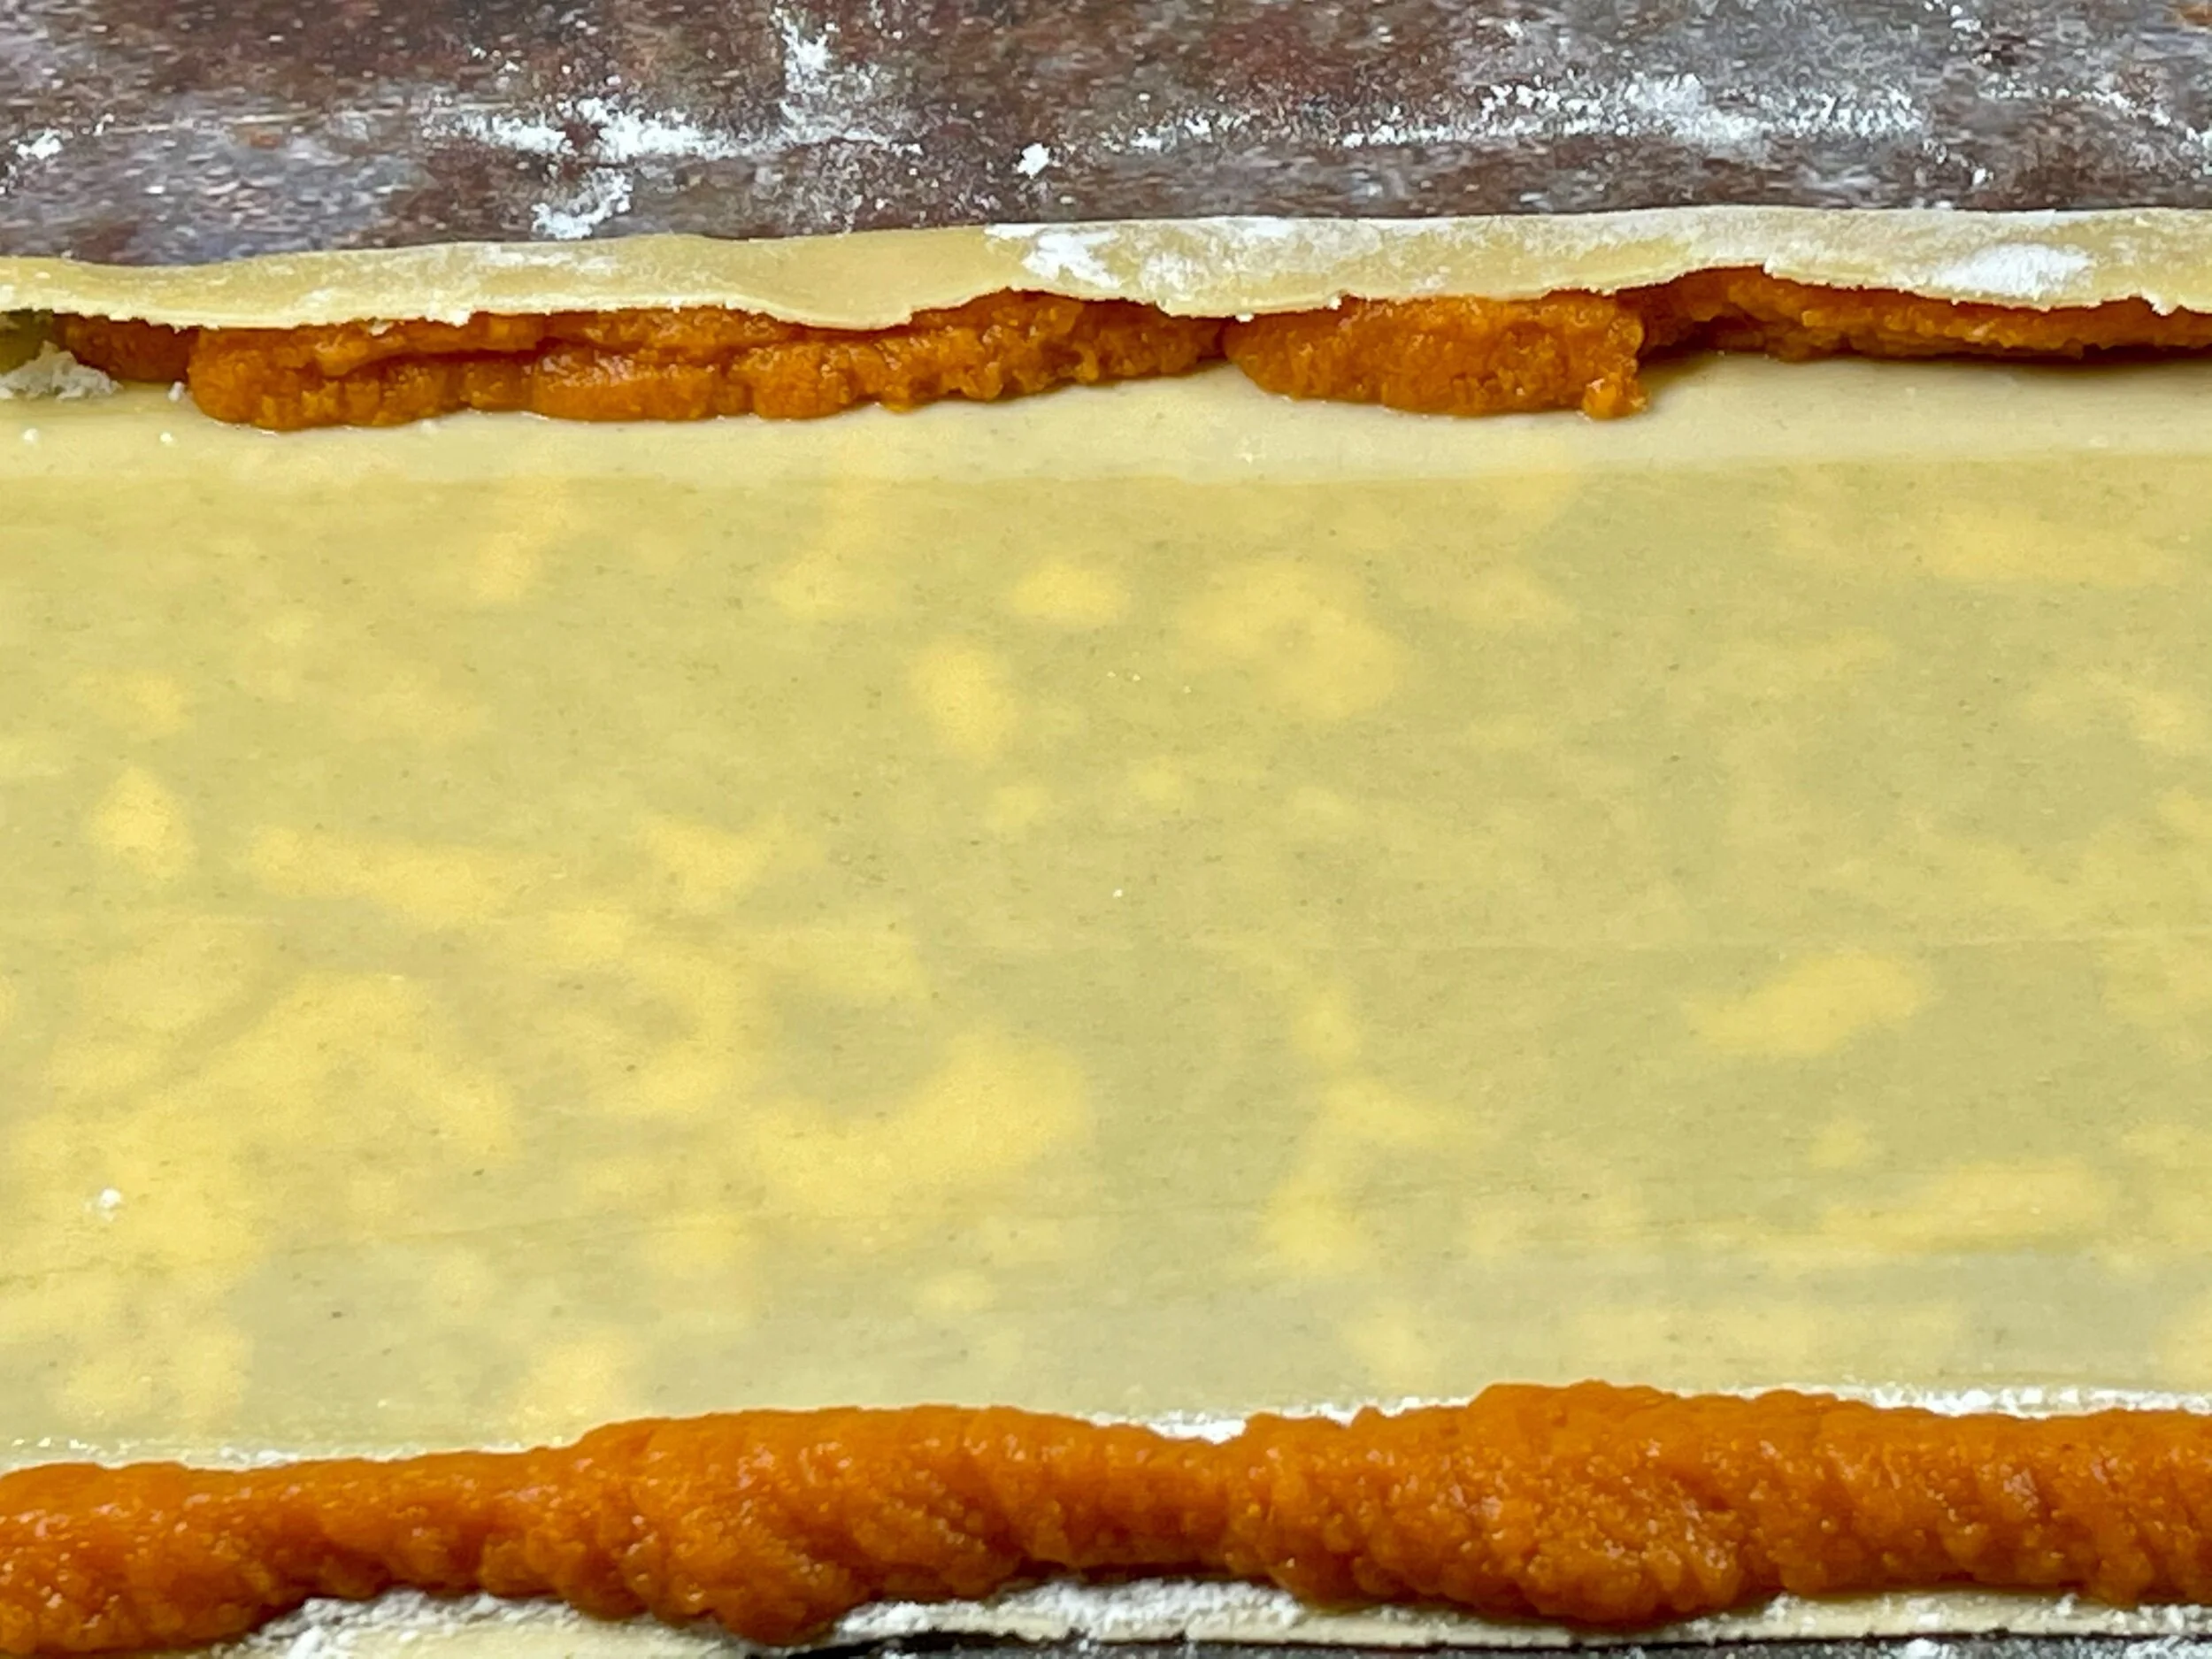
Step 8
Fold both edges over itself, covering the filing on the top and bottom.
Step 9
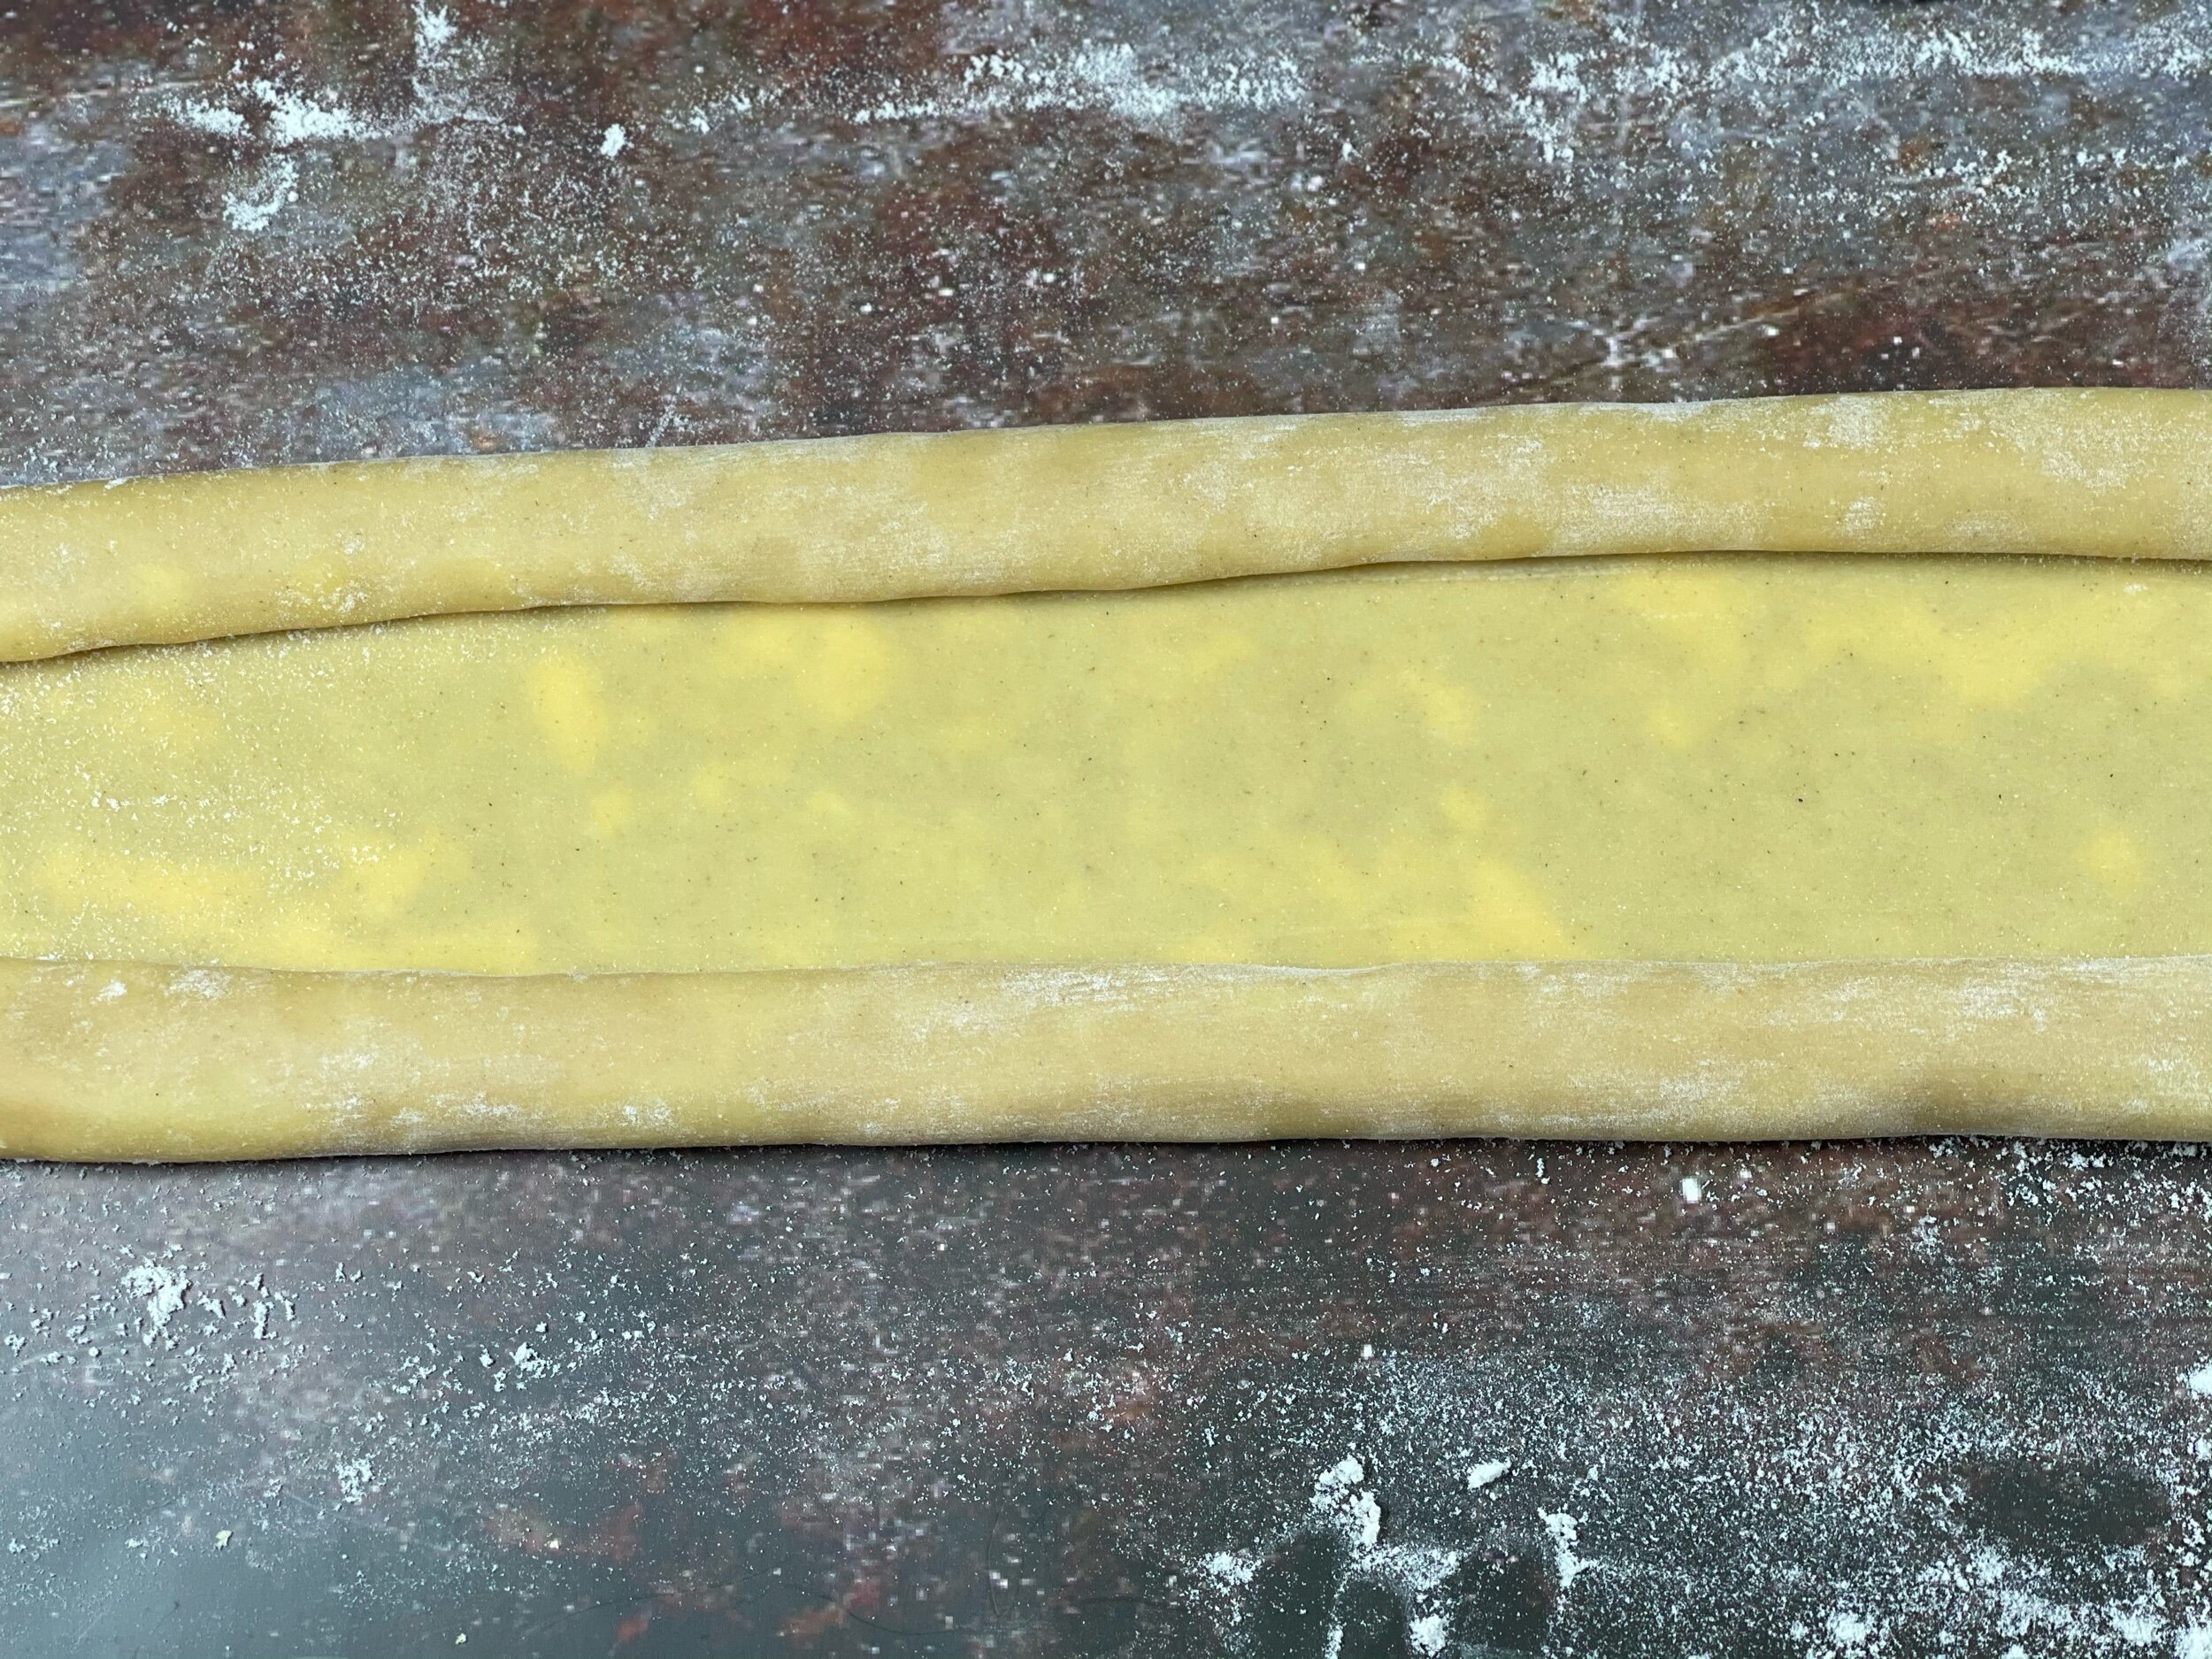
Roll the edges over itself, fully wrapping the filling.
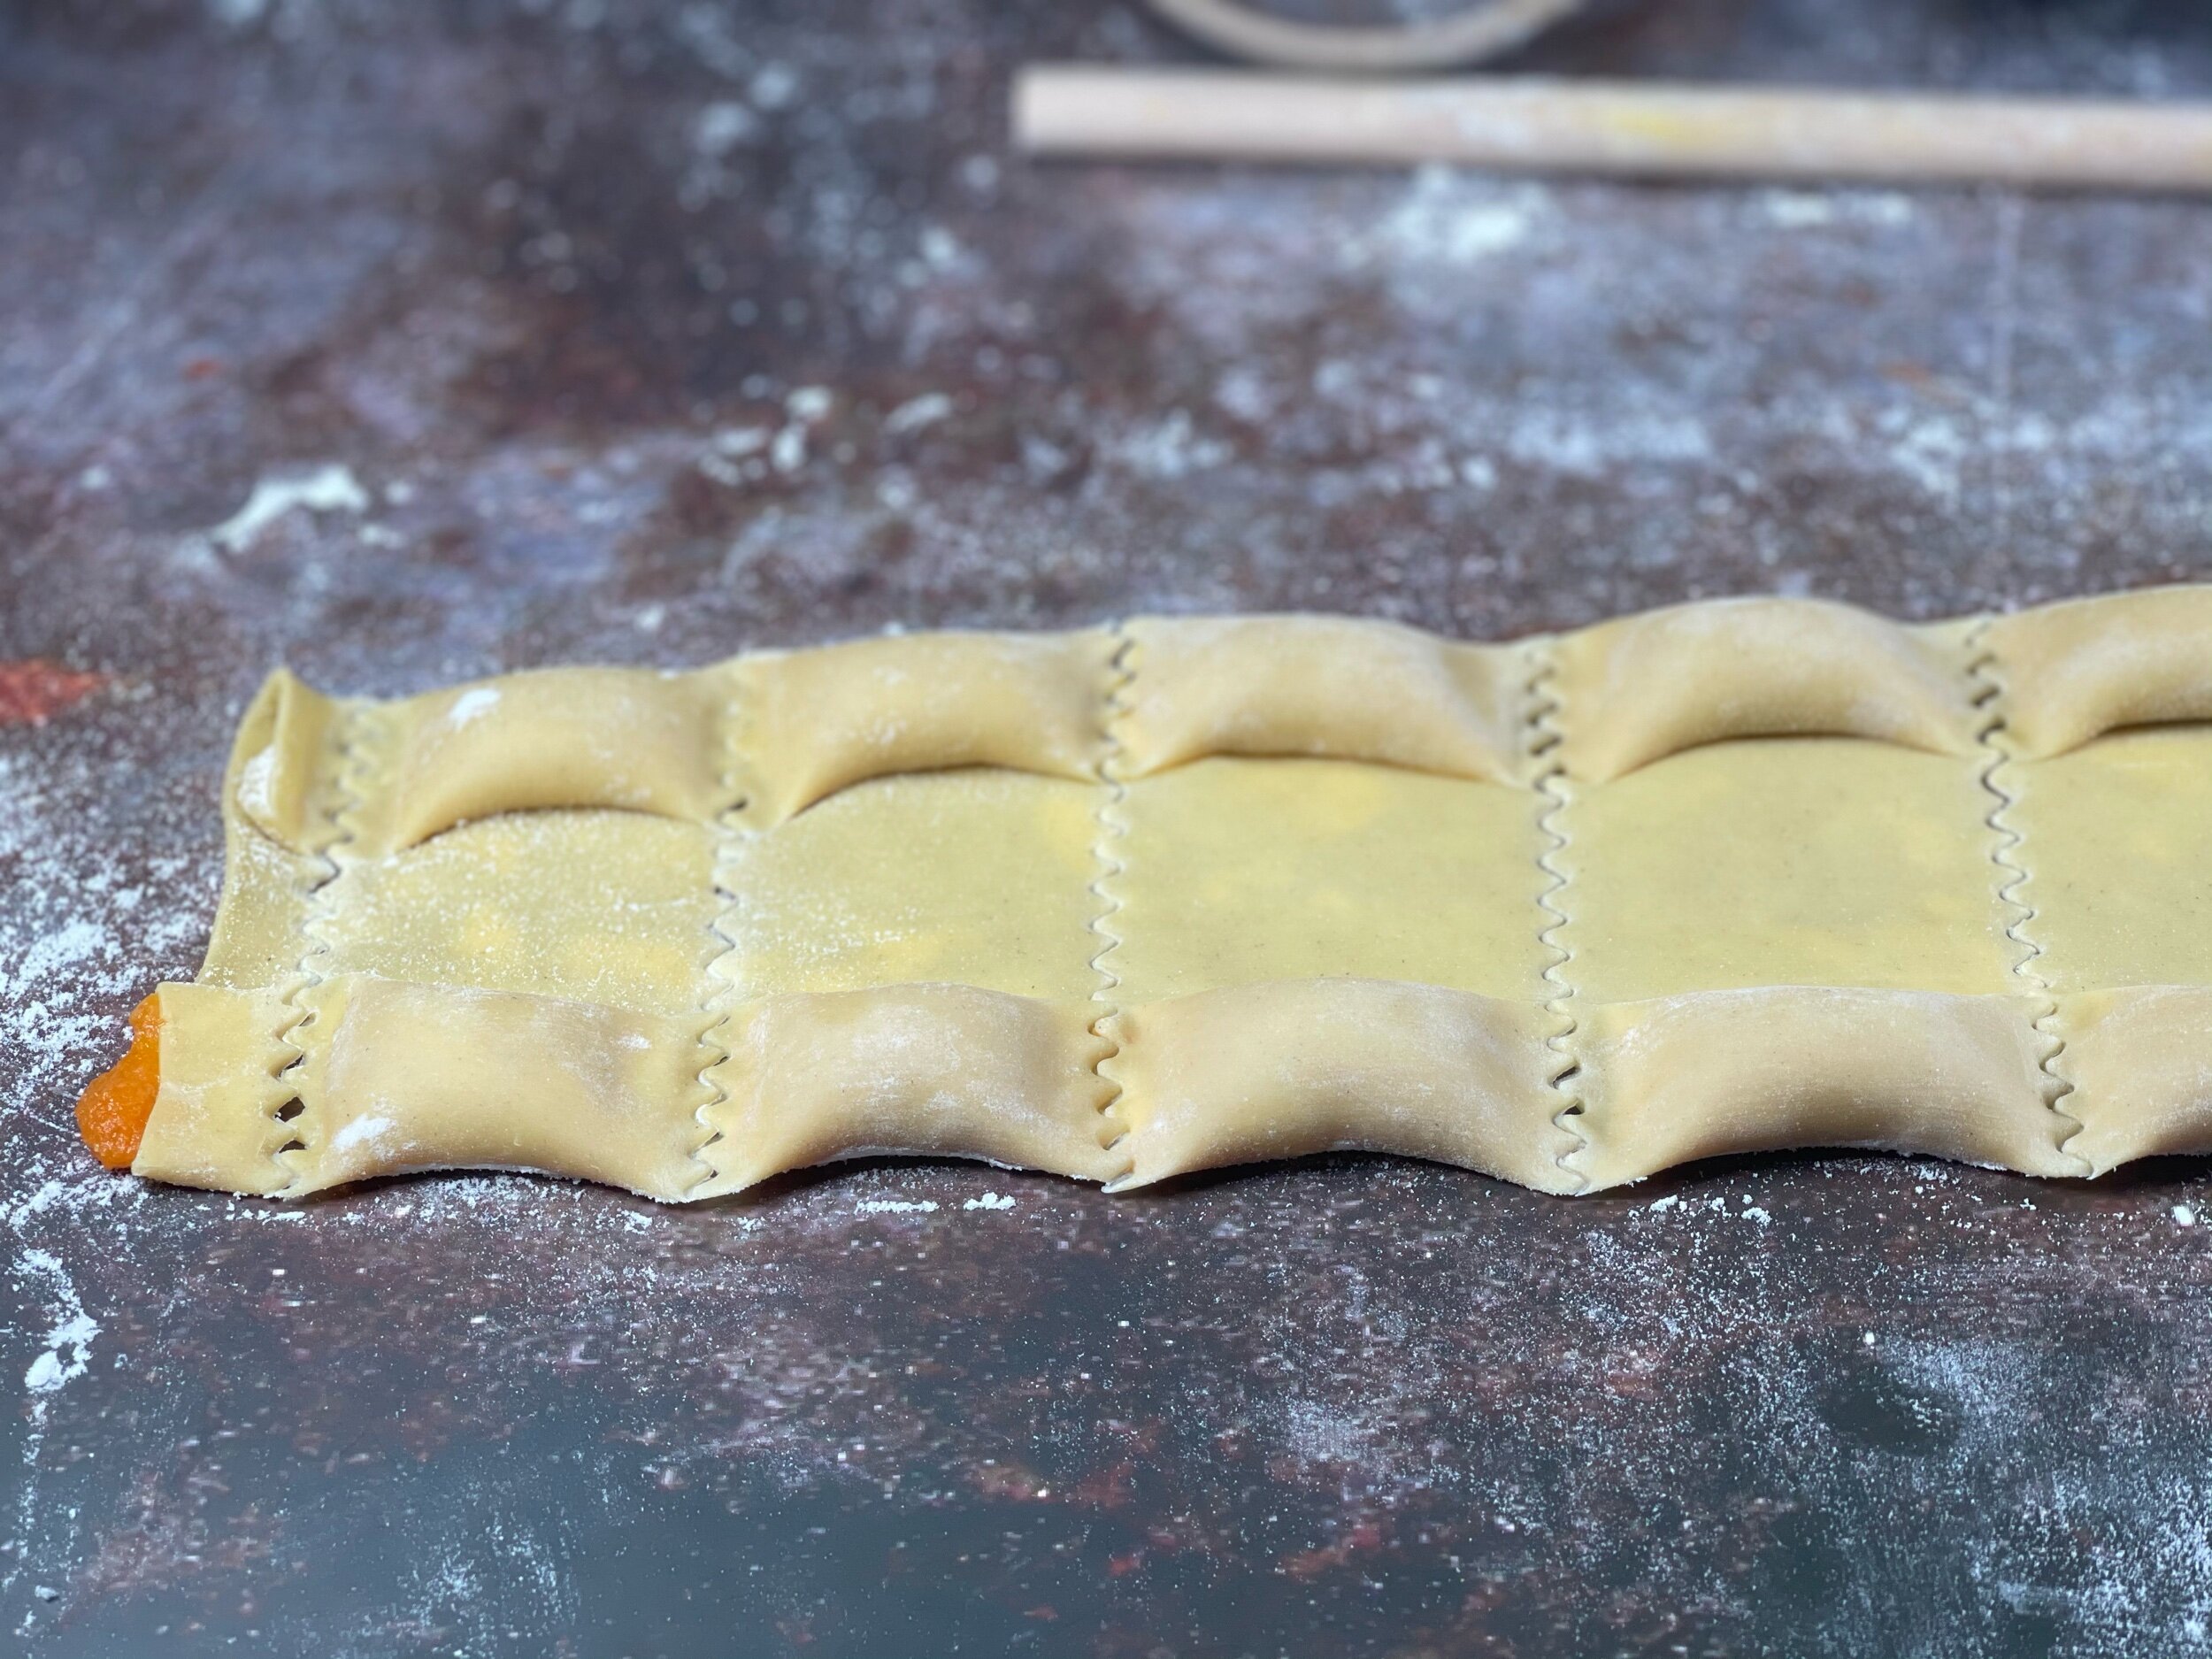
Step 10

Place the dowel and press down firmly, sealing the pasta together.on the left edge.
Step 11
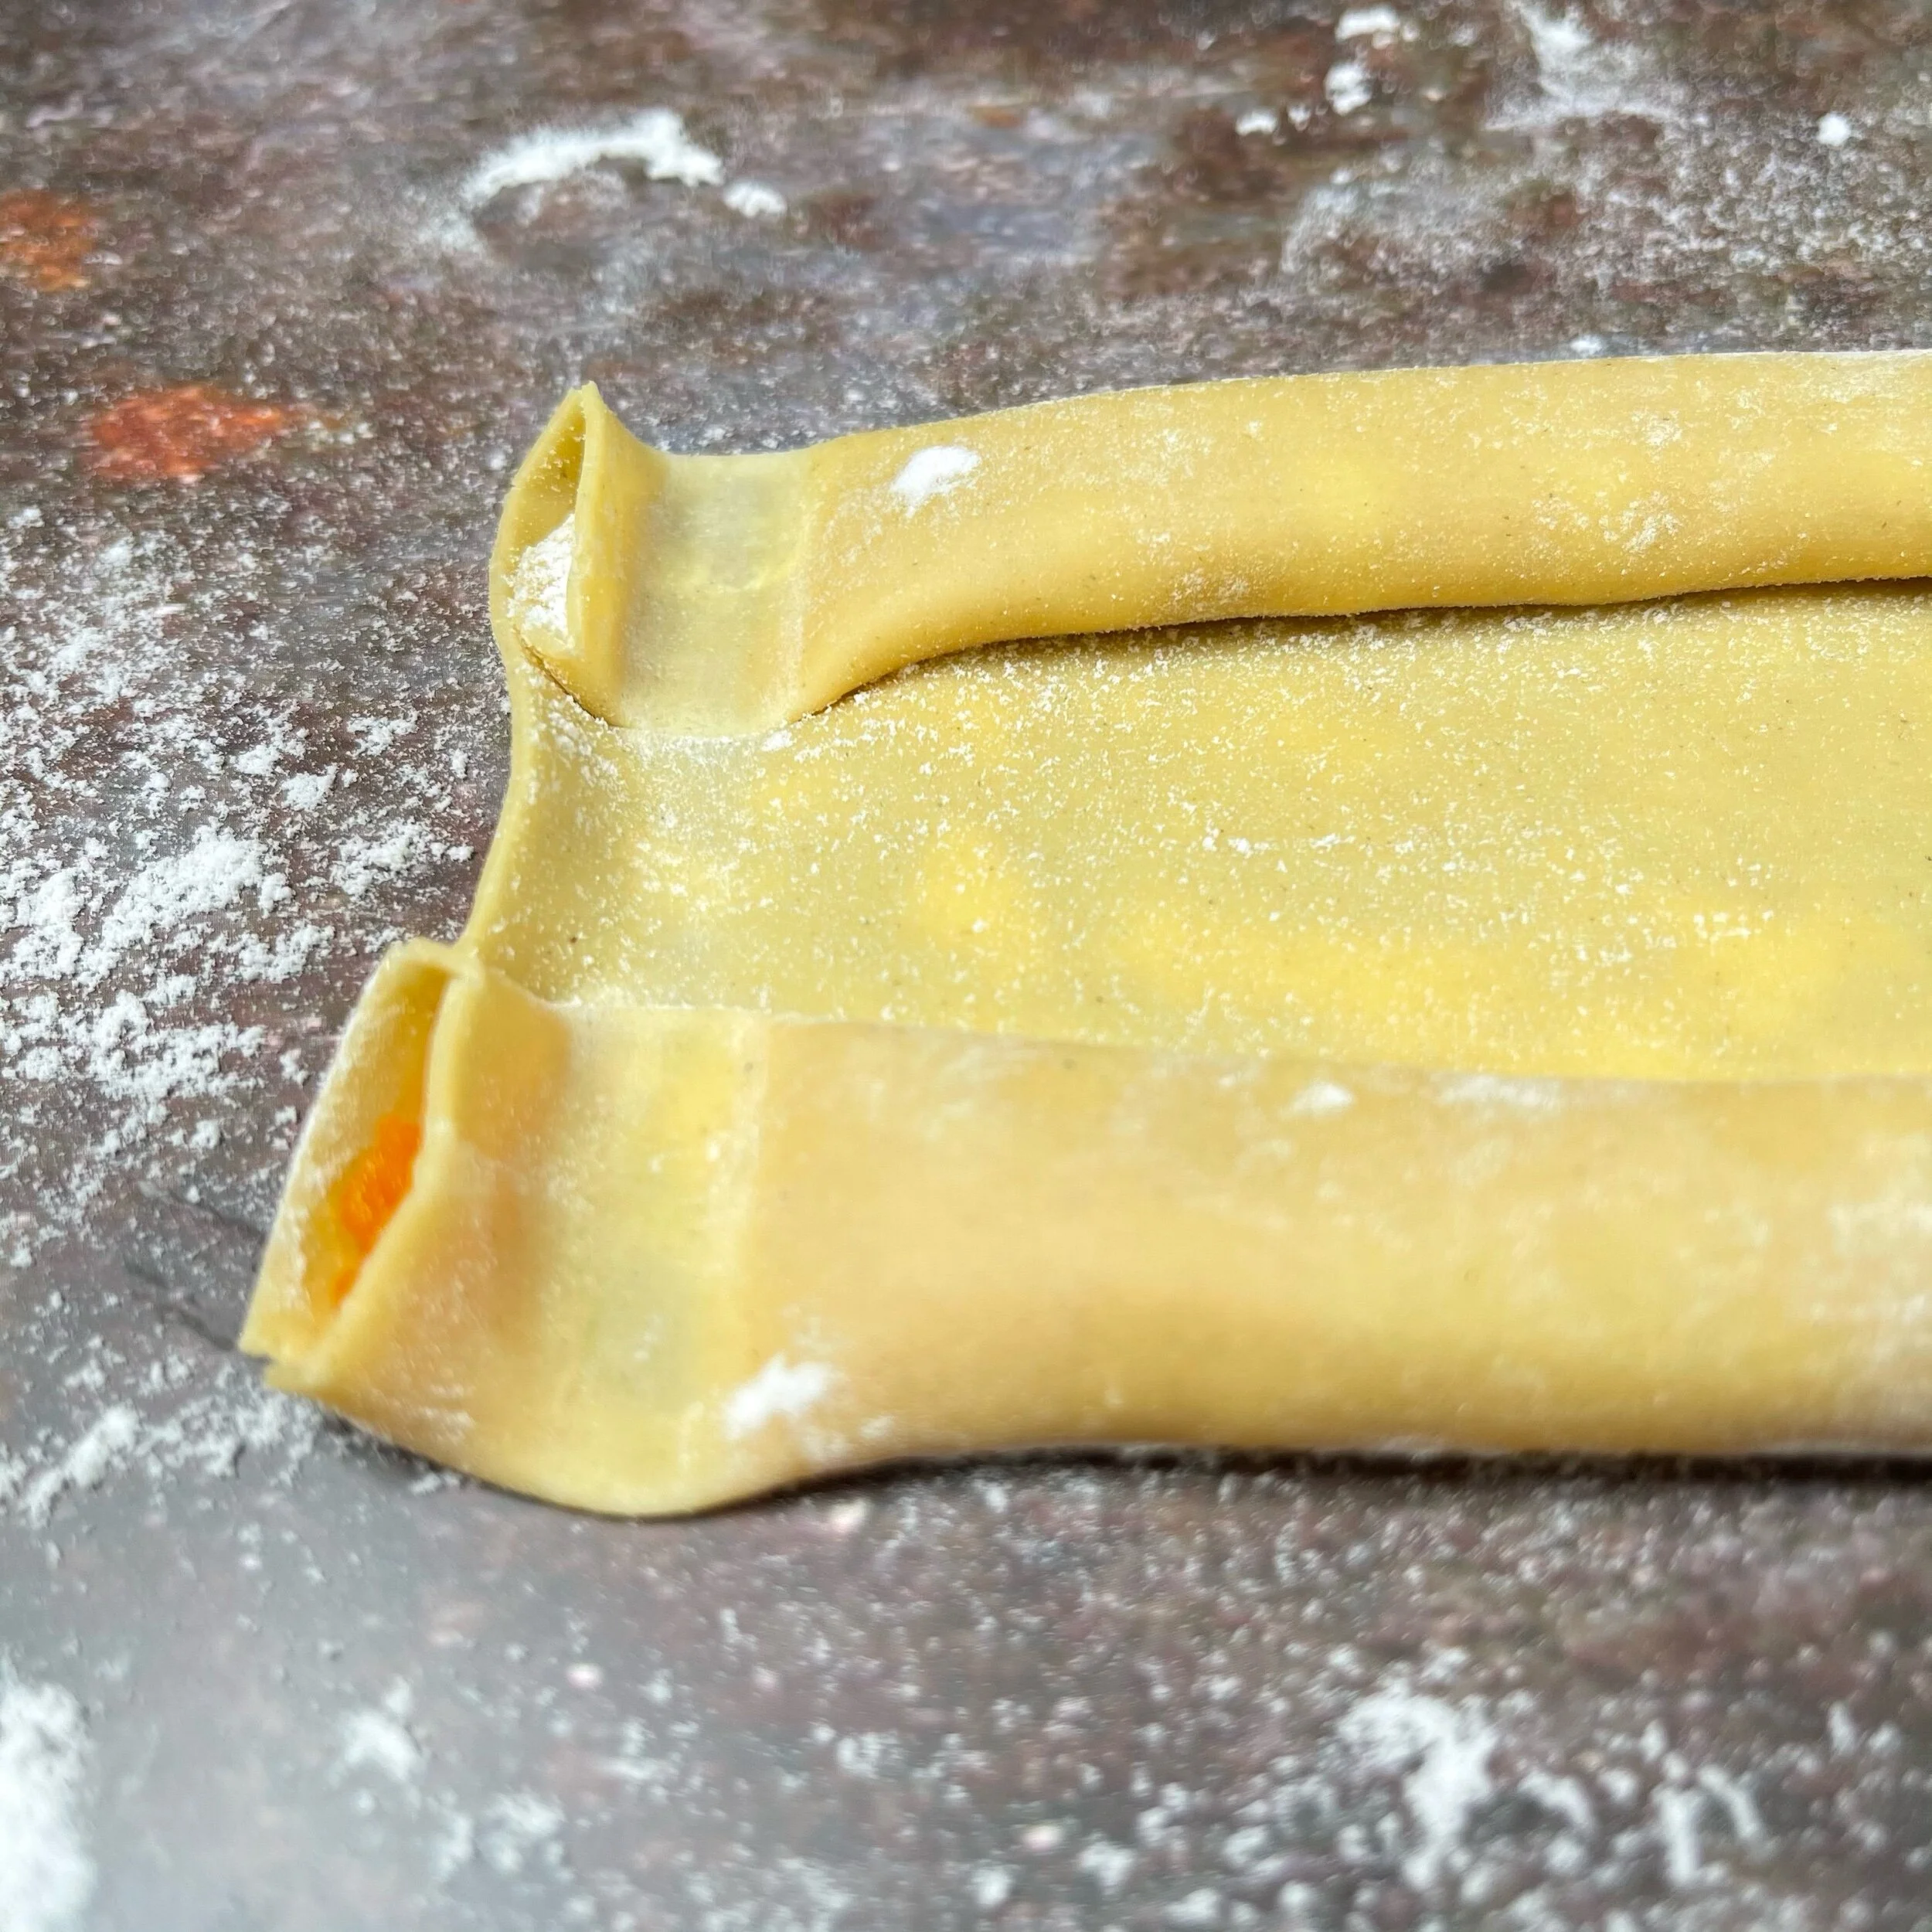
Remove the dowel and check that it’s sealed.
Step 12
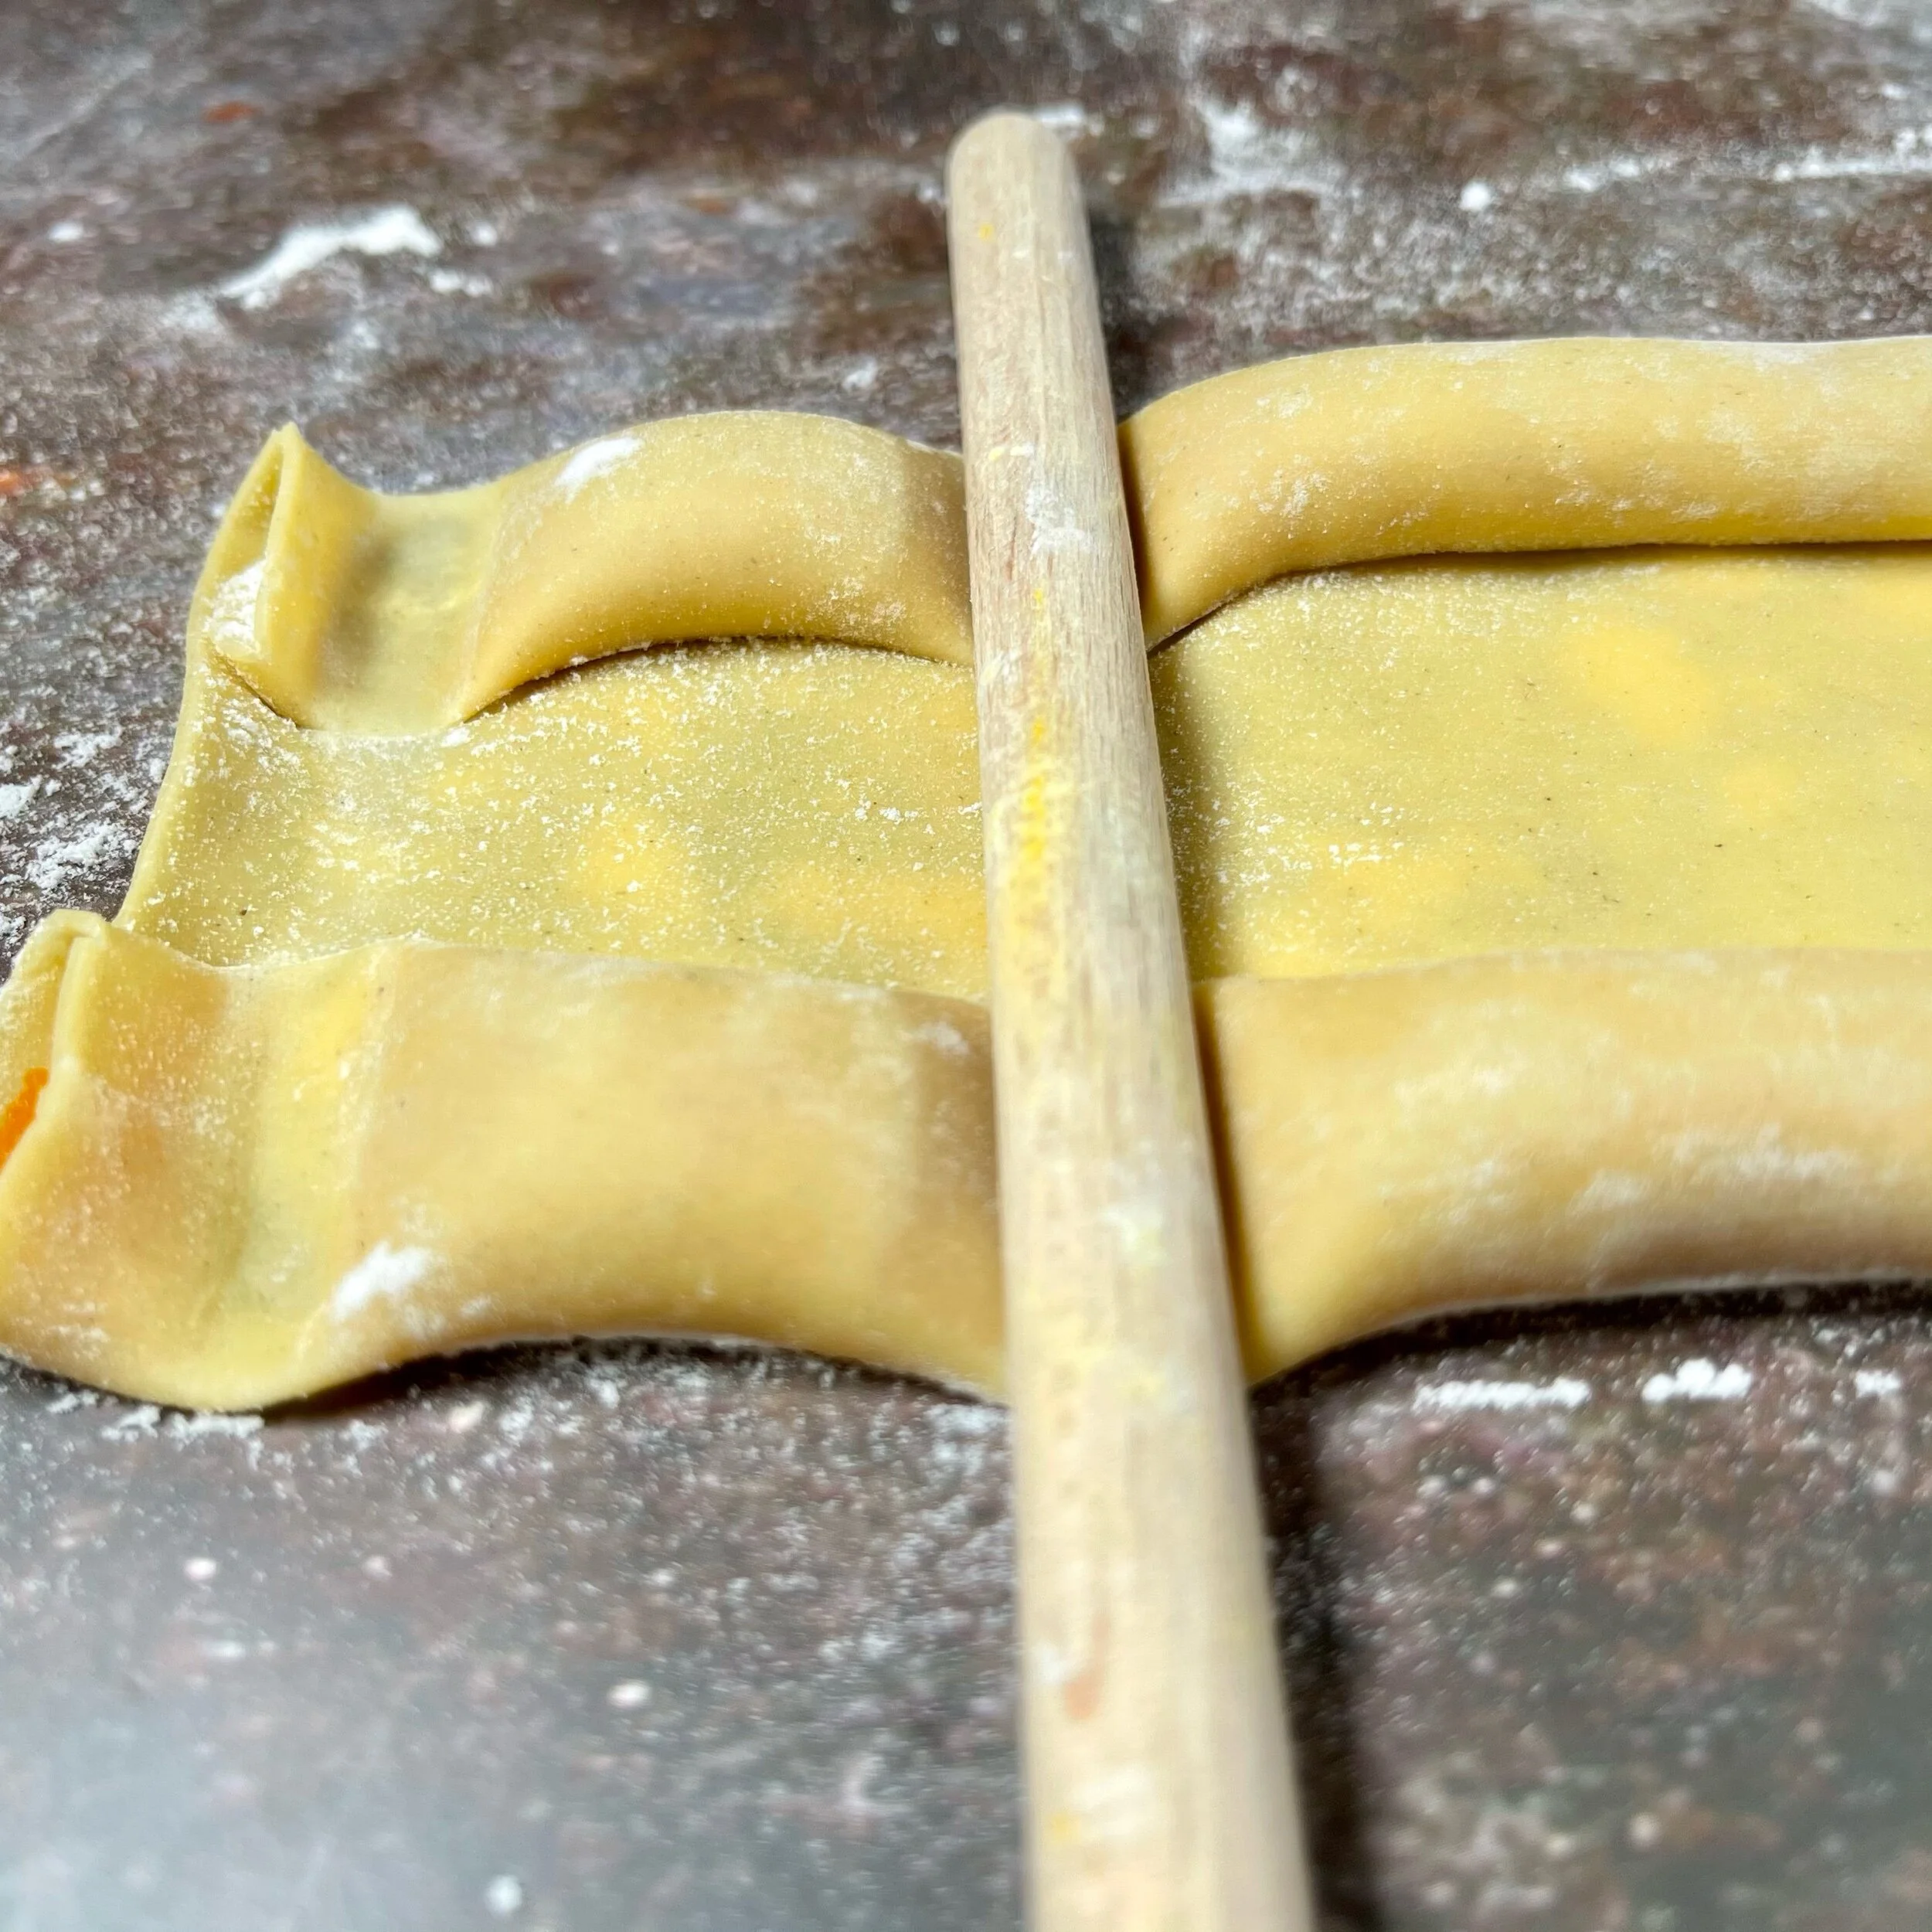
Move the dowel over to the right 1” and press down, gently rocking it back and forth making a 1/2” wide seal. Repeat every inch down the length of the pasta strip.
Step 13
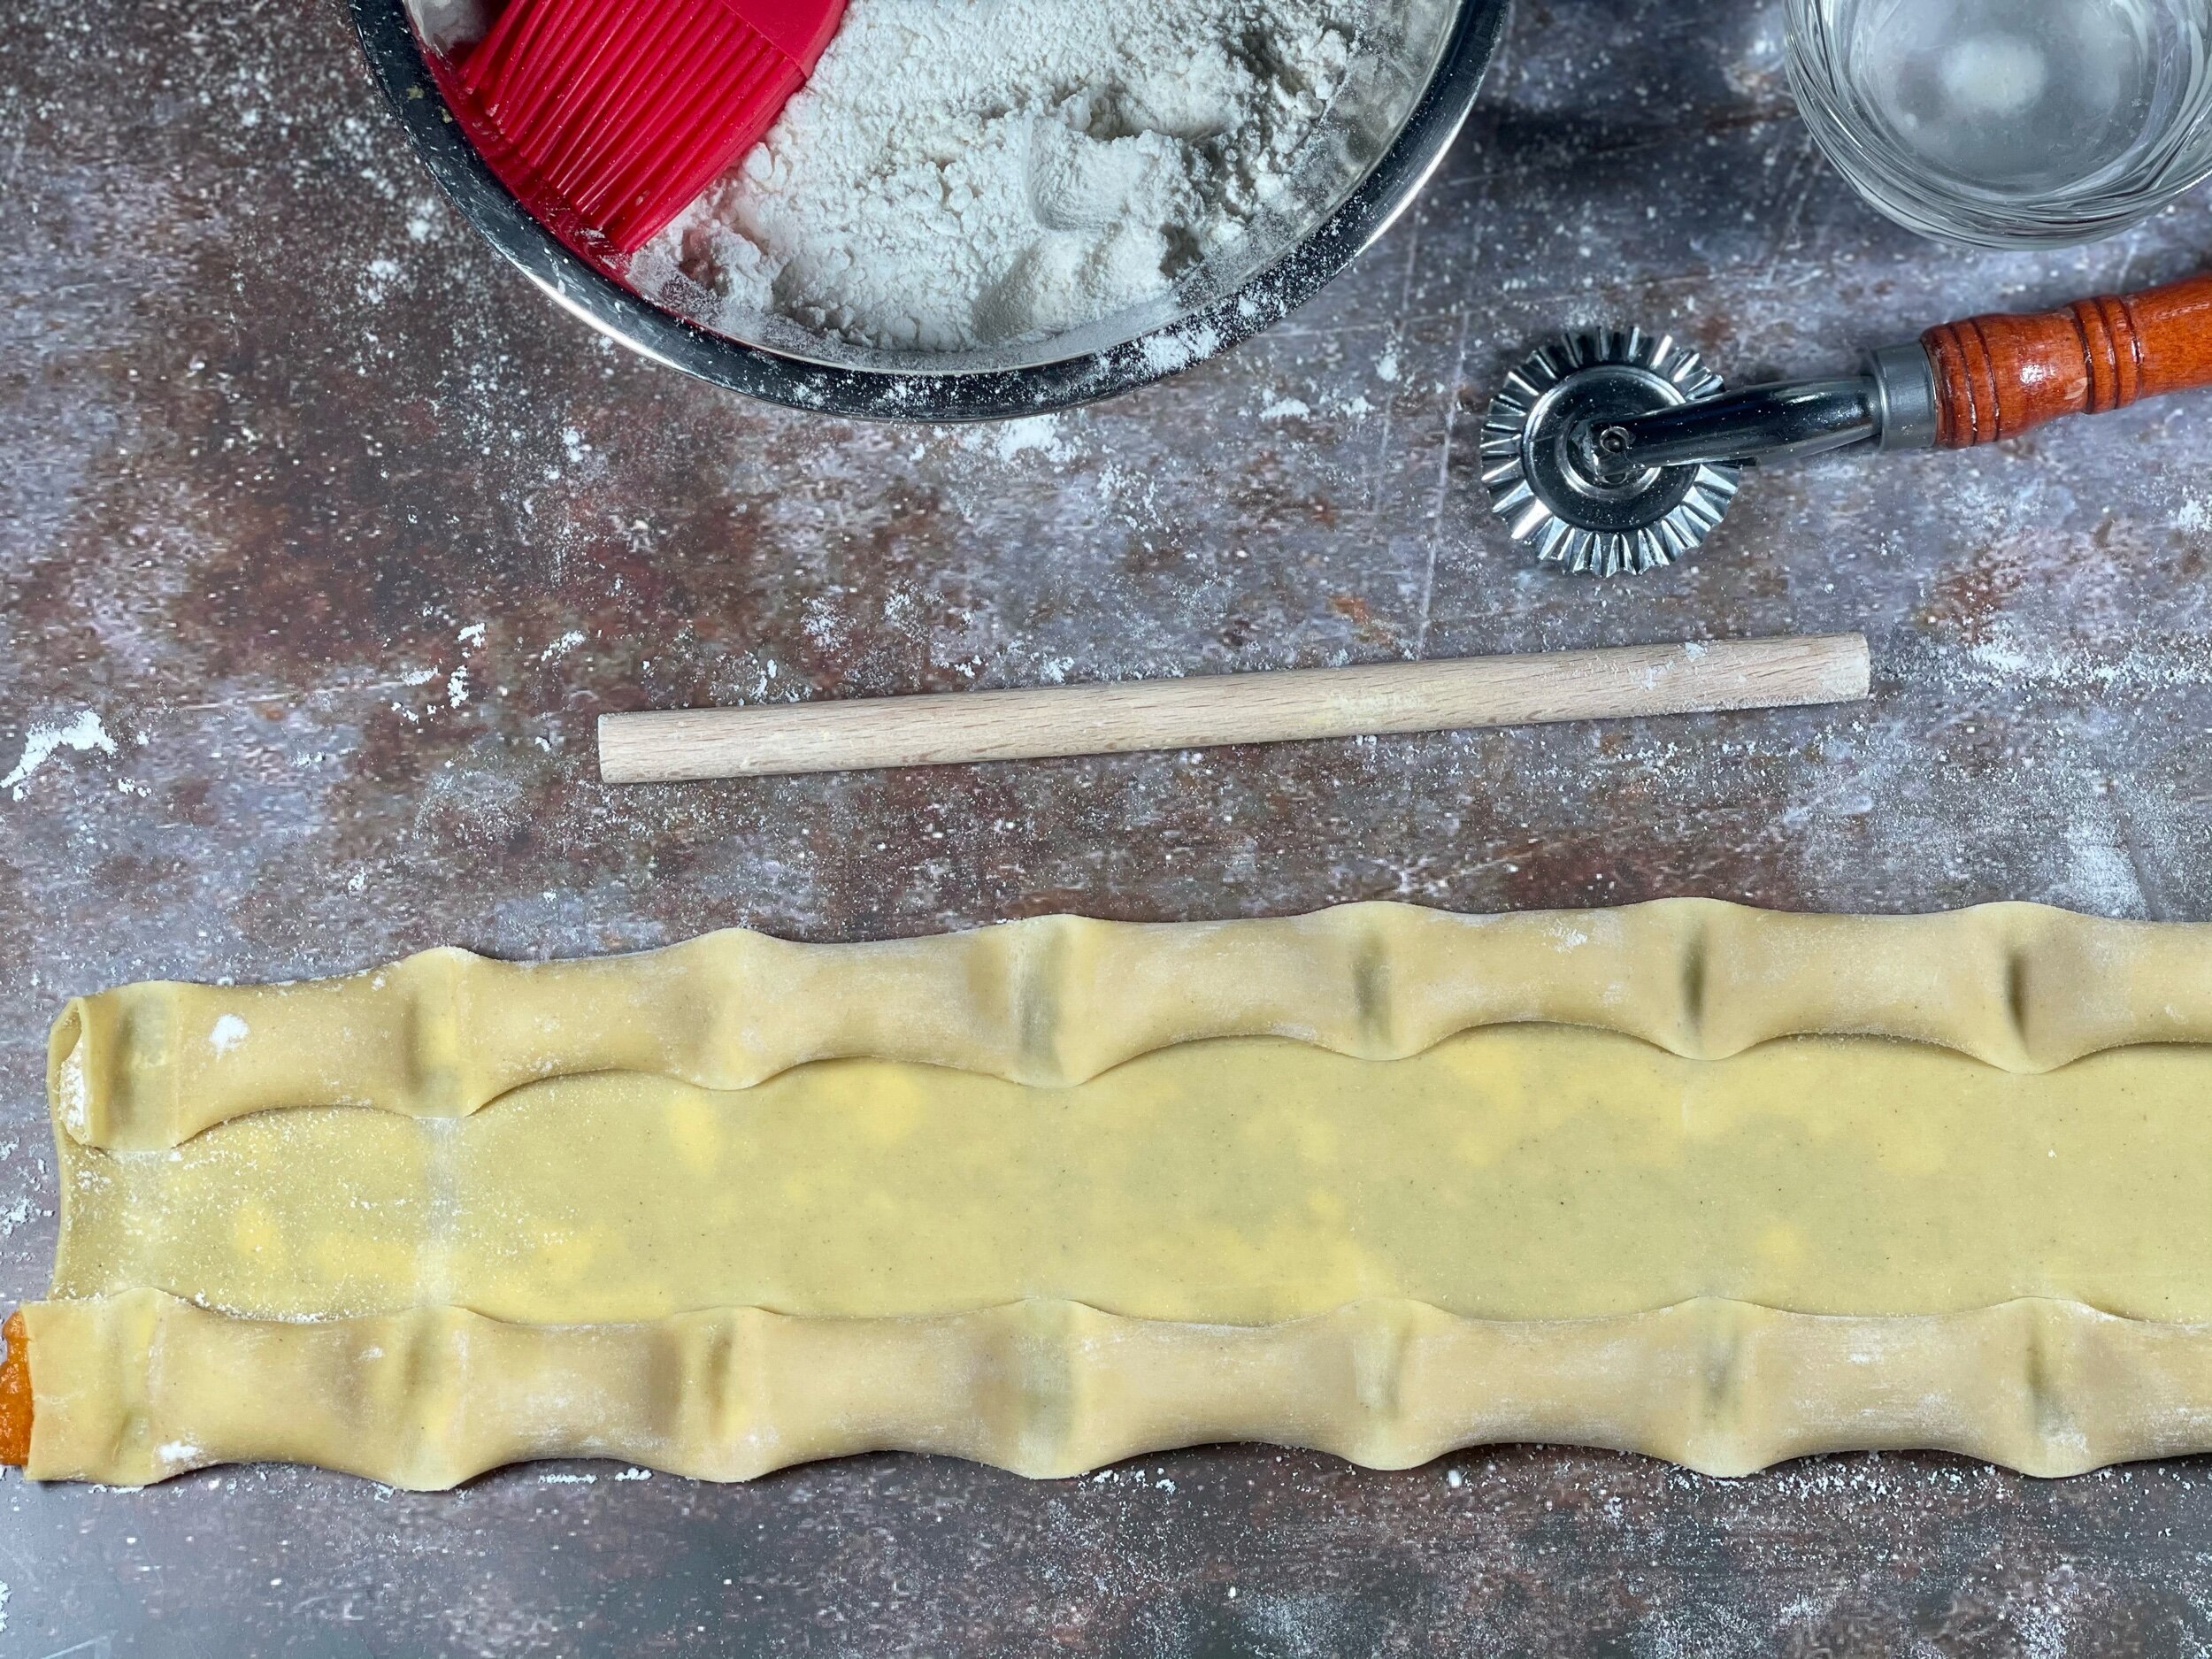
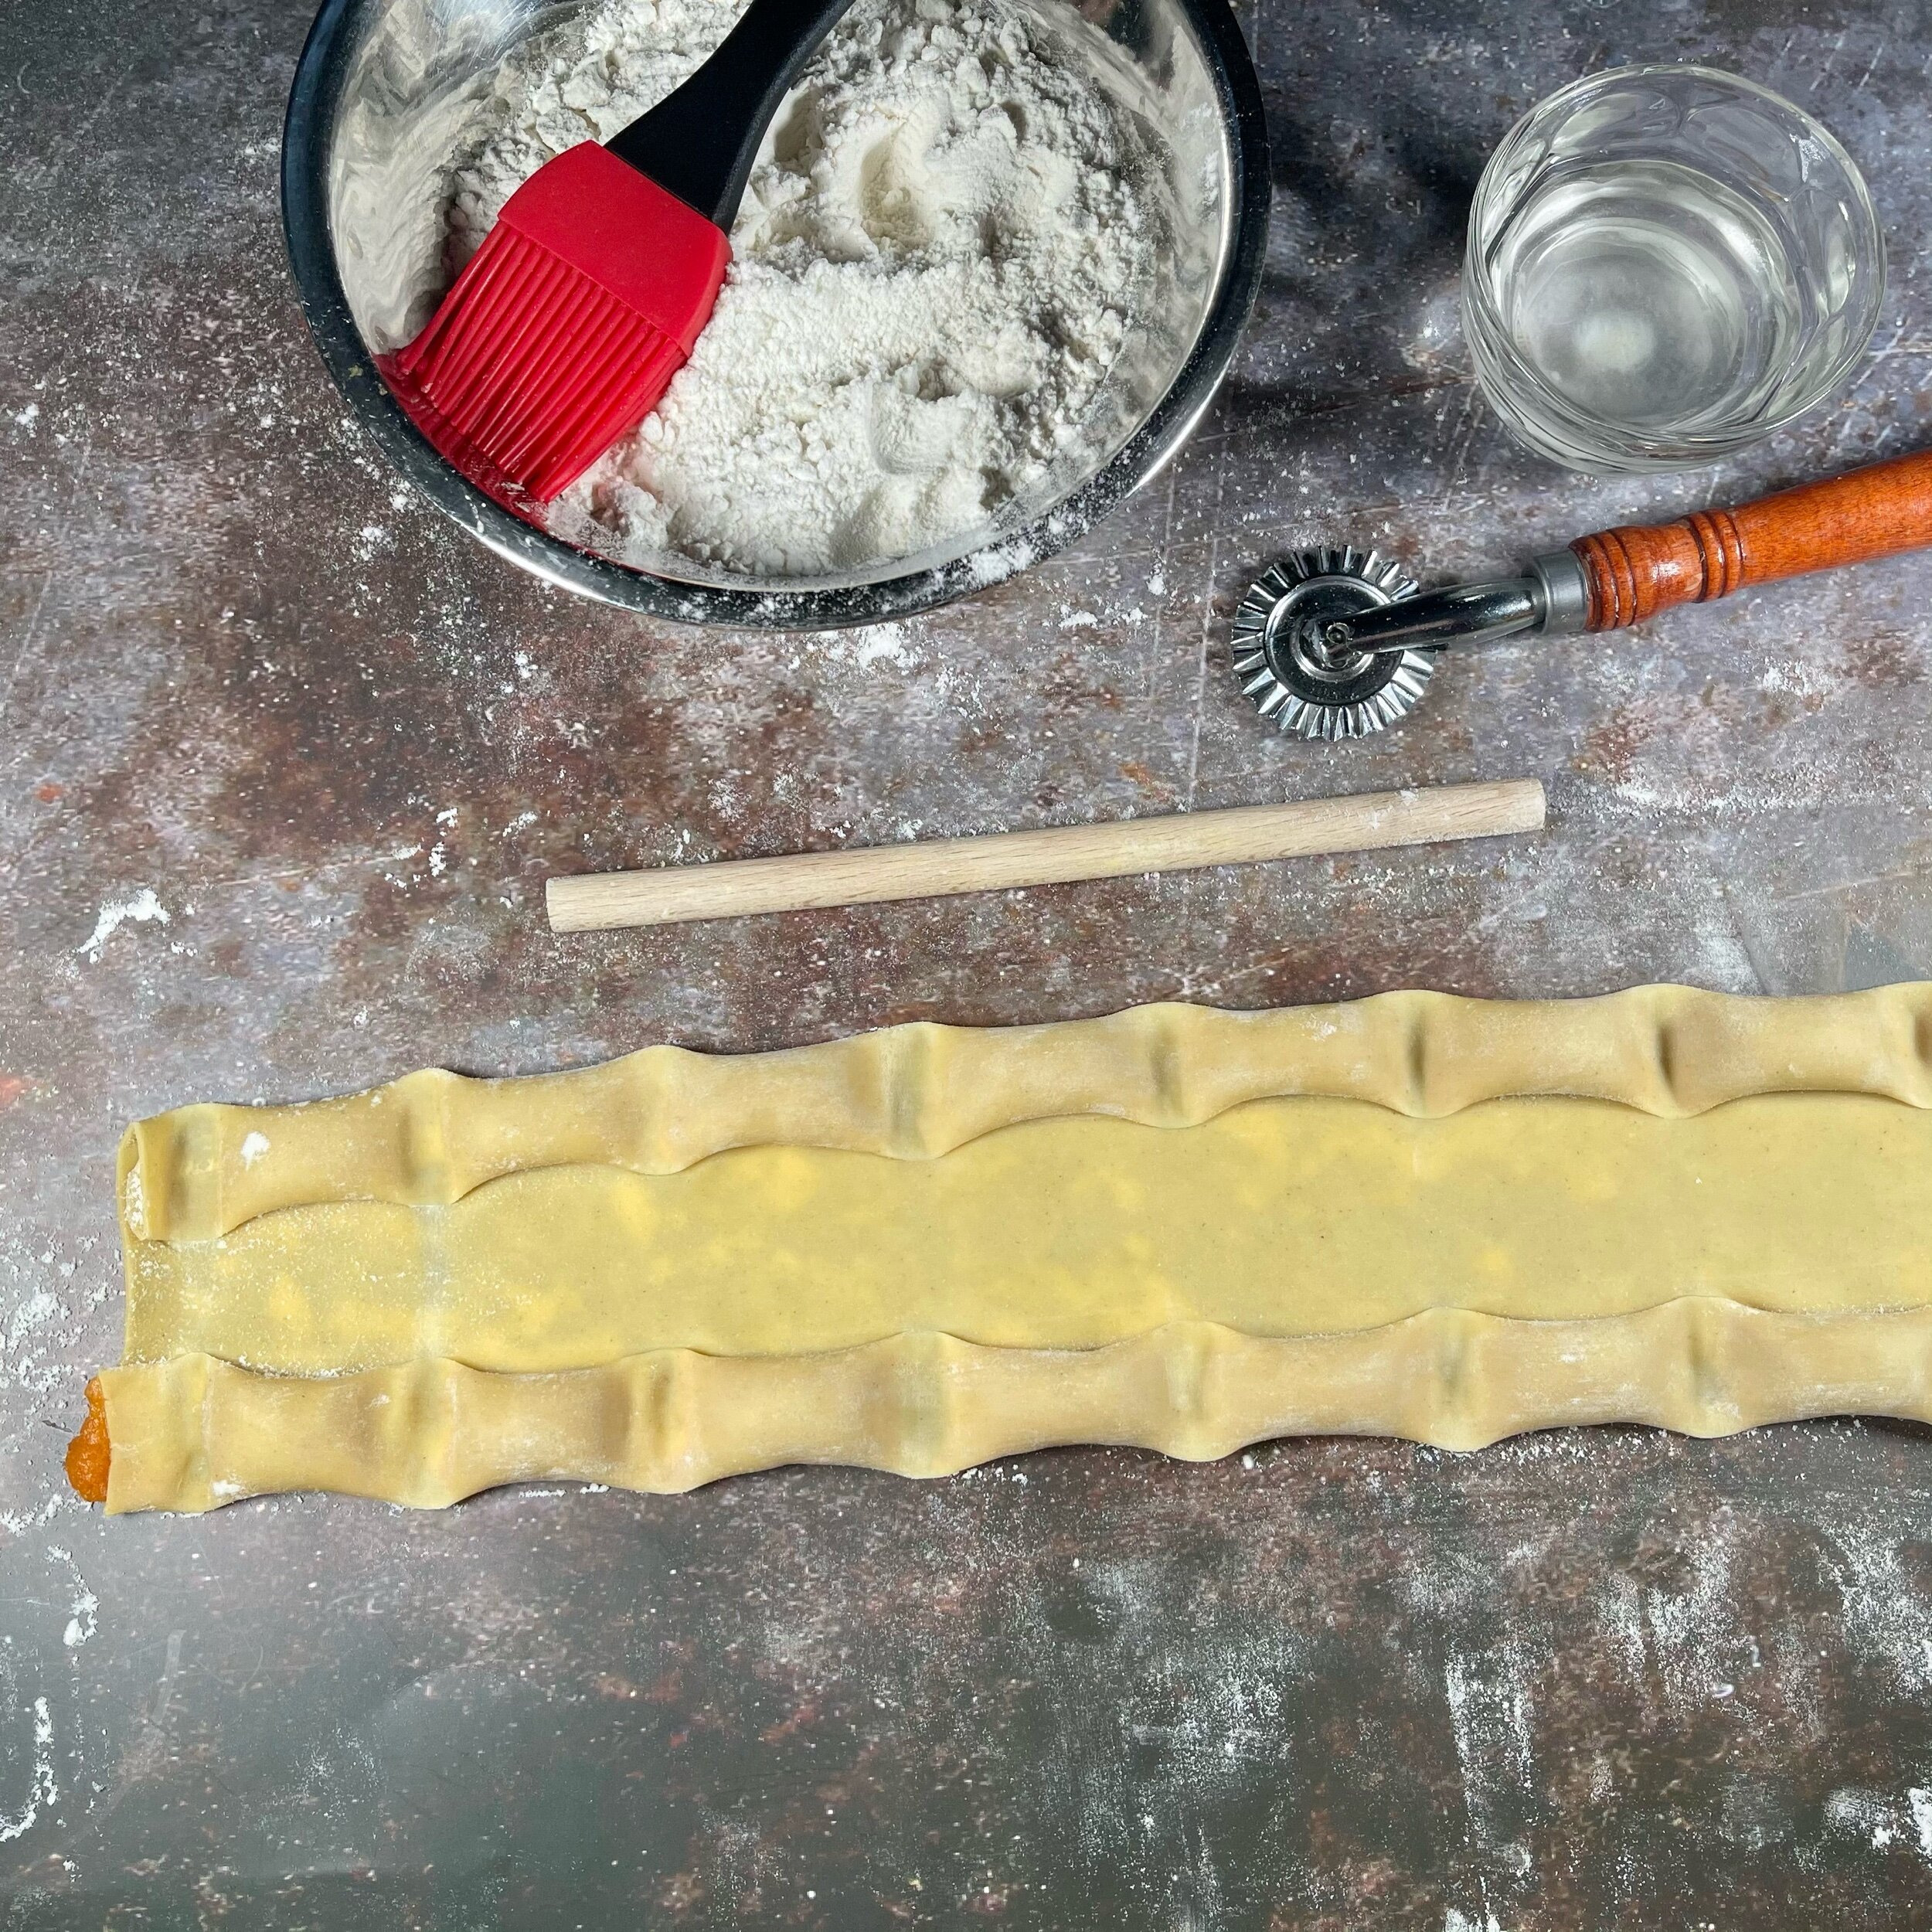
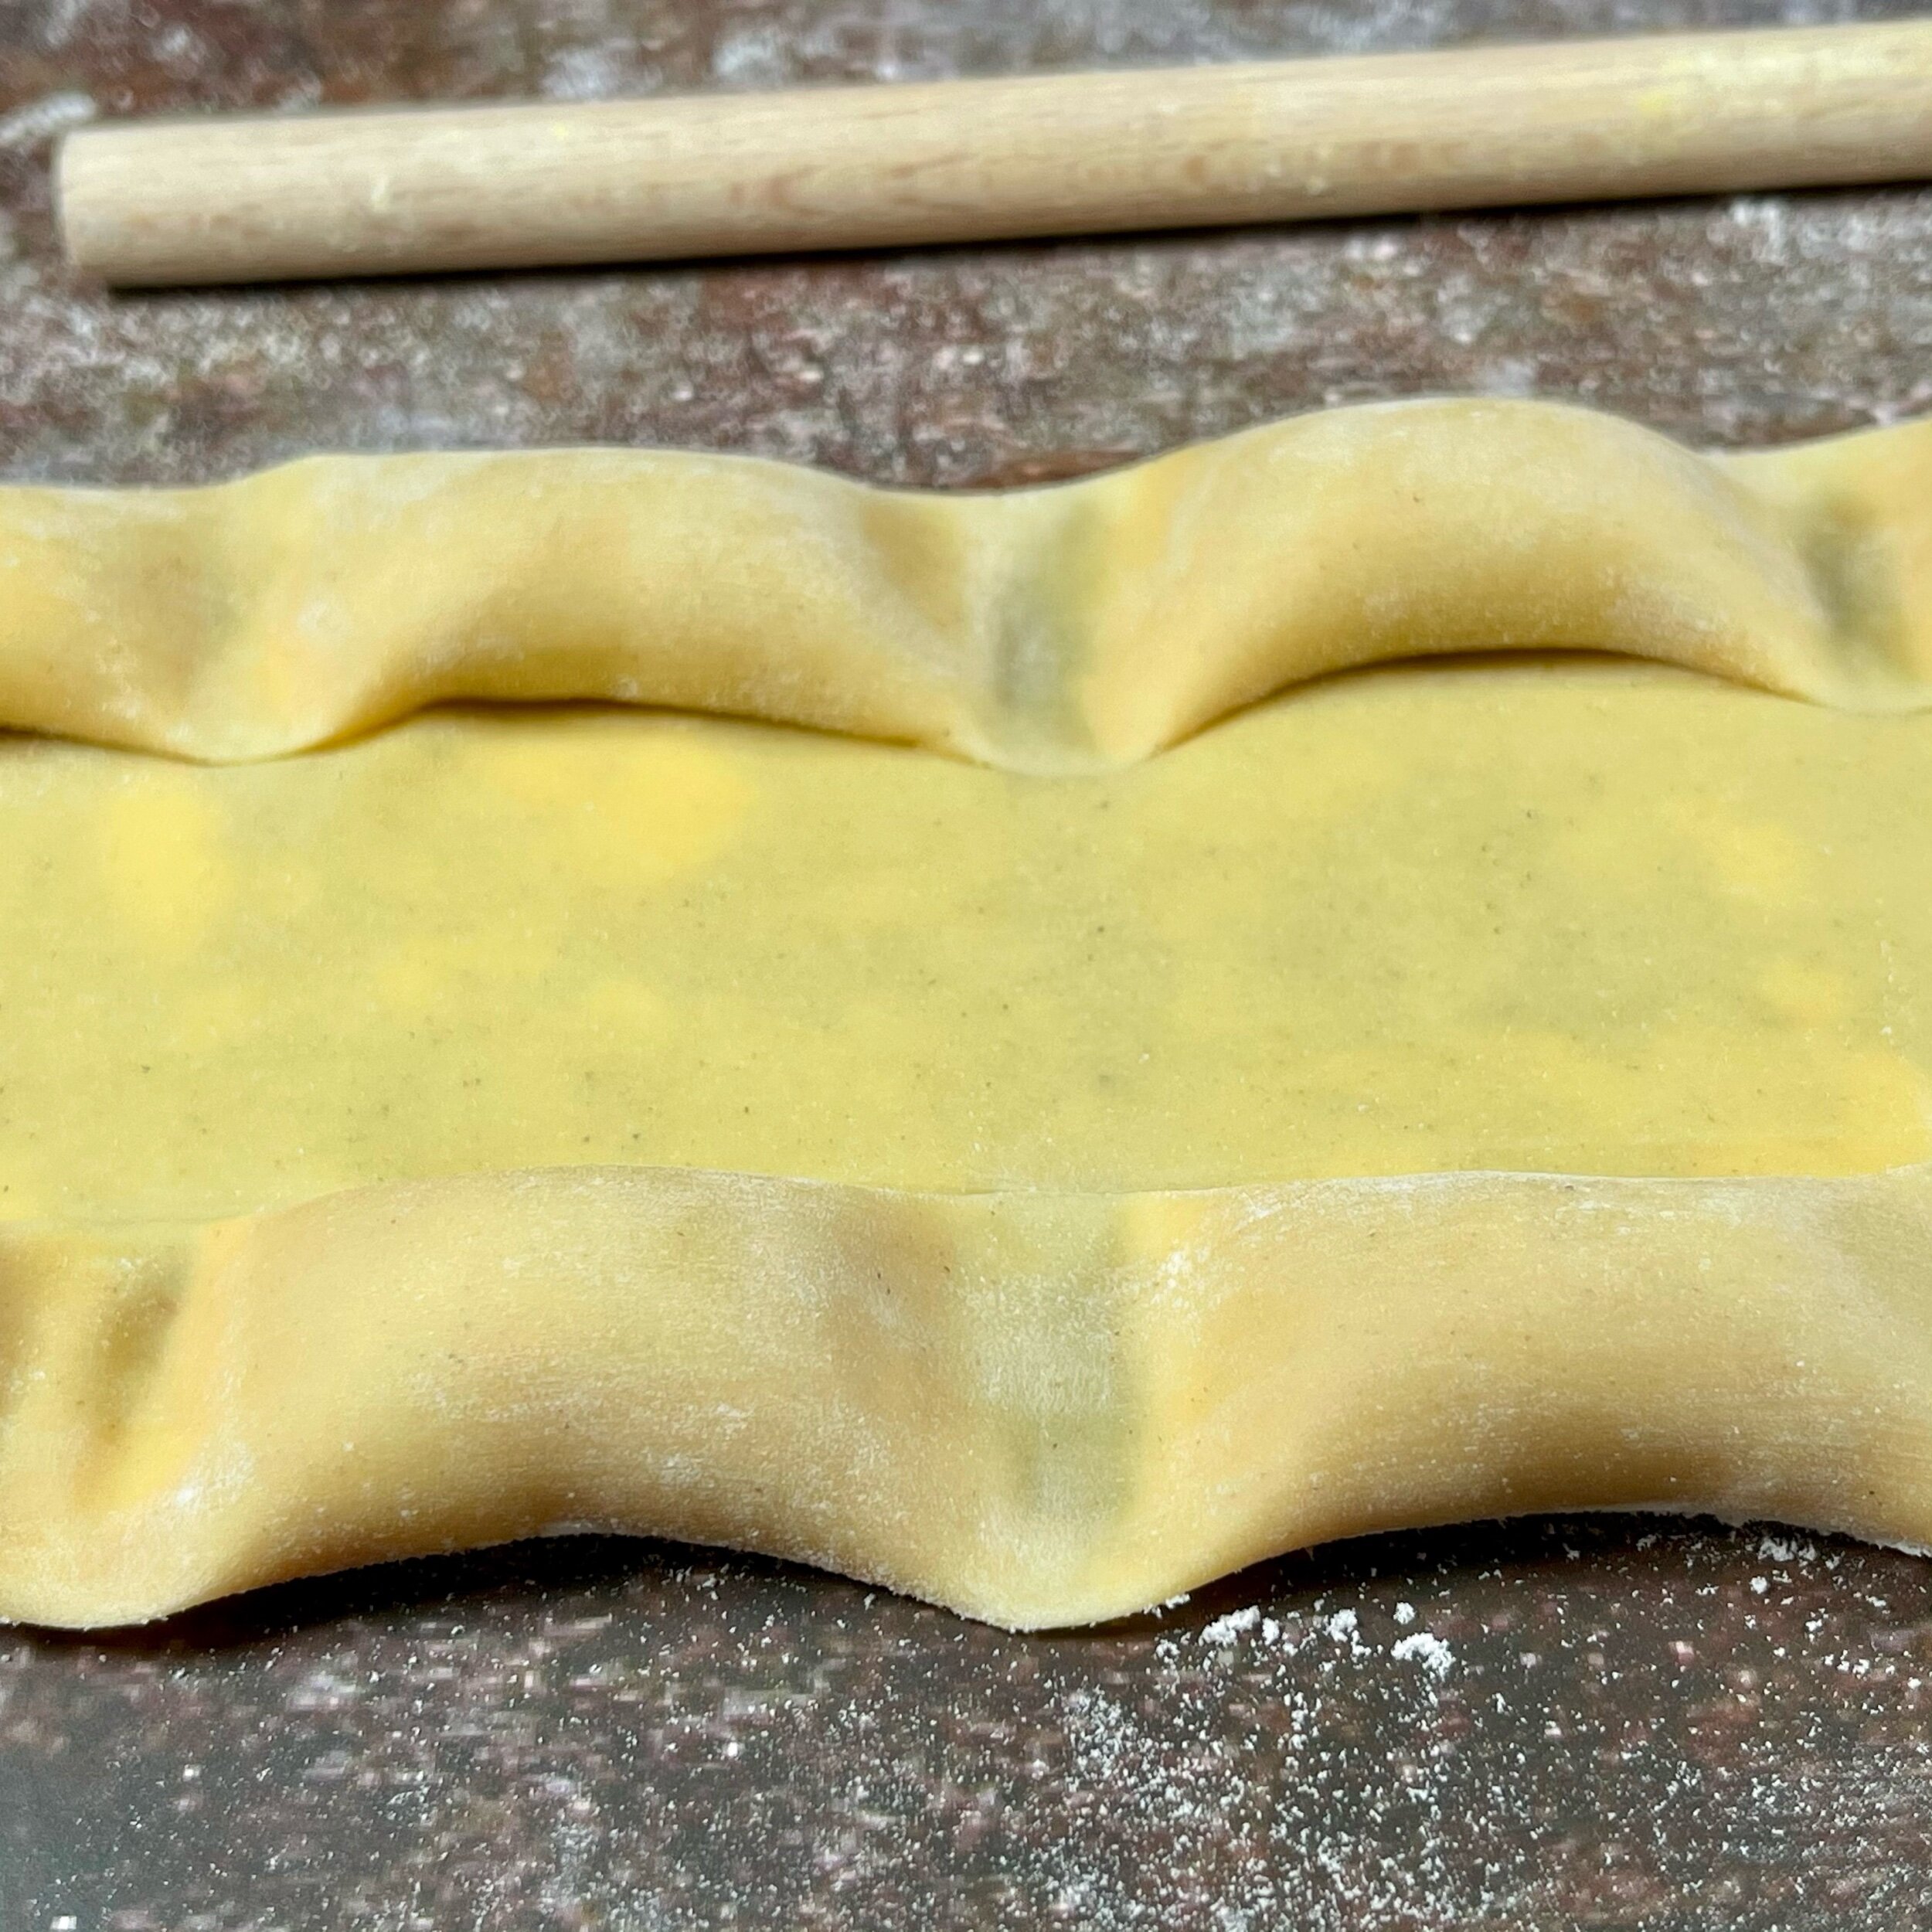
Using your crimp cutter, roll it down the center of the 1/2” seal for each pair of agnolotti.
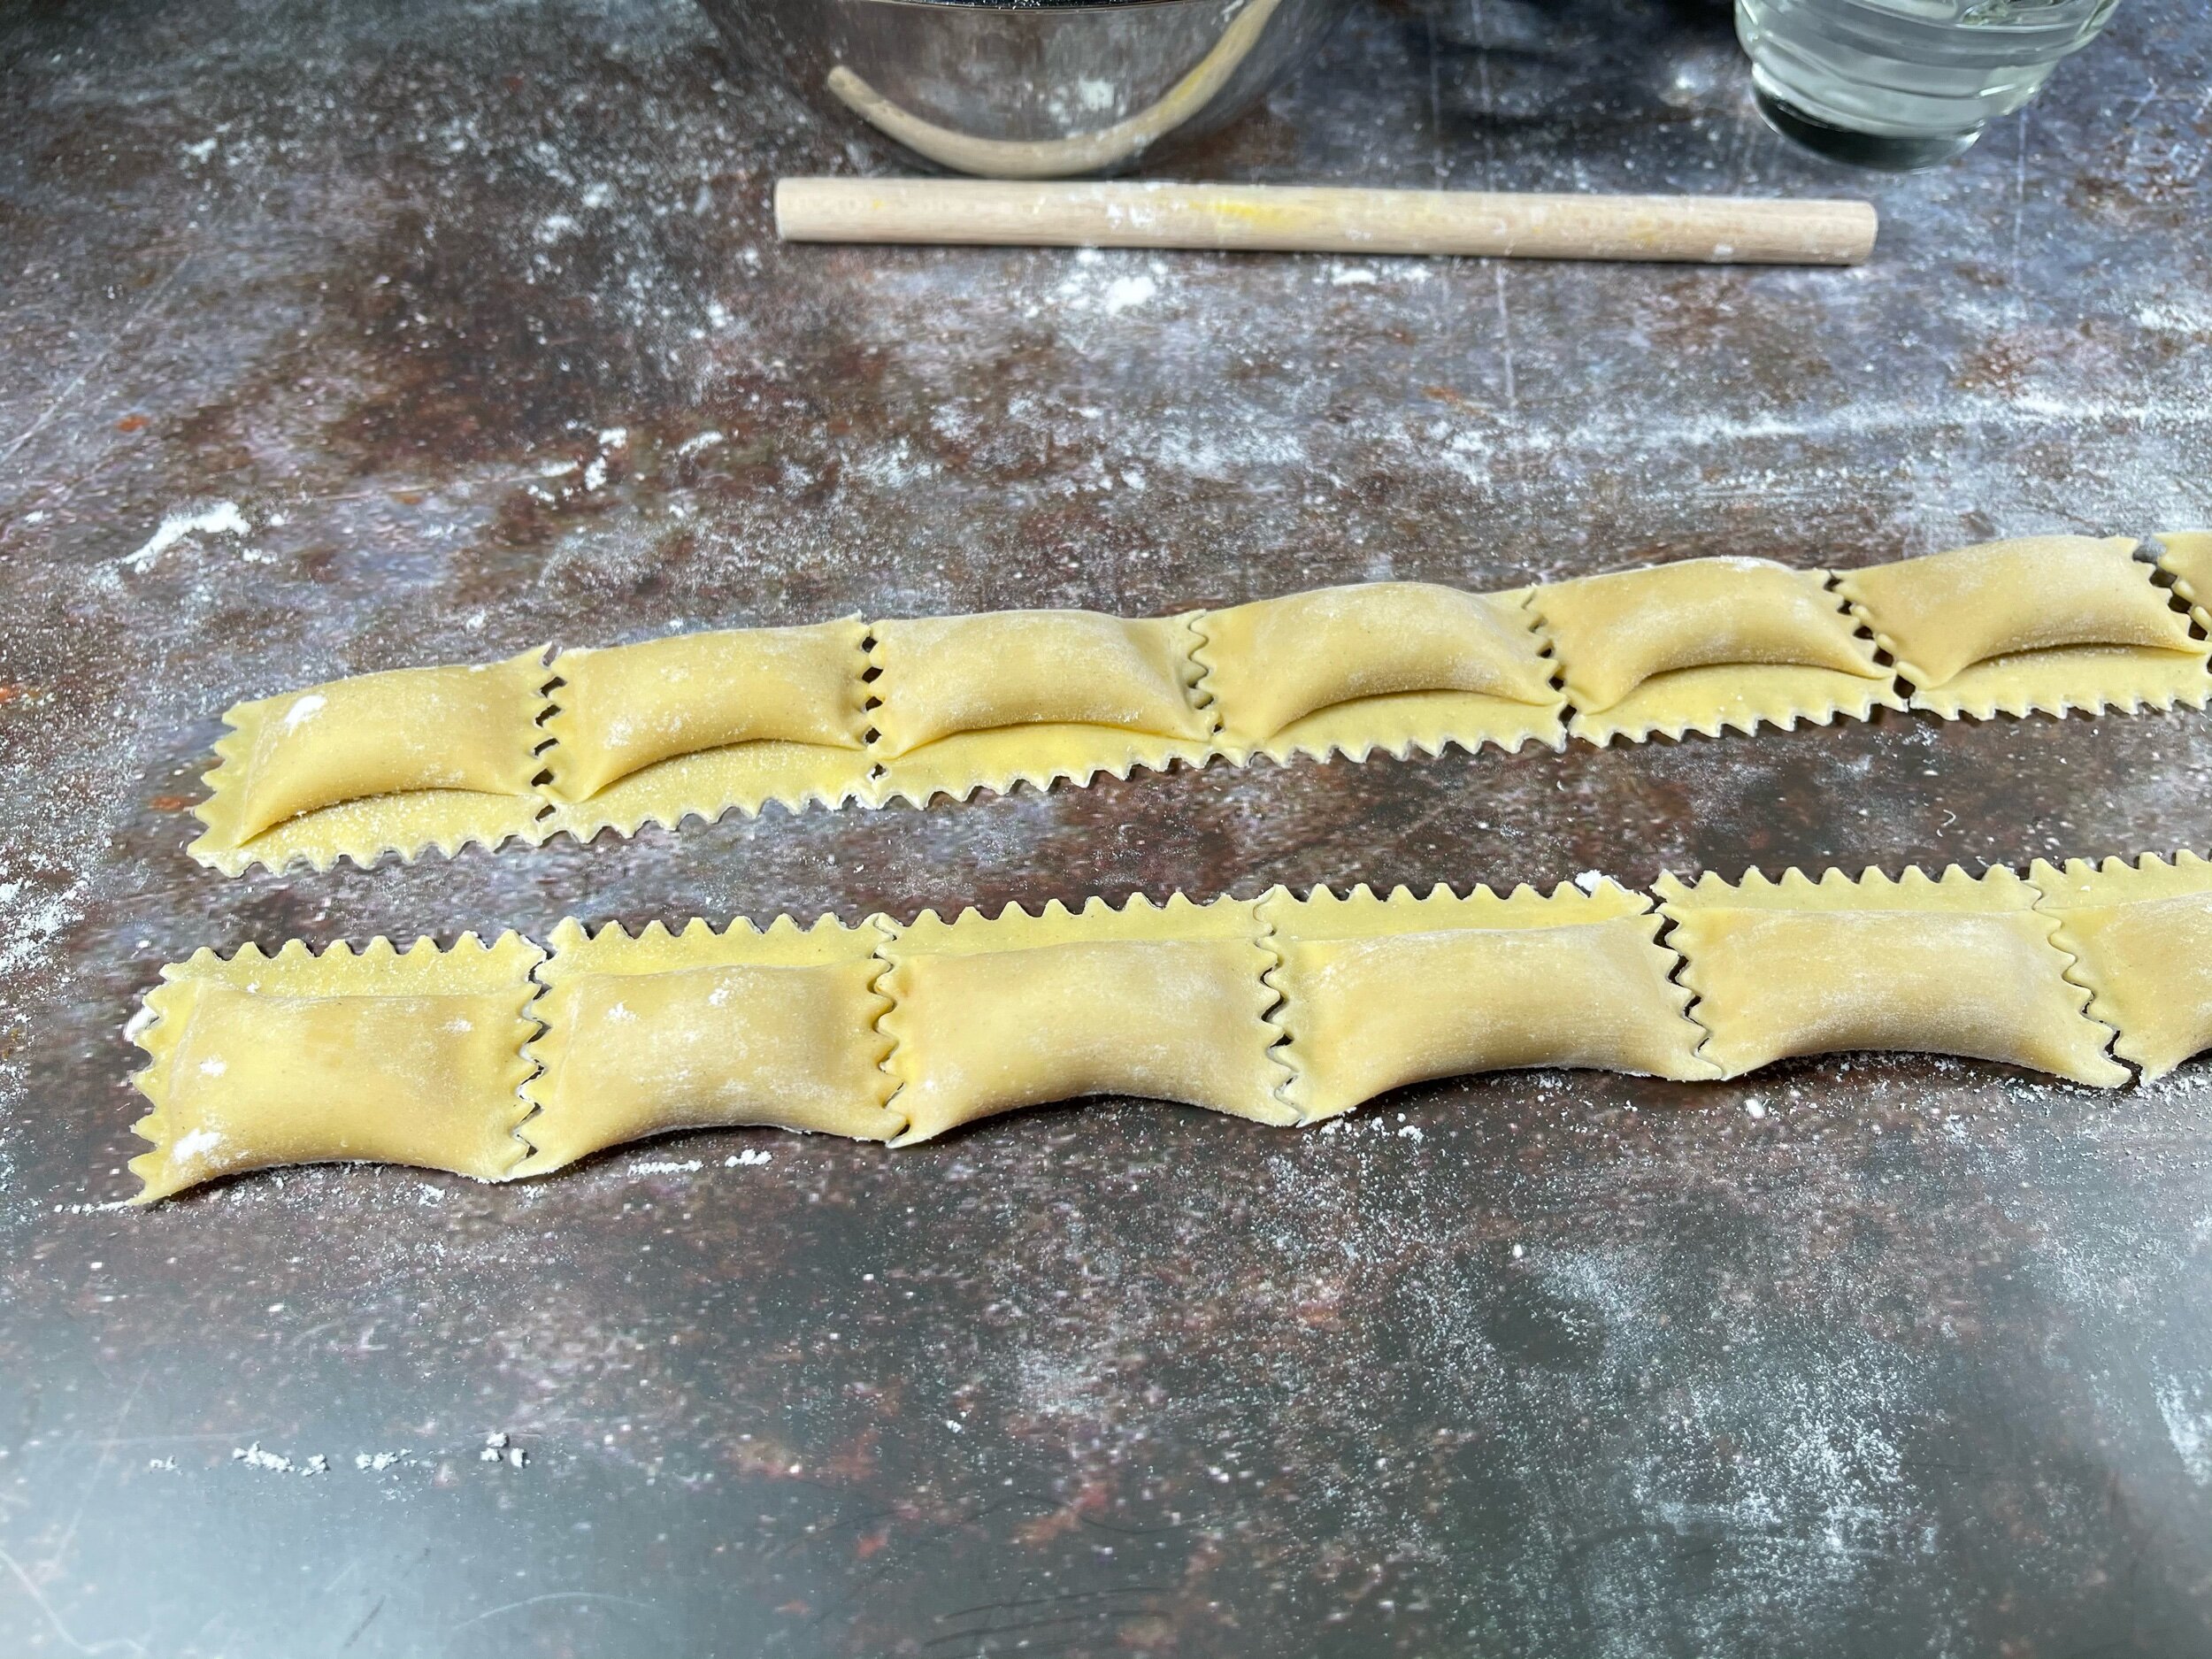
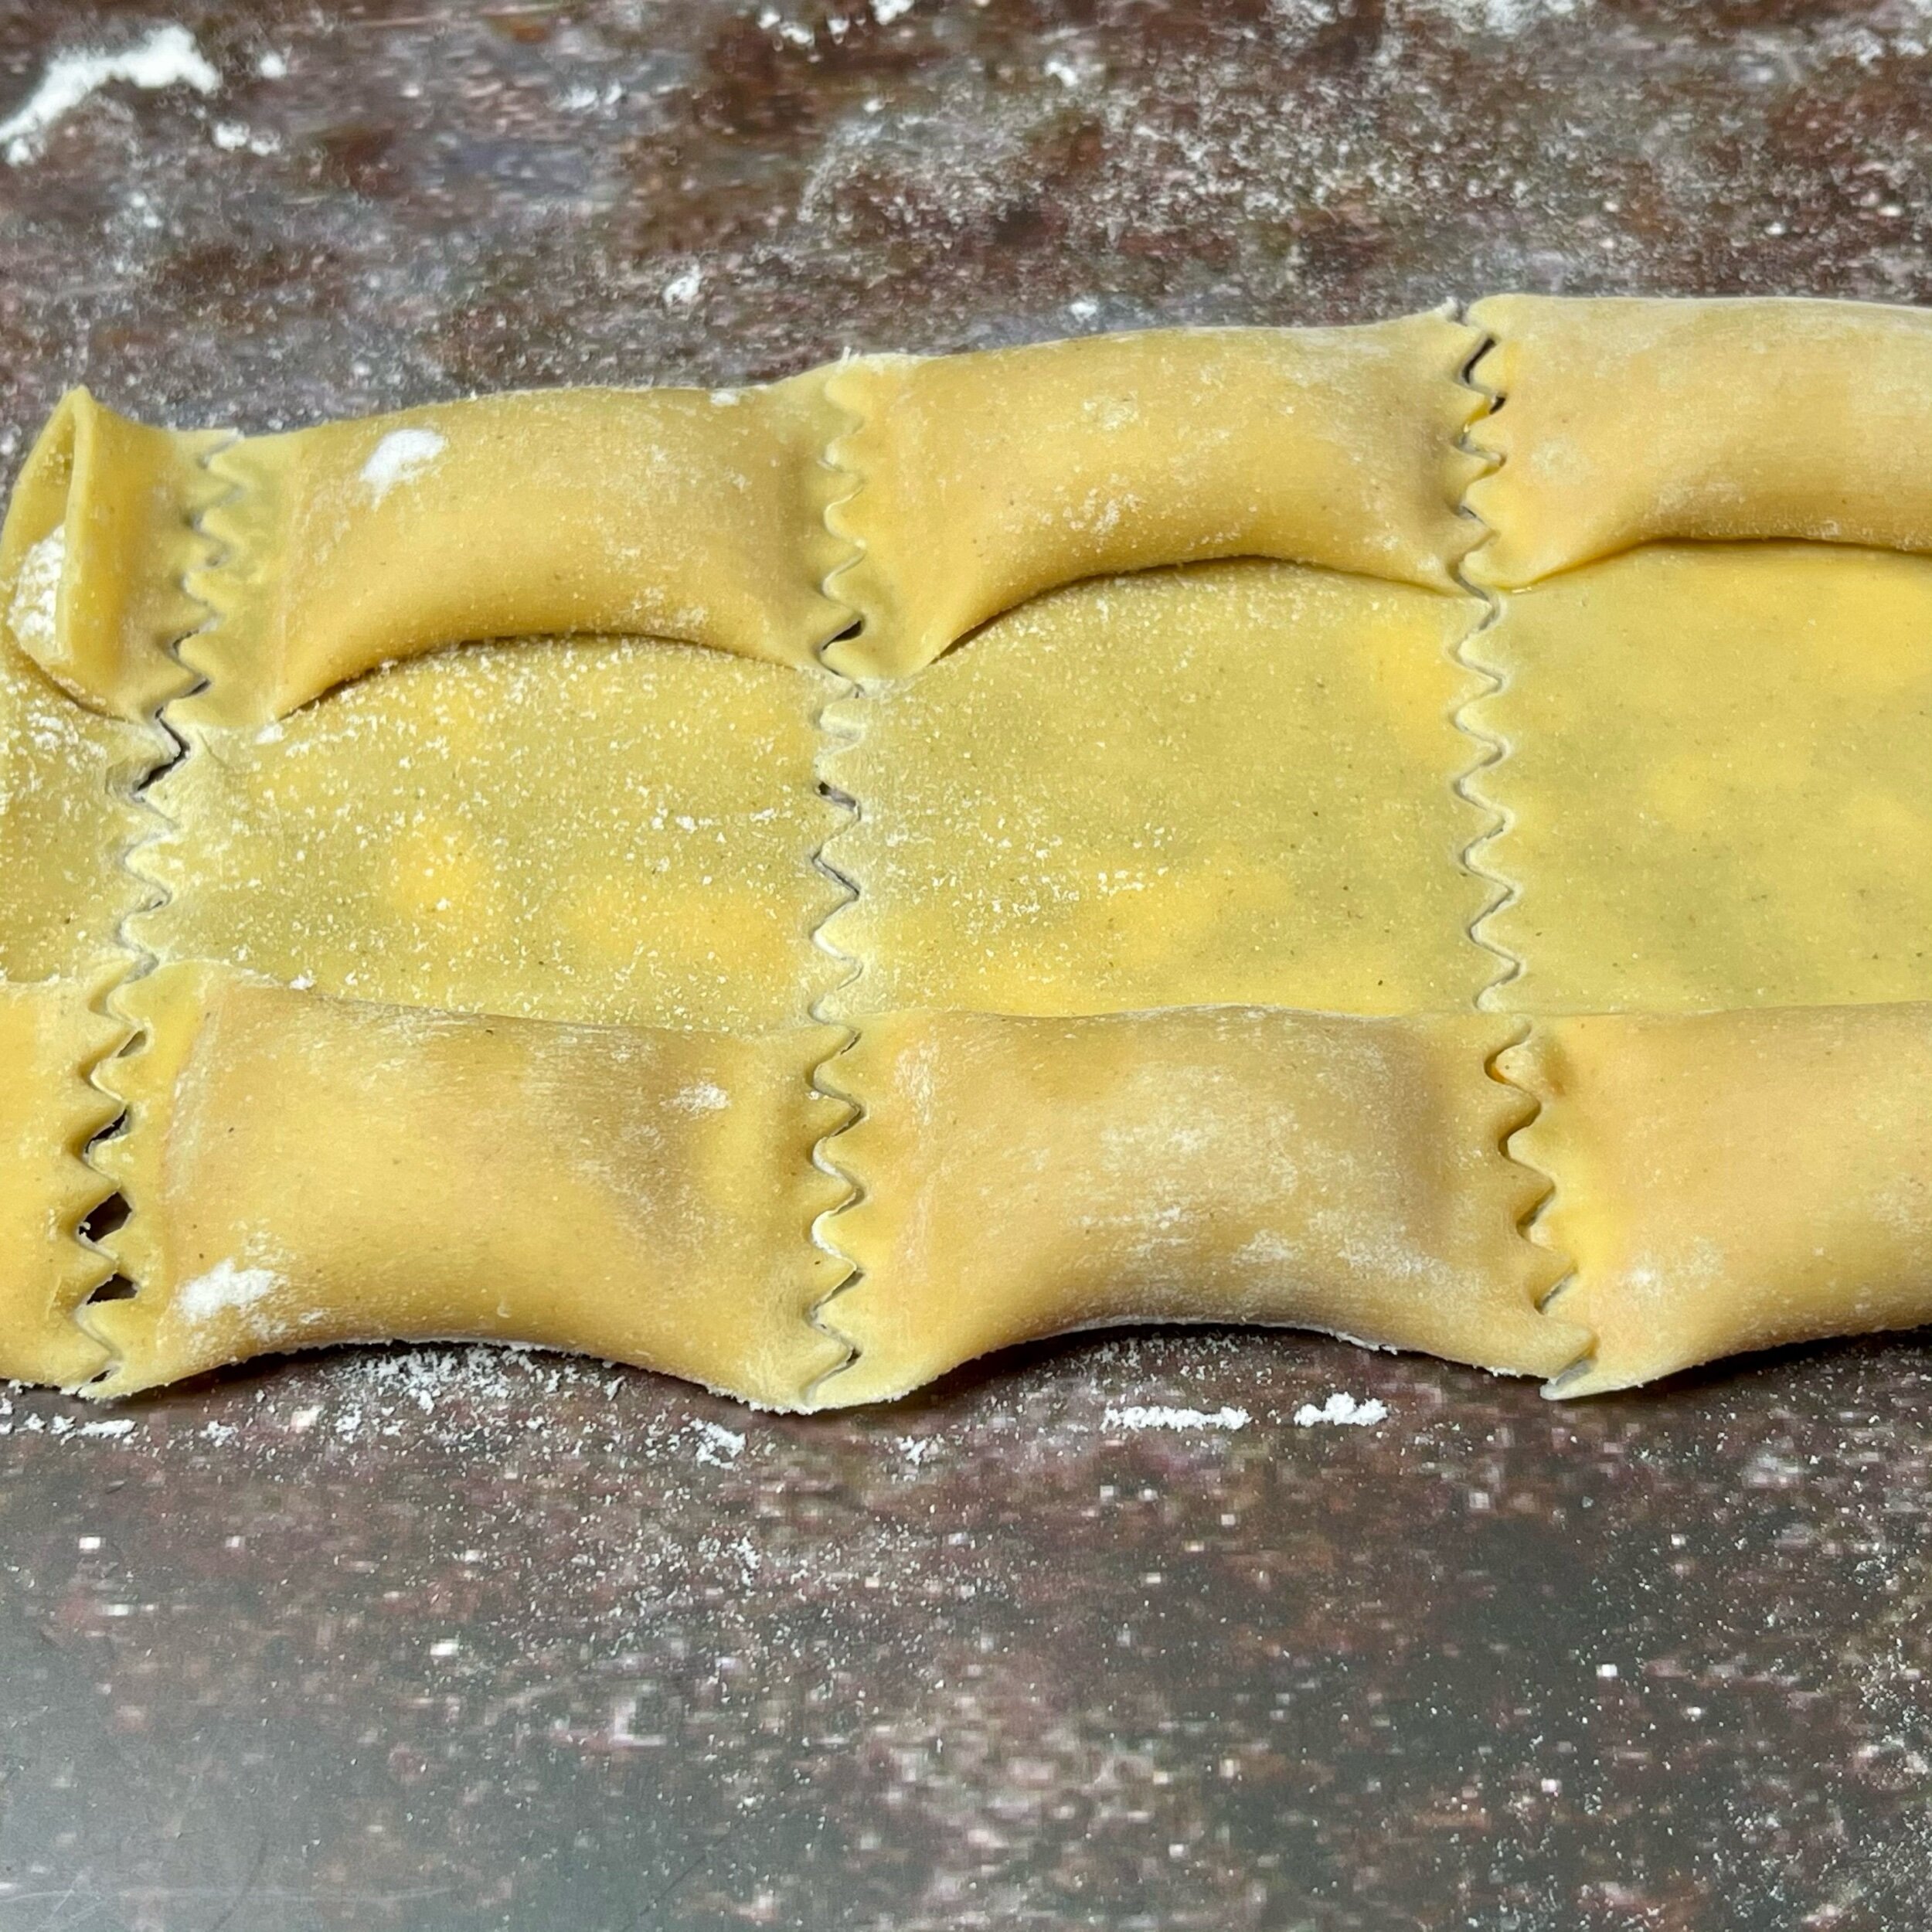
Step 14
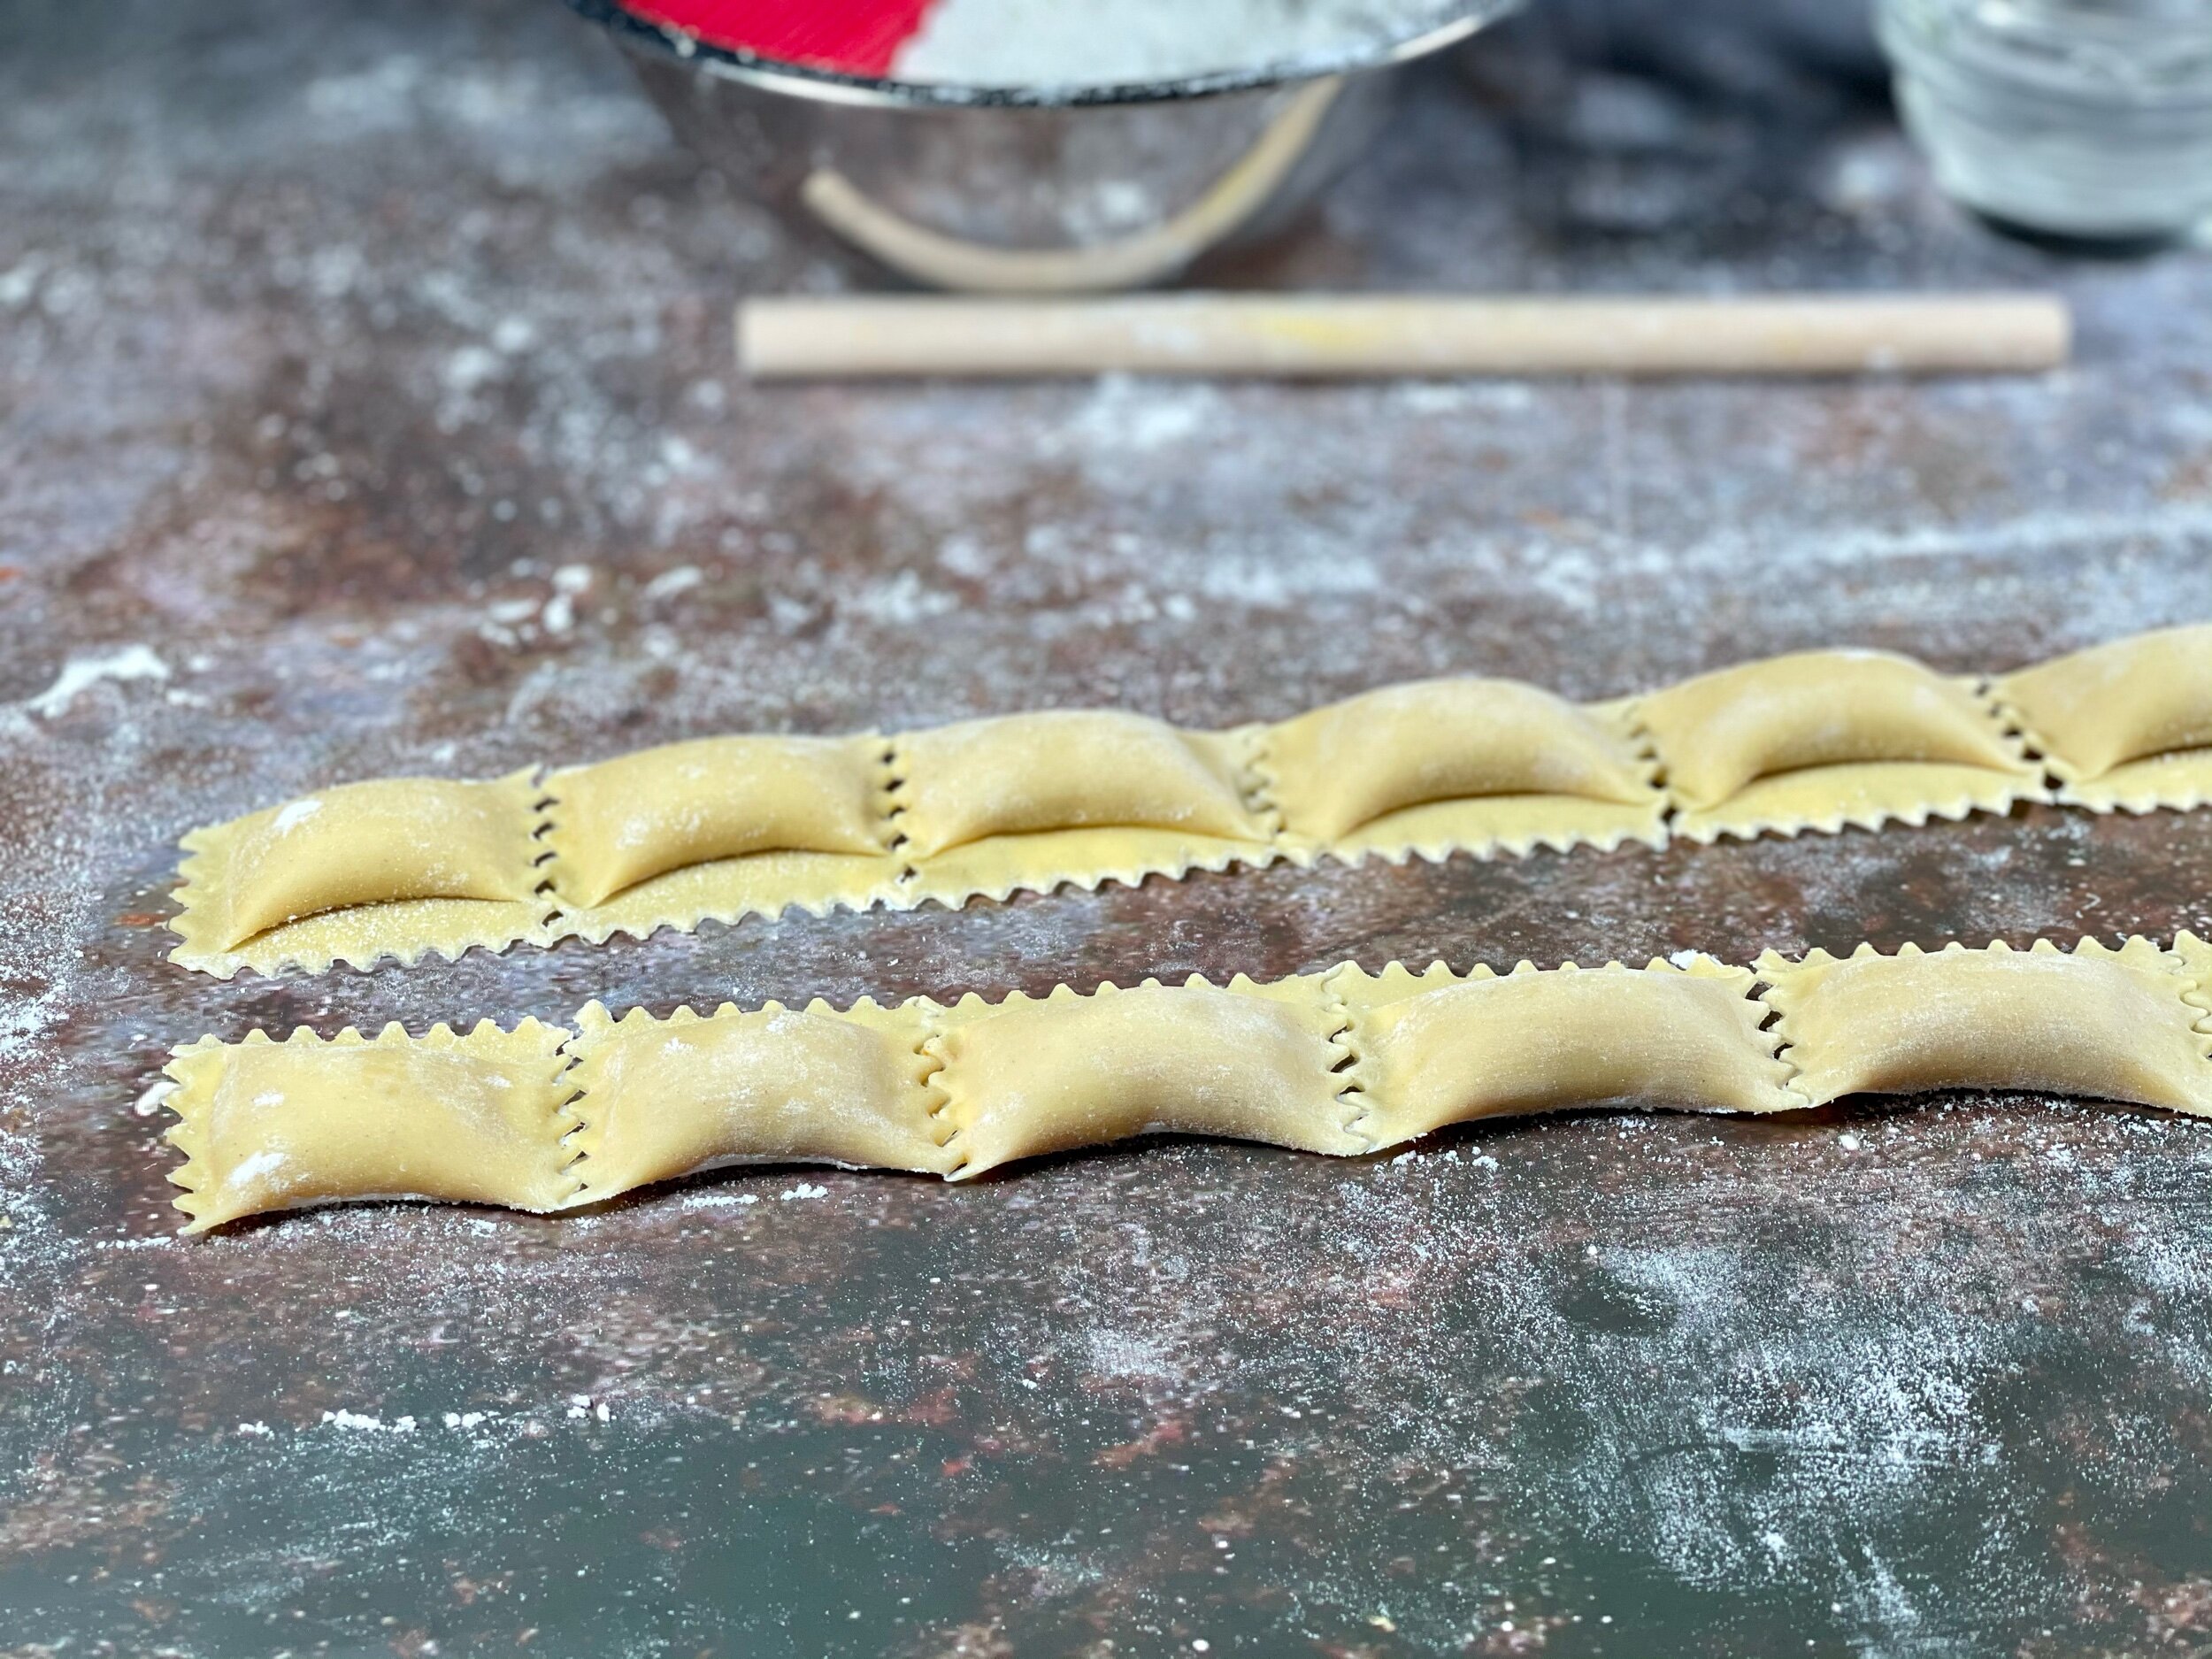
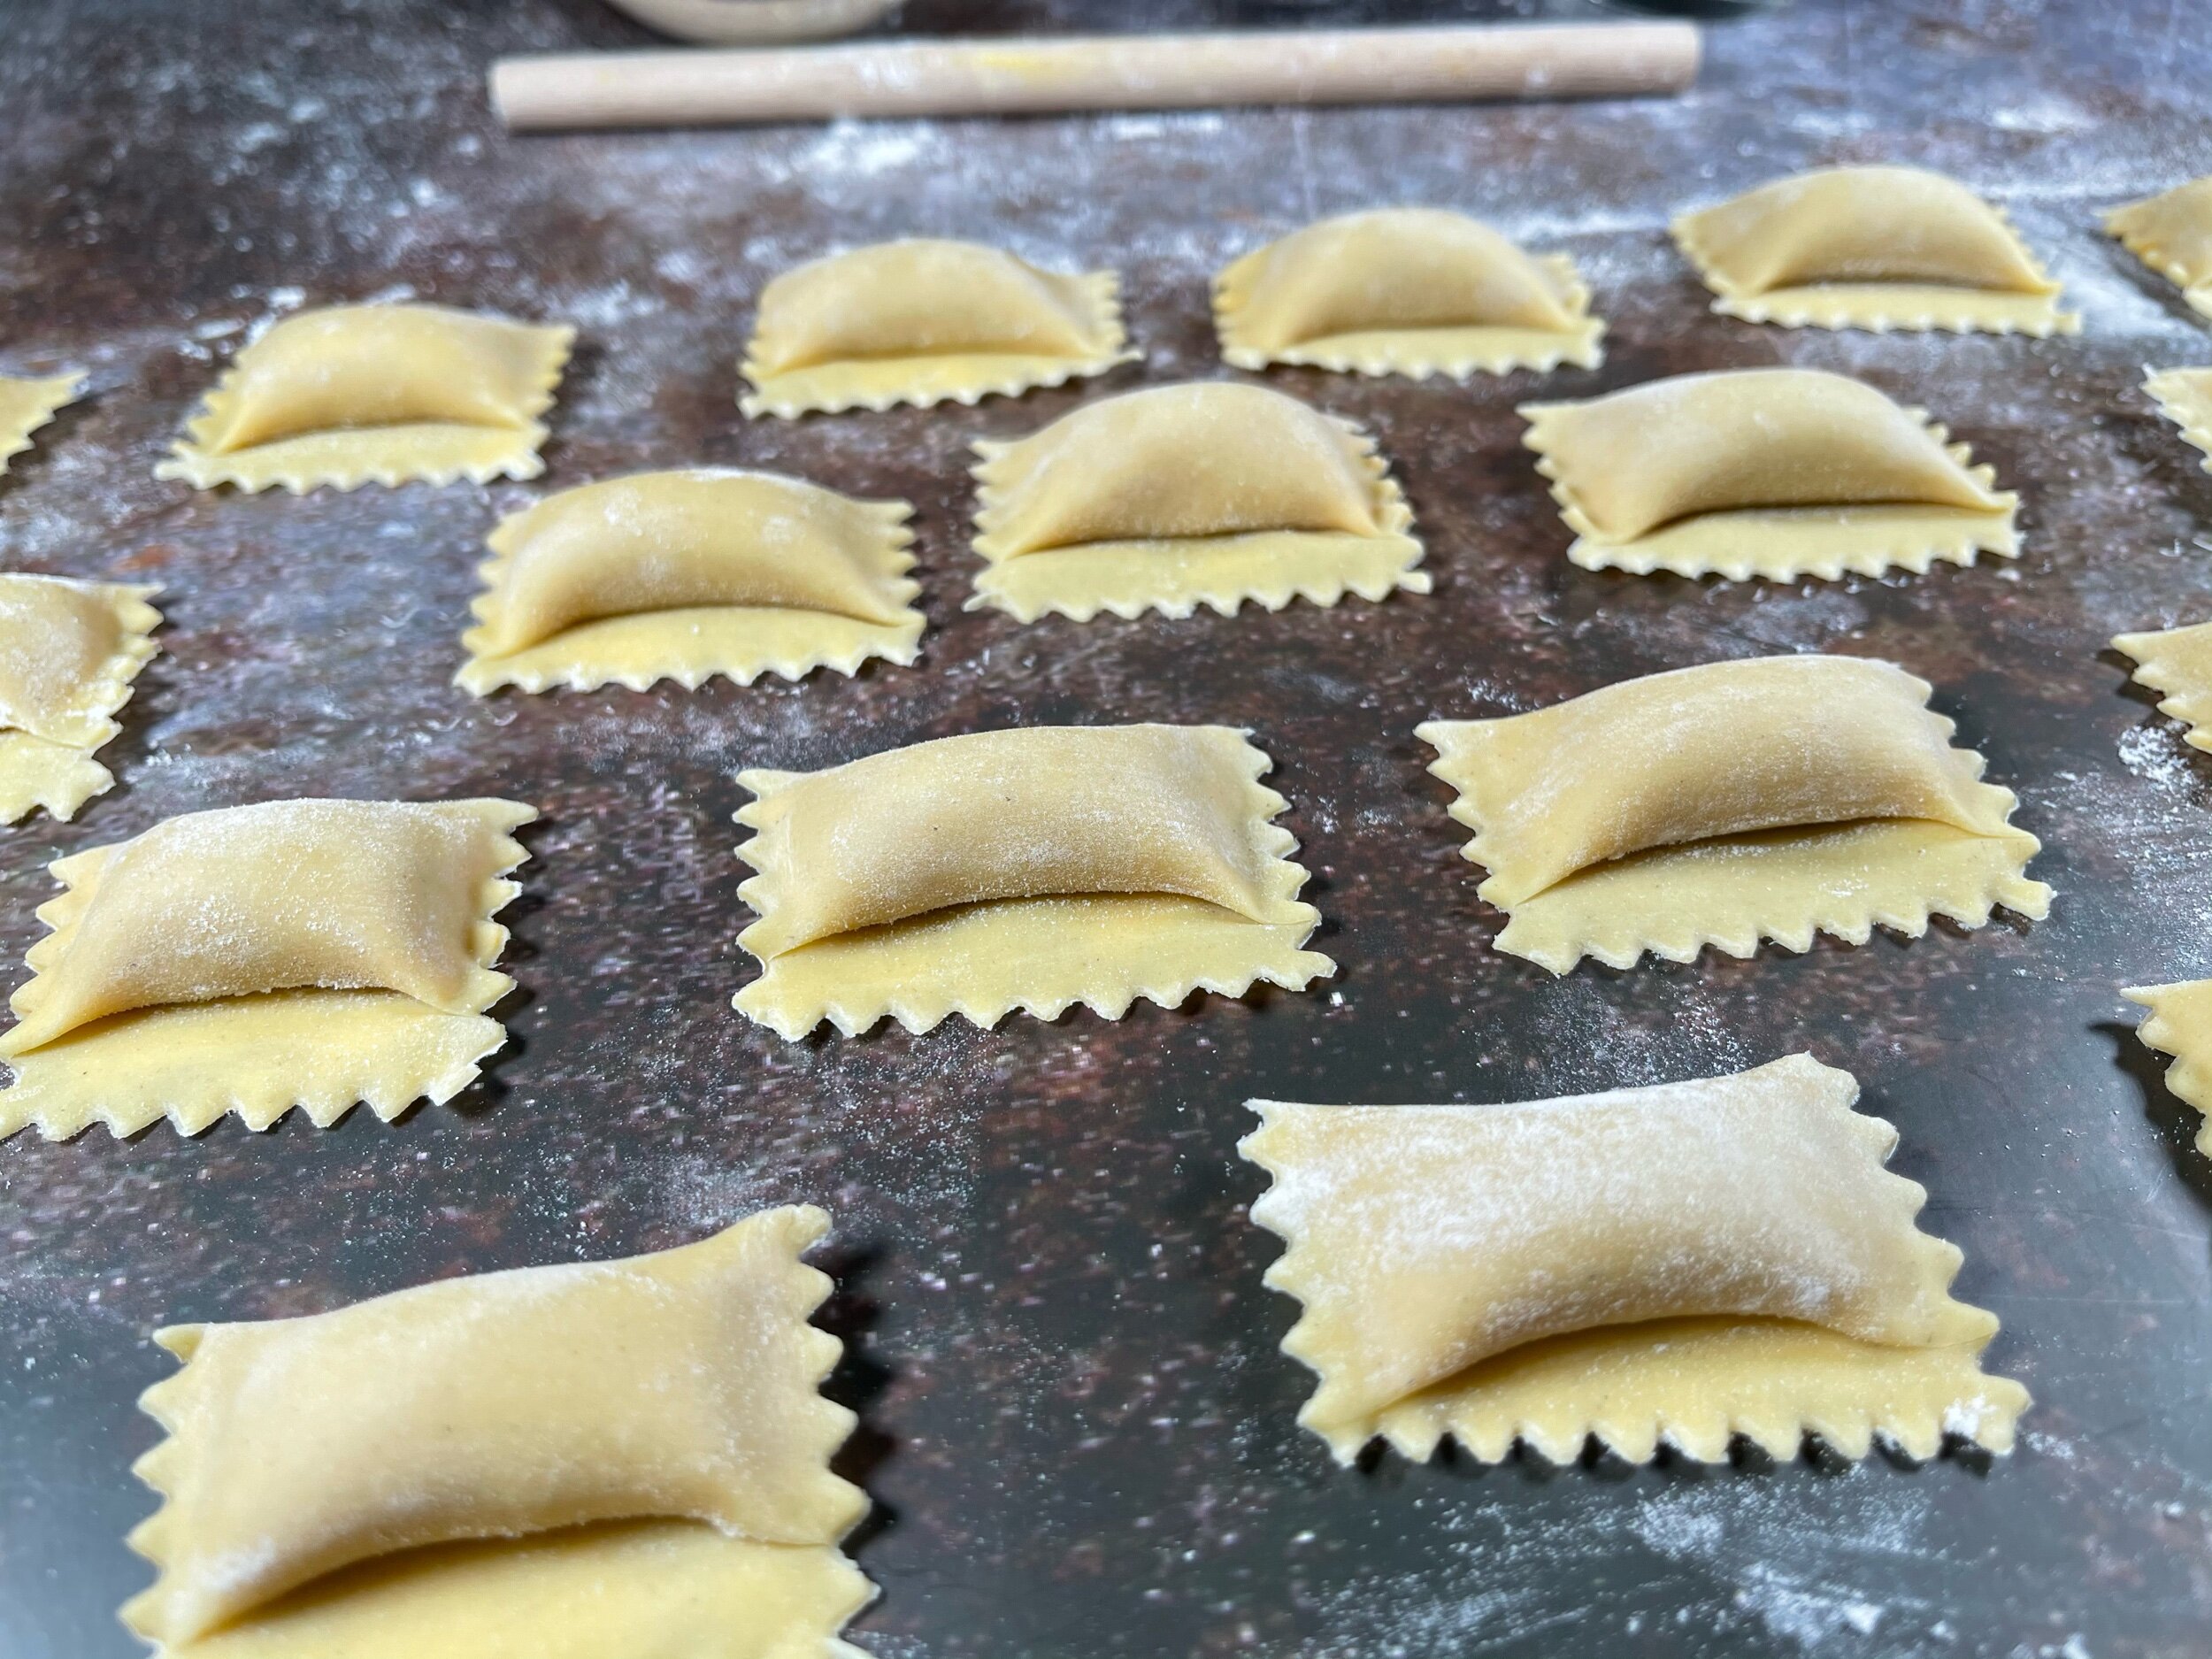
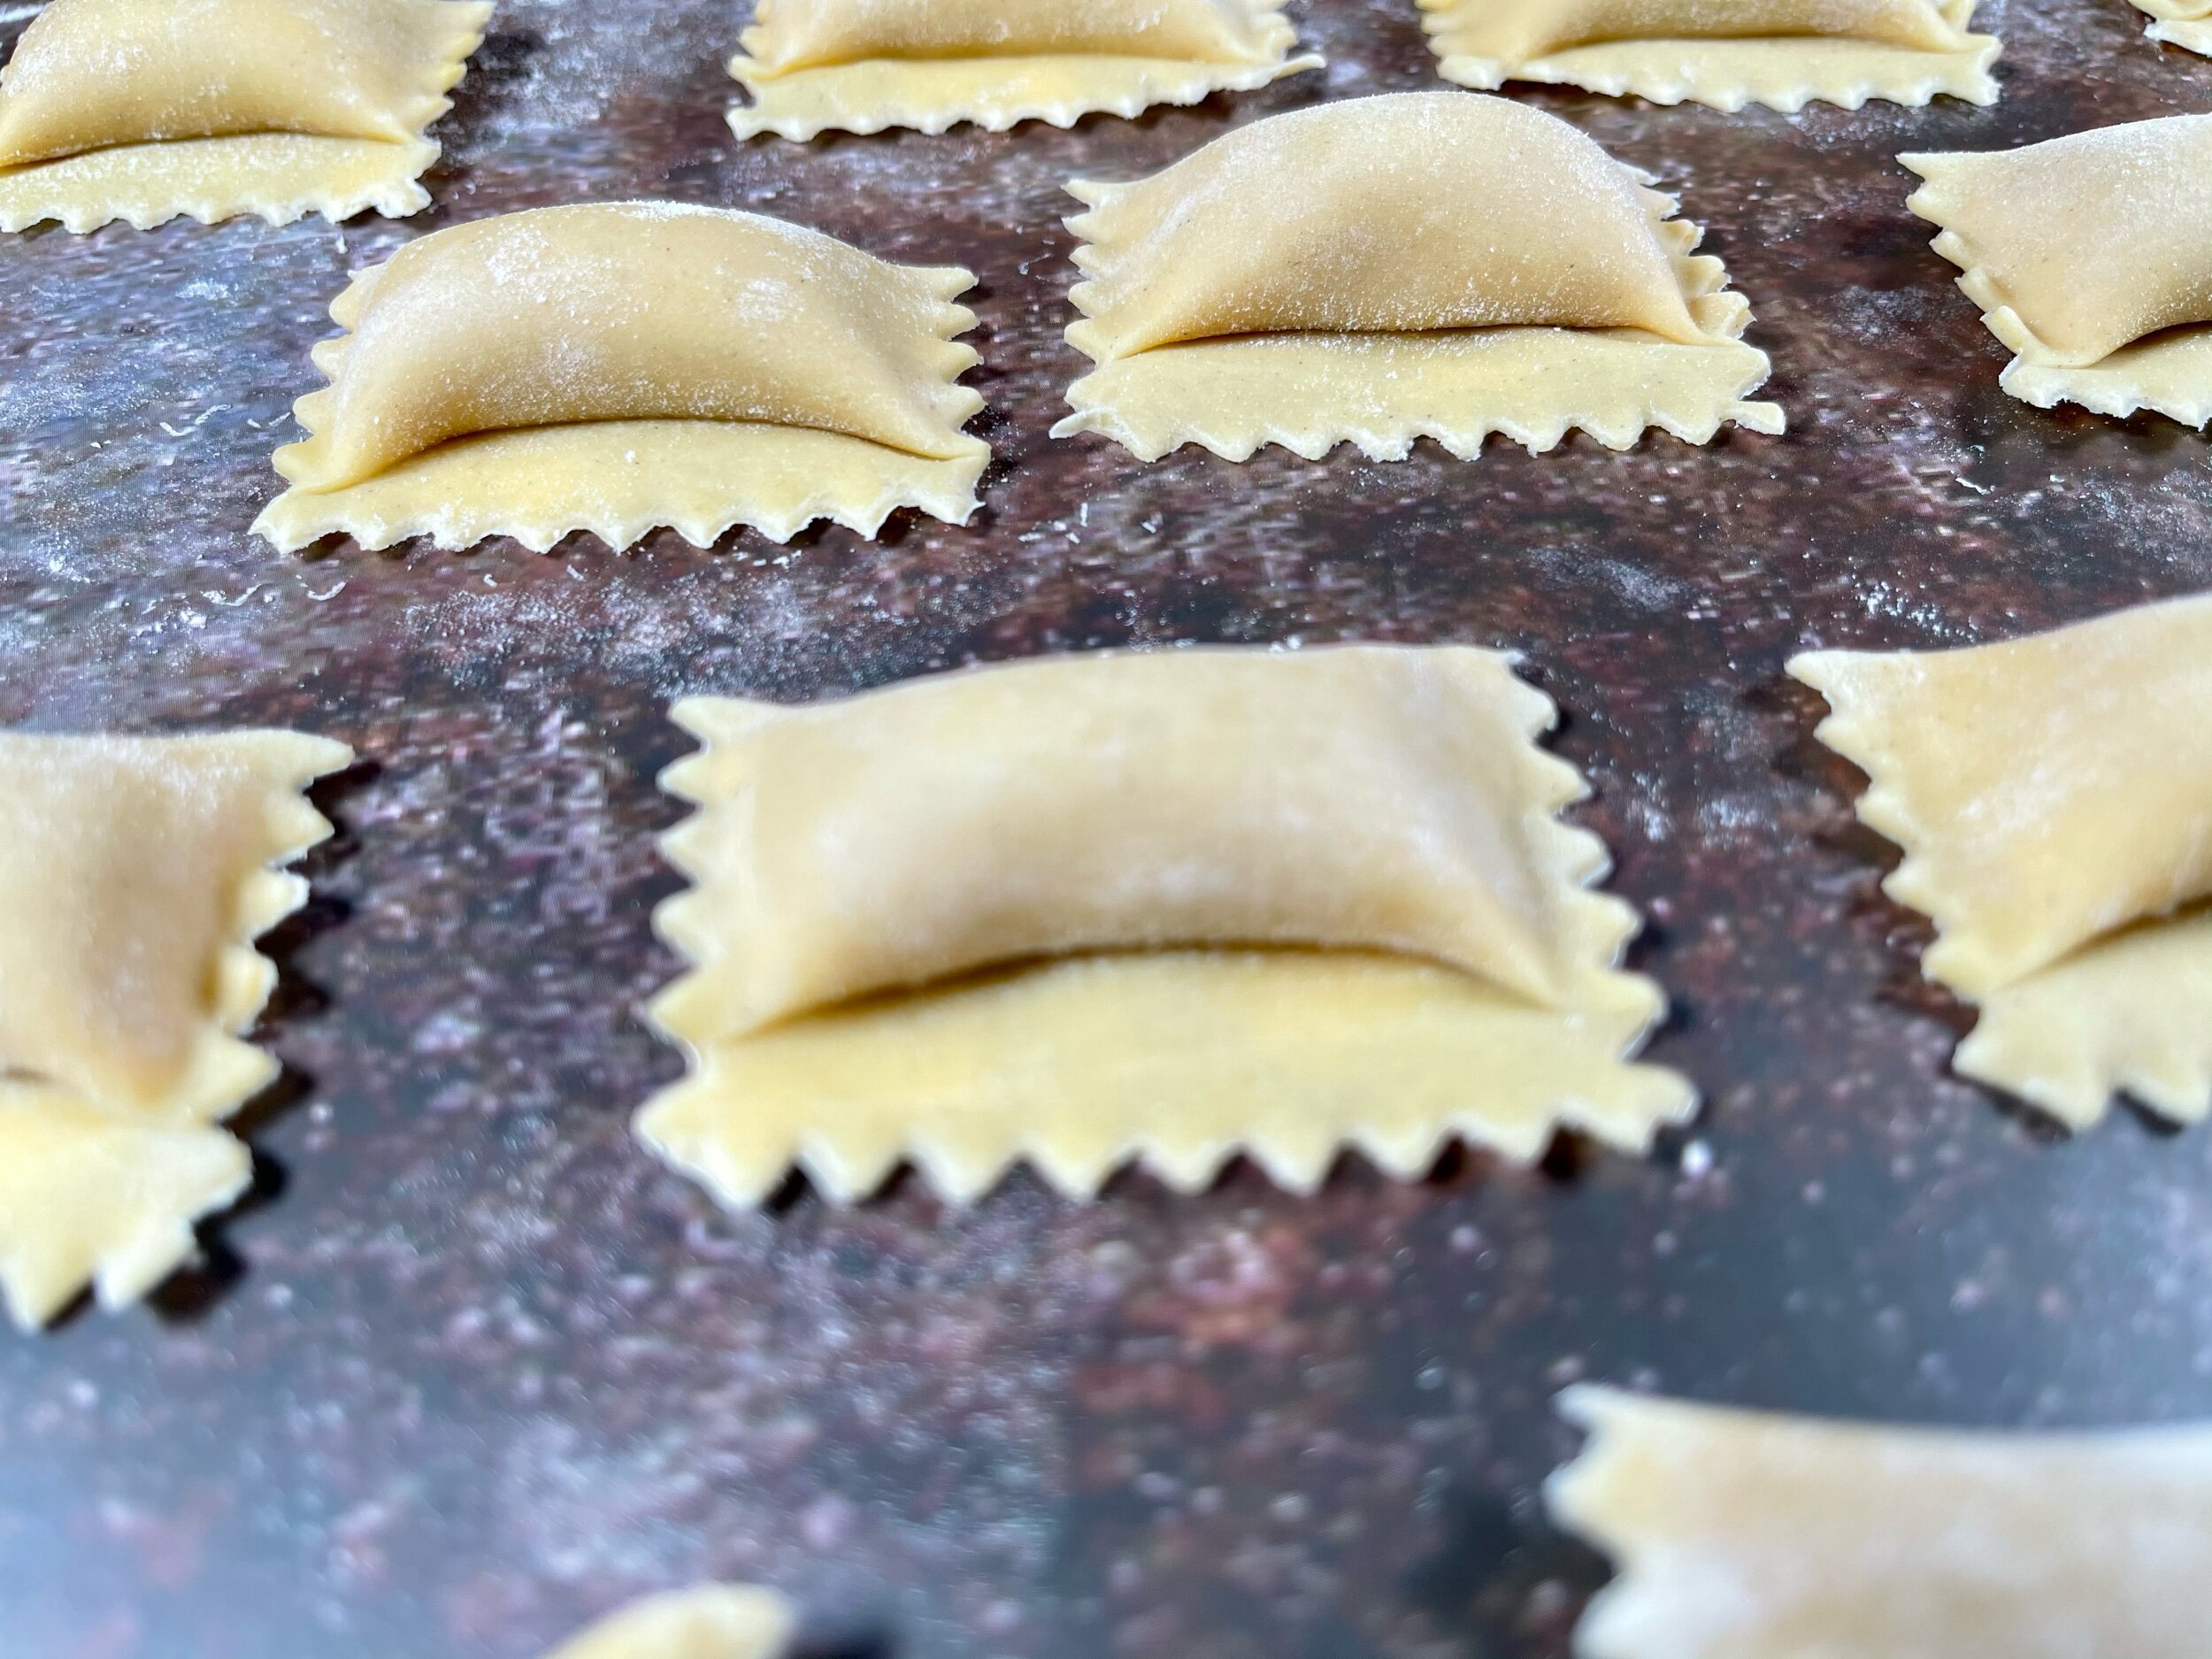
Run the crimped down lengthwise to separate the agnolotti pairs from each other.
Step 15